Legendary Tales 5 Chapter 2 Walkthrough – Ancients Technologies
Legendary Tales V. Price of Power · last updated 2026-10-15
Chapter overview and locations
Lucia takes the artifact to the druid Egil, who cannot repair it, so she disguises herself and sails south to Al Karankah. There she and Anum wake the sleeping city by restoring its solar power and its machines. Guided by puzzles in the temple of Kainbekh and the mechanical workshop, she swaps the artifact's crystal and charges it in the reactor.
Scenes in this chapter: Egil's house, garden, stove and courtyard · Woods, collapsed well and the road to the port · Port and docks, fish stall, captain's ship · Beach of the Al Karankah isle and its shed · Cliff face and ruins above the beach · Al Karankah suburb crossroad and abandoned manor · Kainbekh temple with its hand devices · City gates and the enclosed gateway corridor · Southern square and energy district of Al Karankah · Alley of Light and the solar collector area · Park district with the hot air balloon · Mechanical workshop · Reactors hall
Step-by-step walkthrough
Follow the scenes below. Required items and screenshots sit beside each stop; answers expand on request. Select a screenshot to enlarge it.
Jump to a scene · 5 sections
Scene 01
Leave the flower and fox ruins
Compare the carved flower symbols, then use the fox statue. Finish the mushroom mini-game and octopus mechanism before the fish stall.
1Carved Flowers Puzzle
Where: Wardrobe by the window in Egil's house, after finding four carved flowers.
You need: Carved Flower 1 of 4 · Carved Flower 2 of 4 · Carved Flower 3 of 4 · Carved Flower 4 of 4
Fit the four carved flowers into the wardrobe by Egil’s window, then start its ring puzzle.
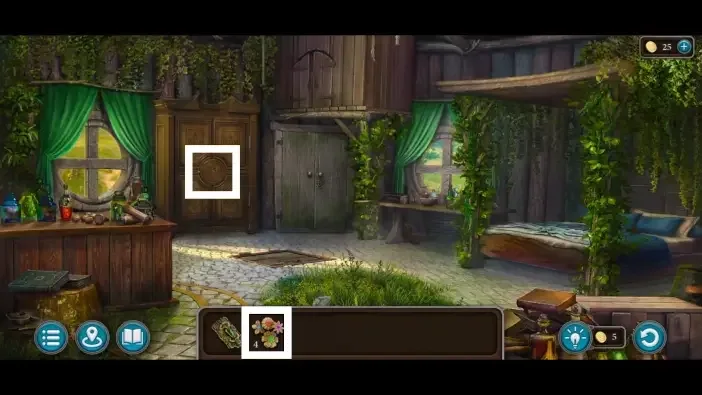
Show the full solution
Rotate the rings so the highlighted circles hold the fragments that join into the animal drawn in the centre, for four animals in a row.
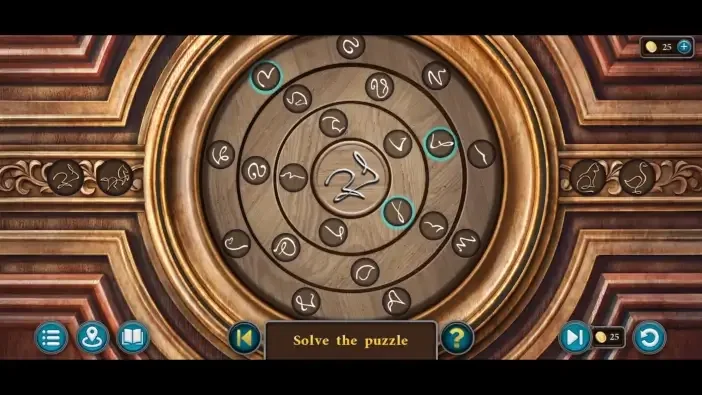
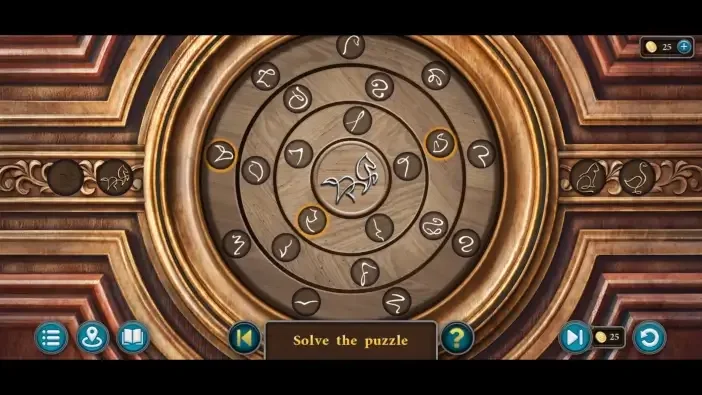
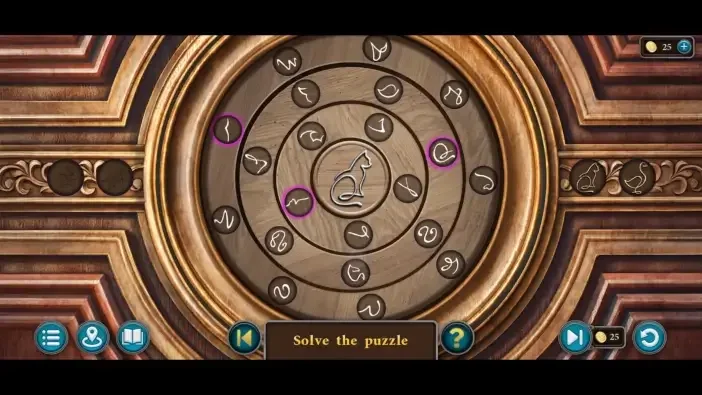
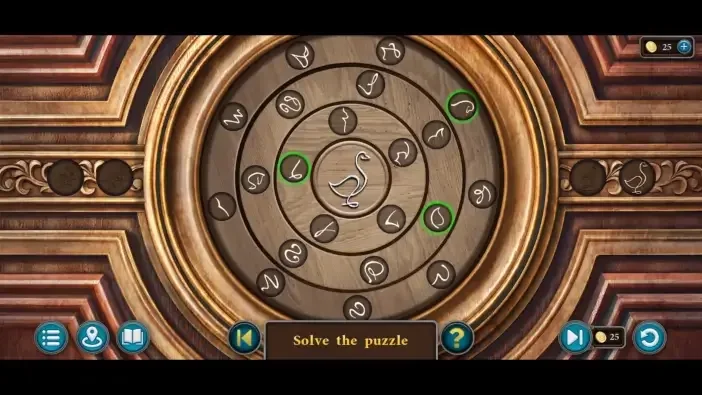
Variants: The symbols can be random each game.
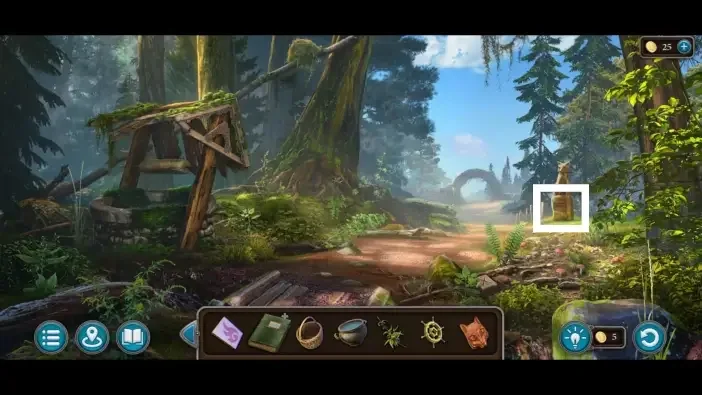
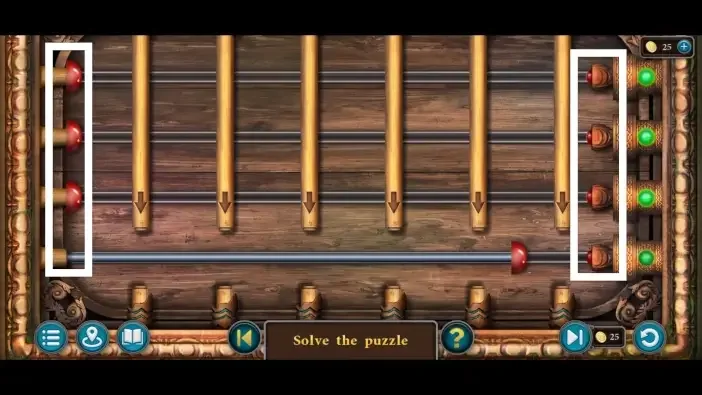
2Fox Statue Puzzle
Where: Fox statue in the woods, after cutting the tree roots with the axe.
You need: Fox emblem · Axe
Use the fox emblem at the woodland statue after clearing the roots with the axe.
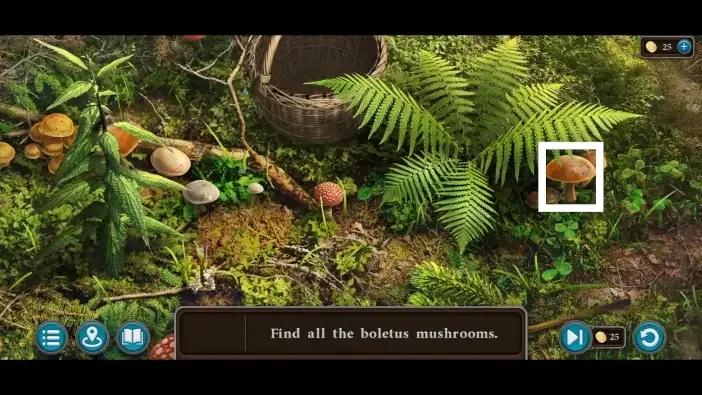
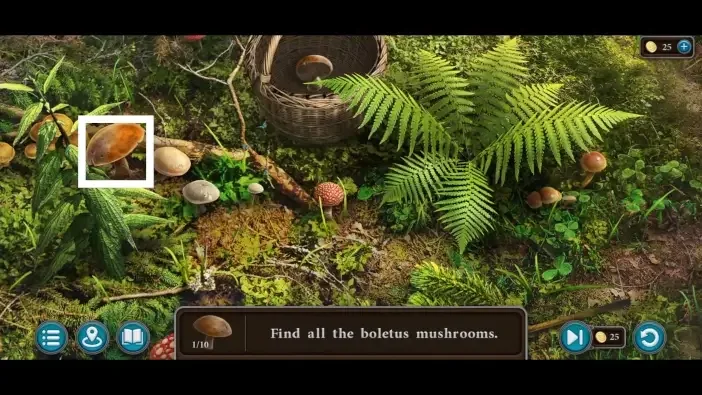
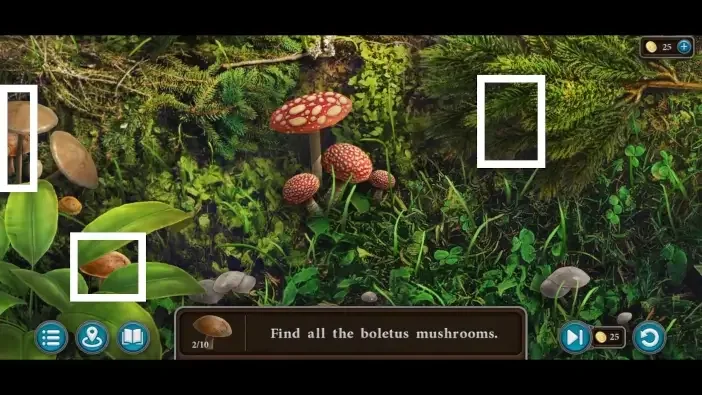
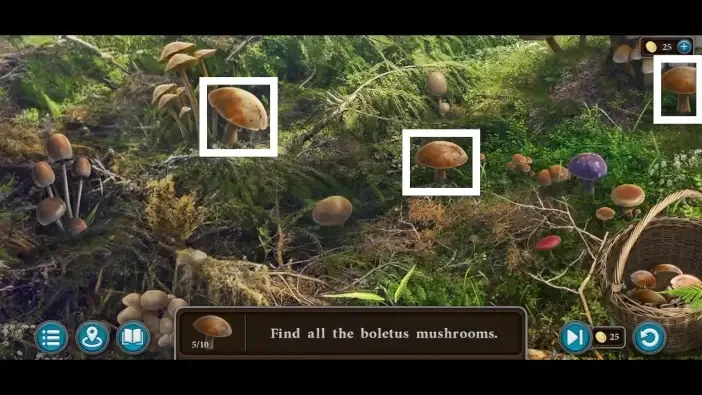
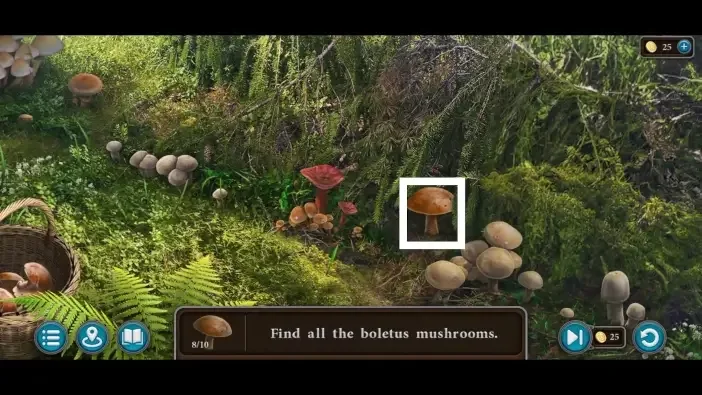
3Boletus mushroom mini-game
Where: Woods, after placing the basket on the ground near the mushrooms.
You need: Basket
Complete the boletus mushroom mini-game before continuing toward the port.
4Octopus Tentacle Puzzle
Where: Large chest at the port, after pulling the octopus out of the well.
You need: Octopus emblem · Rope with hook
Complete the octopus tentacle mechanism.
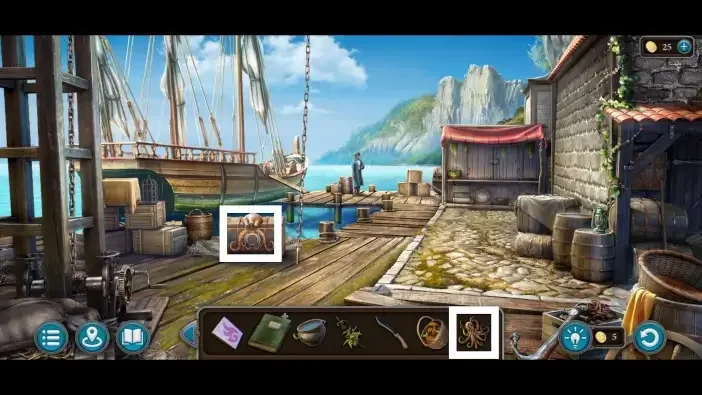
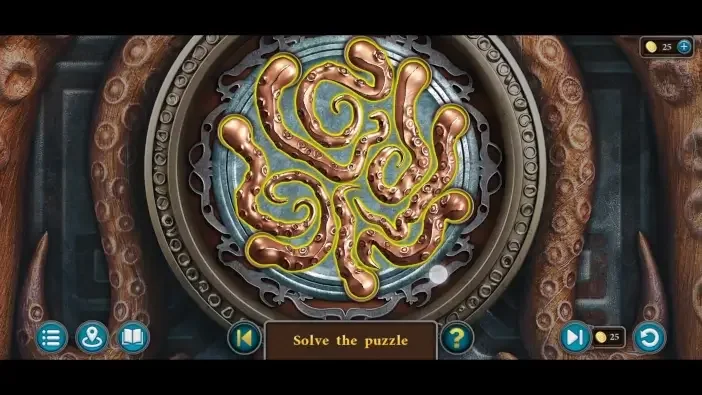
Scene 02
Search the fish stall and reach the city
Search the stall and set its clock, then open the beach door and climb the cliff. Clear the courtyard bars before opening both city gate boards.
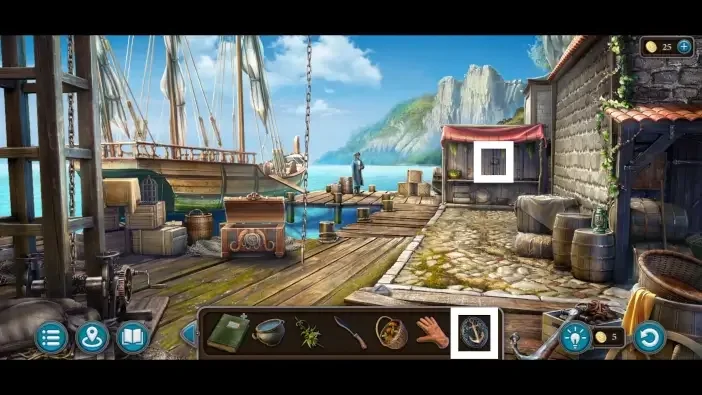
6Fish stall clock
Where: Clock on the left side of the port fish stall, once the missing hand and the chart clue are found.
You need: Clock hand · Compass · Chart with red numbers
Use the clock clue at the fish stall clock.
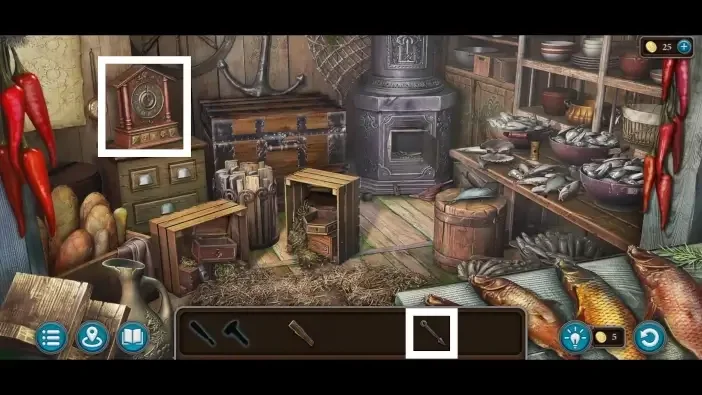
Show the full solution
Set the clock to 3:45 as AppGamer states, converting the chart numbers into a time.
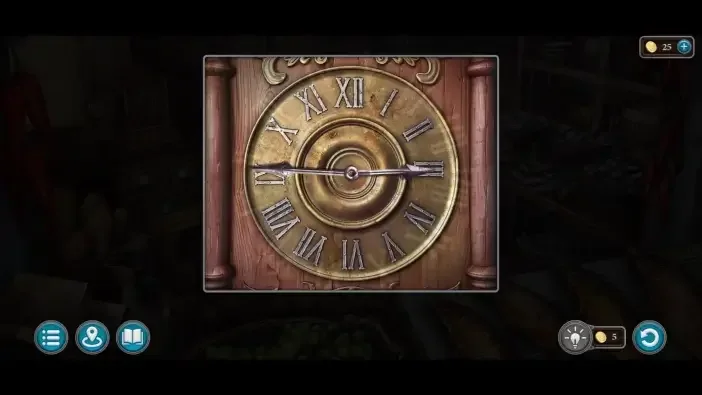
Variants: Play Games Wiki and Zotuf mention the compass reading differently, so the clue wording differs between sources.
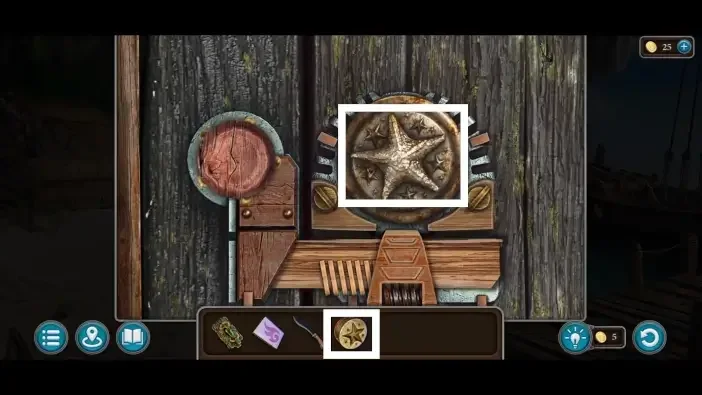
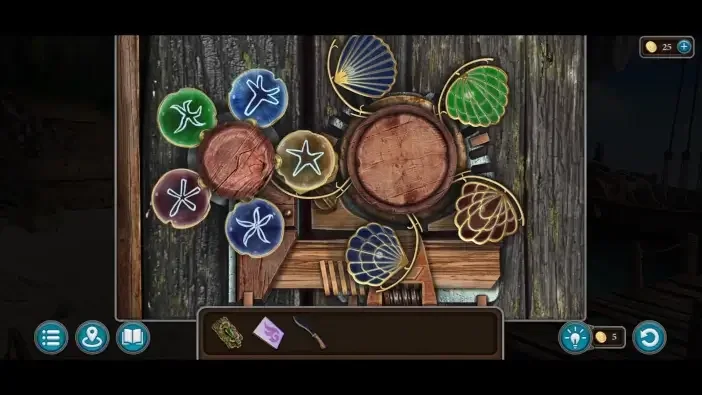
7Beach Door Symbol Puzzle
Where: Lock on the wooden shed at the far end of the Al Karankah beach.
You need: Button · Symbol clue revealed on the shore rock with the machete
Open the symbol mechanism on the beach door.
8Cliff Climbing Puzzle
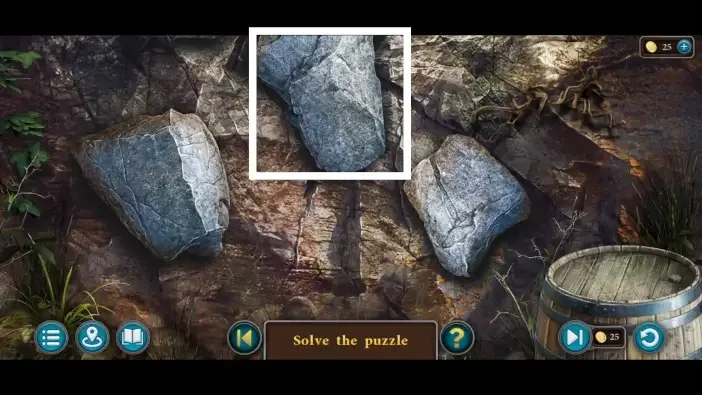
Where: Rock cliff at the end of the beach, using the climbing picks.
You need: Climbing picks
Choose the climbing route up the cliff.
Show the full solution
Choose protruding rocks one level at a time to climb; a wrong choice restarts the climb.
9Courtyard barred doorway Puzzle
Where: Barred doorway of the central building in the manor courtyard.
You need: Stone ring from the stone head, brought by clearing roots and turning the valve
Remove the bars from the courtyard doorway and collect the cord from the pedestal.
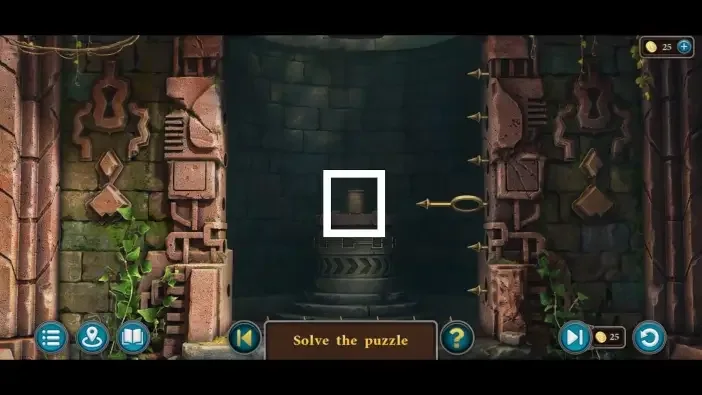
Show the full solution
Slide each bar down or to the right in the correct order, starting with the vertical bar on the right, then take the cord inside.
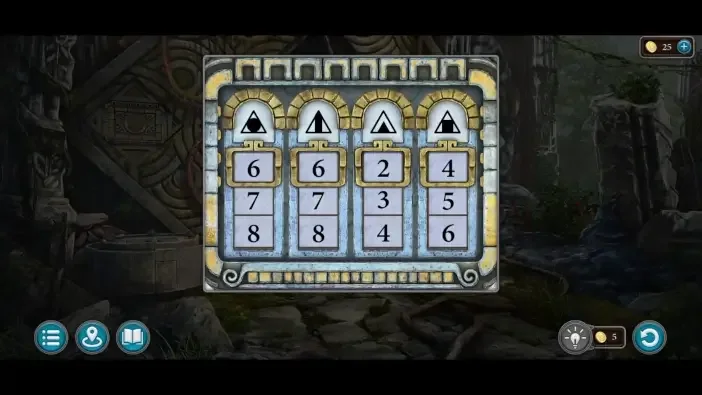
10City Gates First Shapes Puzzle
Where: Right-hand panel of the city gate, fitted with the first head emblem.
You need: Head emblem
Complete the first shapes board at the city gates.
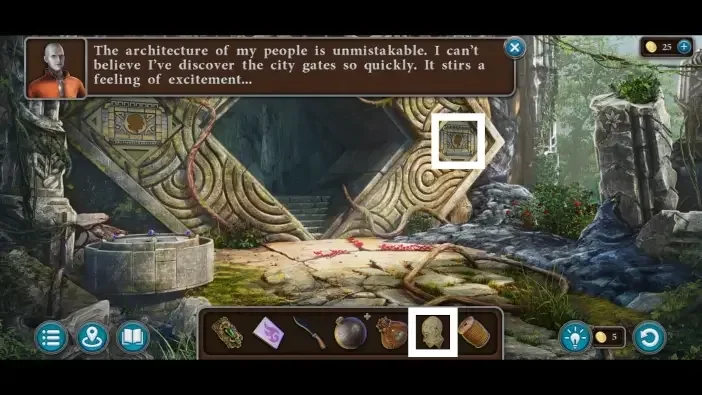
Show the full solution
Zotuf states the entered code is 8433, matching the counts of the clue shapes.
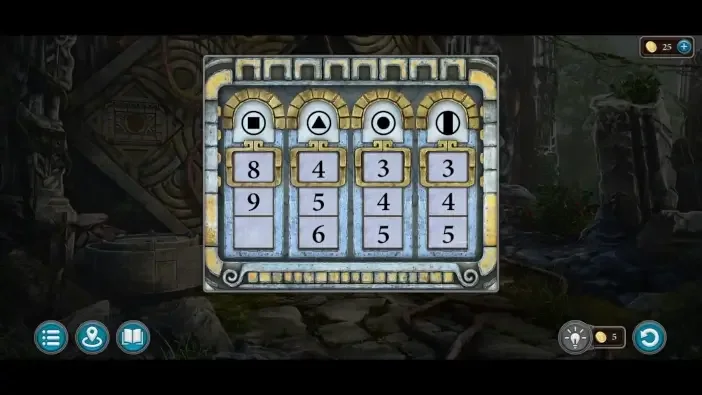
Variants: AppGamer and Play Games Wiki say the counts can differ per playthrough.
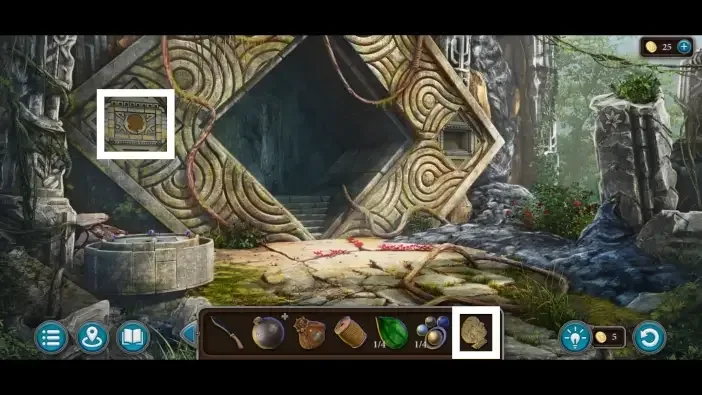
11City Gates Second Shapes Puzzle
Where: Left-hand panel of the city gate, fitted with the second head emblem.
You need: Second head emblem
Continue with the second shapes board at the city gates.
Scene 03
Power the square and park route
Use the rotating grids and beach column, then open the southern square gate and park symbol lock. Complete both hands and the solar collector.
12Rotating Grids Puzzle
Where: Oval floor panel in the gateway corridor, once the wall is lit and the stone ring is placed.
You need: Stone ring · Matches
Rotate the grids at the matching mechanism.
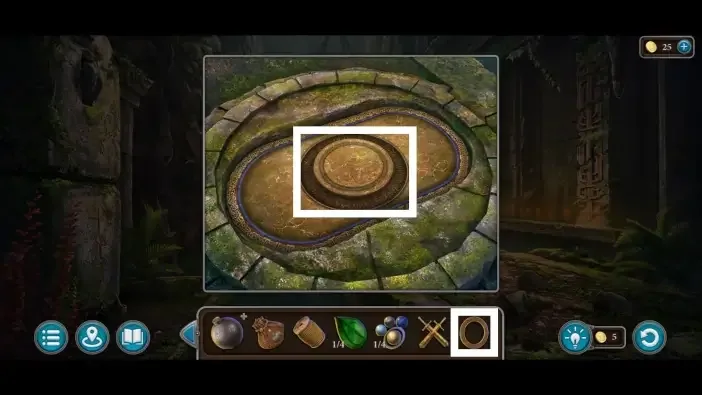
Show the full solution
Program a rotation sequence, run the ball across the first board into the centre, then repeat to cross the second board to the hole.
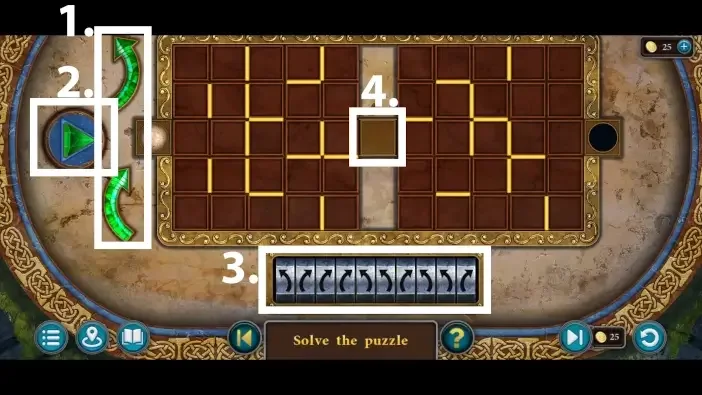
Variants: Boards can differ per playthrough.
13Beach Stone Column Puzzle
Where: Stone pillar standing in the water near the landing beach.
You need: Seahorse 1 of 2 · Seahorse 2 of 2
Inspect the stone column on the beach and complete its board.
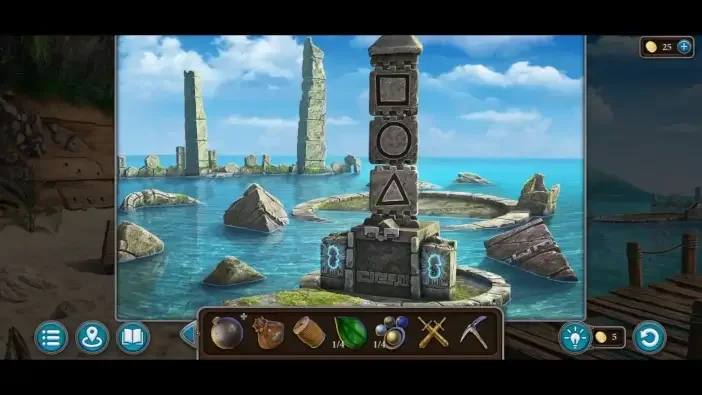
Show the full solution
Set the sections to square, circle and triangle from top to bottom, matching the pattern hidden inside the left city-gate panel.
14Southern Square Gate Puzzle
Where: Gate at the top of the steps in the southern square, after replacing the broken gear.
You need: Gear
Open the gate mechanism leading to the southern square.
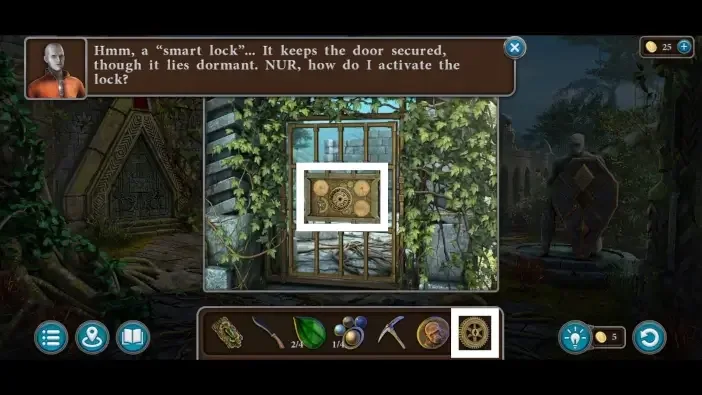
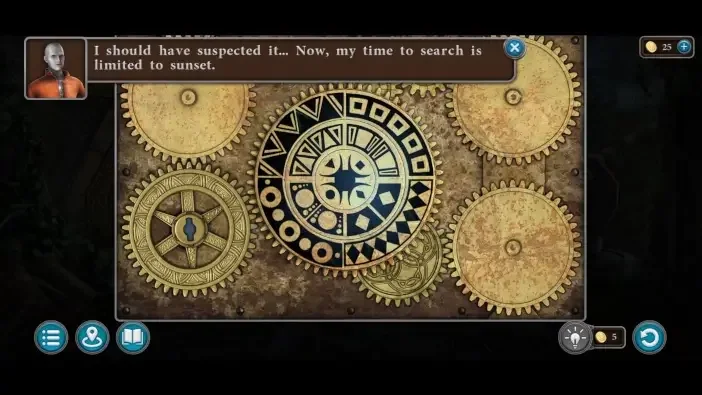
15Park gate symbol lock
Where: Lock mechanism on the gate at the far side of the park district.
You need: Clue cleaned from the plaque on the pillar in the Alley of Light using wine vinegar and a cloth
Open the symbol lock at the park gate before returning to the hand and solar mechanisms.
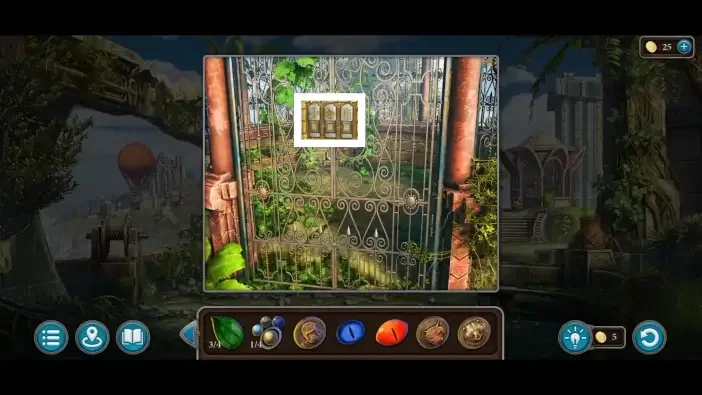
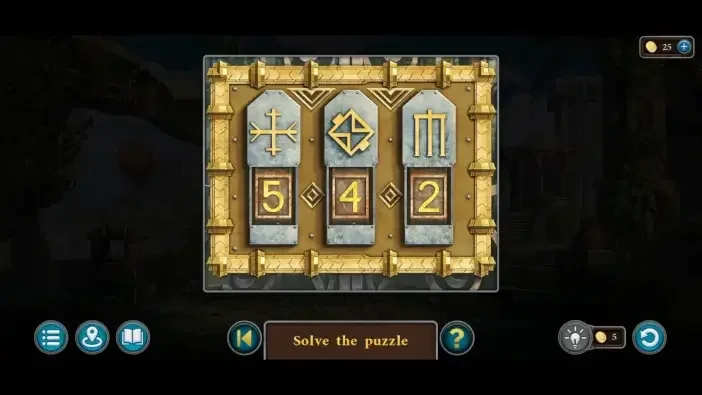
16Kainbekh Left Hand Puzzle
Where: Device in the palm of the left stone hand at the Kainbekh temple.
You need: Orange Eye
Complete the mechanism in Kainbekh’s left hand.
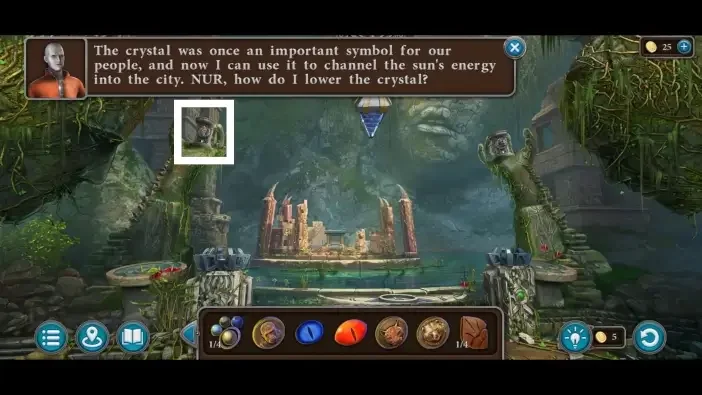
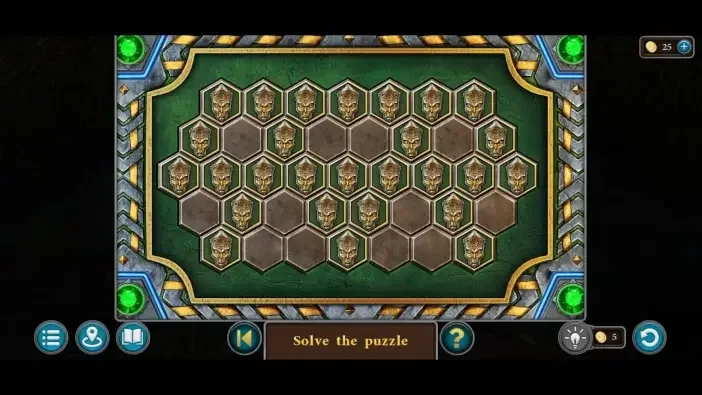
17Kainbekh Right Hand Puzzle
Where: Device in the palm of the right stone hand at the Kainbekh temple.
You need: Blue Eye
Complete the separate mechanism in Kainbekh’s right hand.
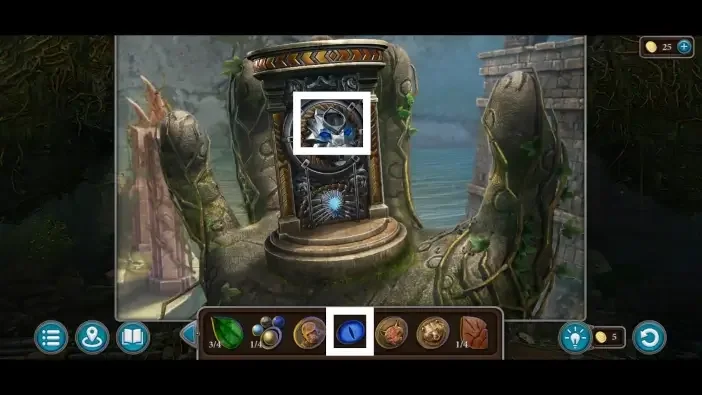
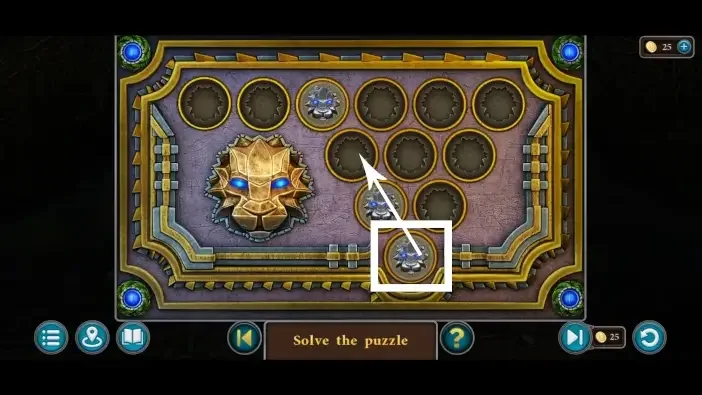
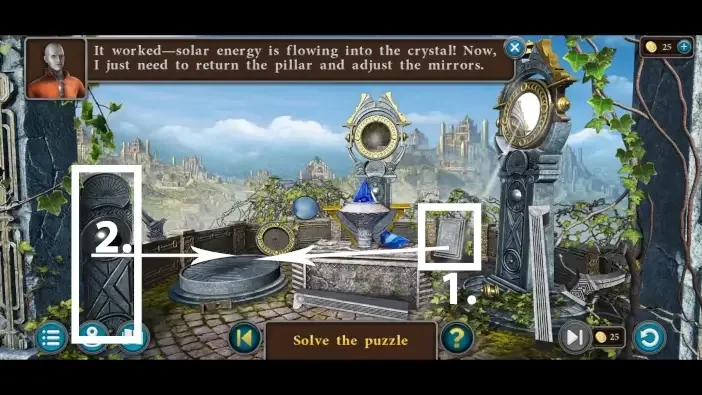
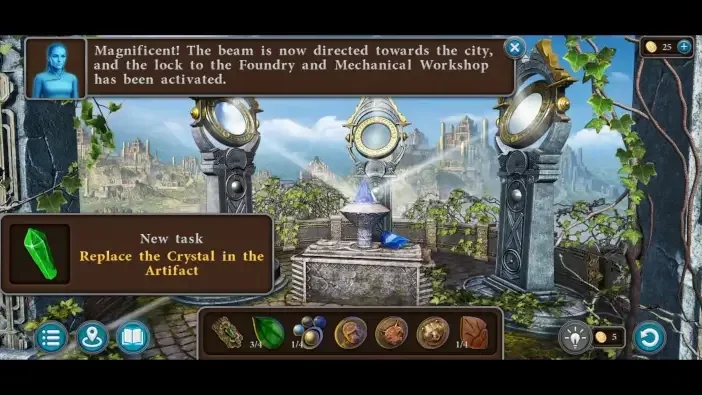
18Solar Collector Pillar Puzzle
Where: Solar collector in the Alley of Light, after the energy crystal is set in its holder.
You need: Energy Crystal
Use the solar collector pillar to continue restoring the city’s power.
Scene 04
Enter the workshop and explore underwater
Open the powered door and inspect the safe. Use the emerald leaves before the diving triangle and neocube.
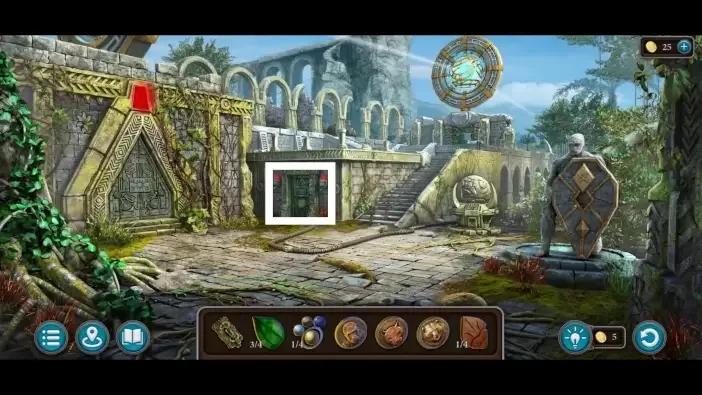
19Southern Square Powered Door Puzzle
Where: Door left of the steps in the southern square, once the city has power.
You need: Restored solar power
Open the powered door in the southern square to reach the workshop.
Show the full solution
Drag the nodes to free positions until every connecting line is green, with no crossings.
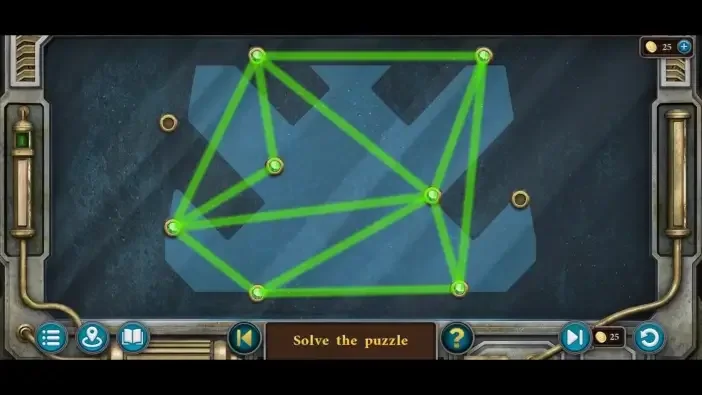
Variants: Node layout can differ per playthrough.
20Workshop Safe Puzzle
Where: Stone safe on the workshop back wall, a three-symbol combination lock.
You need: Clue revealed by clearing the leaves from the gateway corridor pond with the net
Inspect the workshop safe and compare it with the pond clue in the gateway corridor. Its text combination remains unconfirmed.
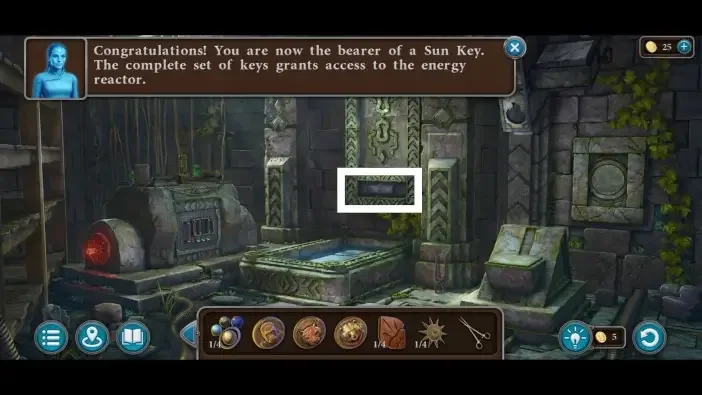
We could not confirm a solution for this one yet, so there is nothing to spoil here.
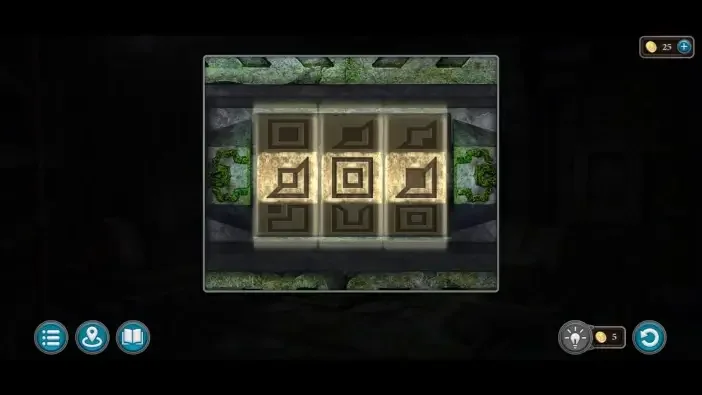
21Forest Ruins Emerald Leaves Puzzle
Where: Stone block on the right of the steps at the forest ruins crossroad.
You need: Emerald Leaf 1 of 4 · Emerald Leaf 2 of 4 · Emerald Leaf 3 of 4 · Emerald Leaf 4 of 4
Use the emerald leaves at the forest ruins mechanism.
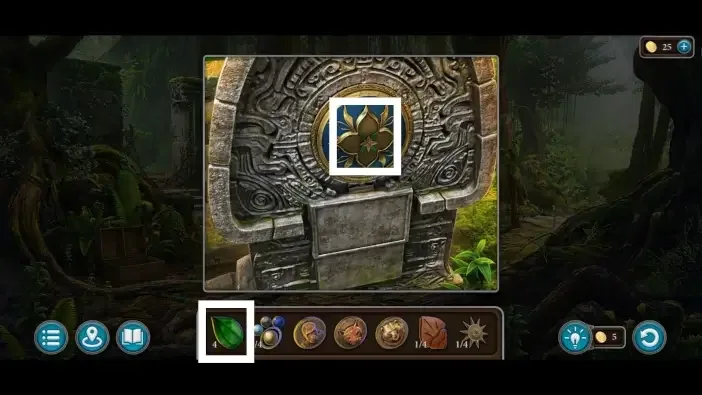
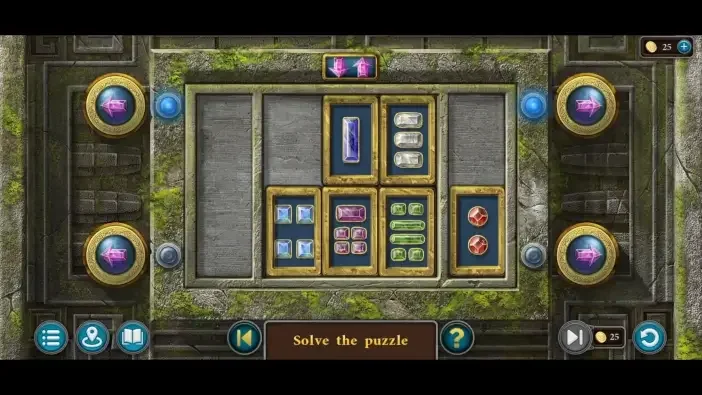
22Diving Triangle Puzzle
Where: Underwater area of the courtyard pool, after wearing the diving helmet.
You need: Diving Helmet
Complete the triangle mechanism during the diving route.
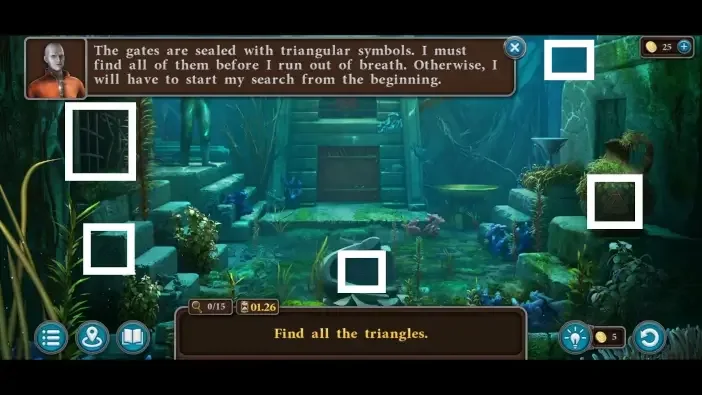
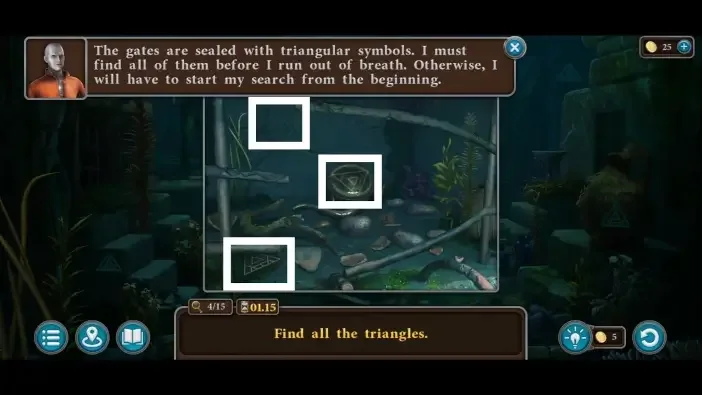
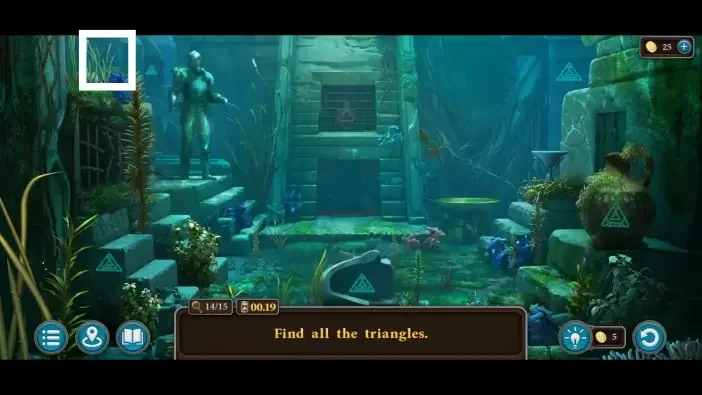
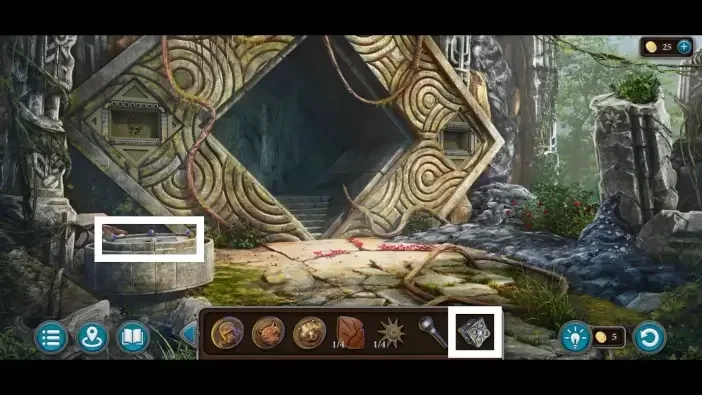
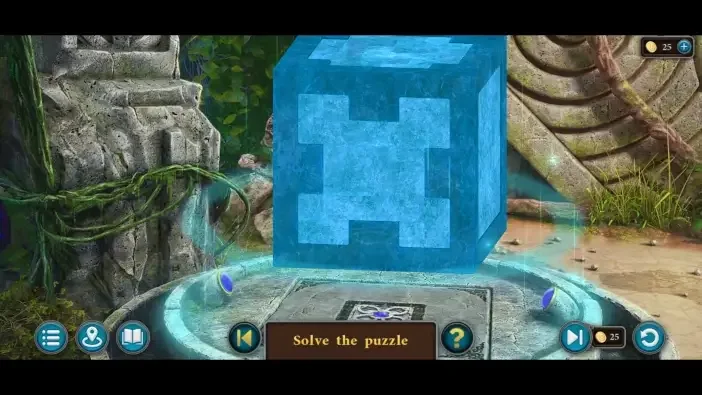
23Neocube Puzzle
Where: Round pedestal at the city gate, fitted with the neocube.
You need: Neocube
Use the neocube at its matching board.
Scene 05
Prepare the flask and restore the reactor route
Complete the flask and medallions, then the fish and table mechanisms. Use the sun key before restoring the reactor controls.
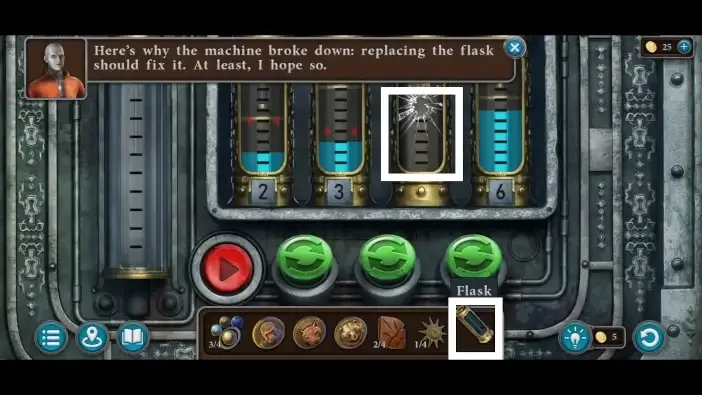
24Workshop Flask Puzzle
Where: Lower front of the artifact machine in the workshop, using the replacement flask.
You need: Flask
Prepare the workshop flask at its mechanism.
Show the full solution
Pour and swap until the three flasks marked with red arrows are filled exactly to their marks.
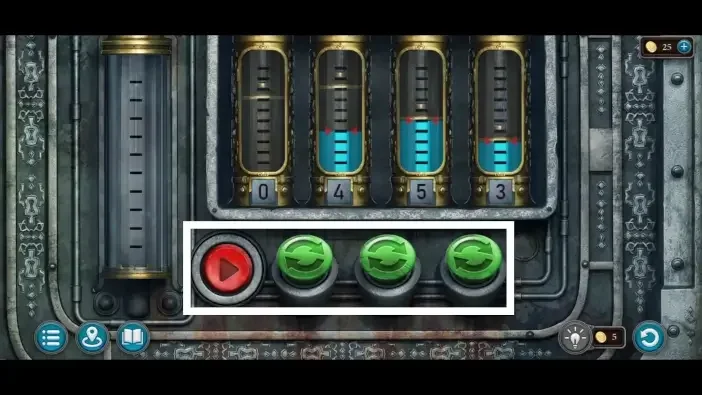
Variants: Markings and starting liquid amounts can differ per playthrough.
25Medallions Puzzle
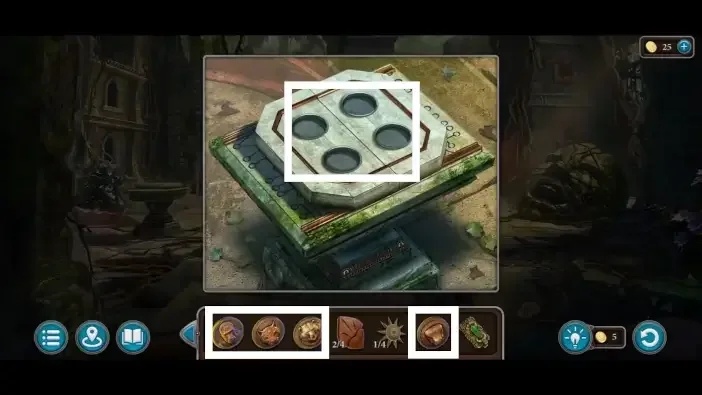
Where: Small table on the left of the courtyard with the stone head, using four animal medallions.
You need: Gorilla medallion · Puma medallion · Bear medallion · Snake medallion
Fit the medallions and complete the linked boards in sequence.
Show the full solution
Steer the knight until every animal piece is cleared from the board, then take the fourth planet and the last iron petal.
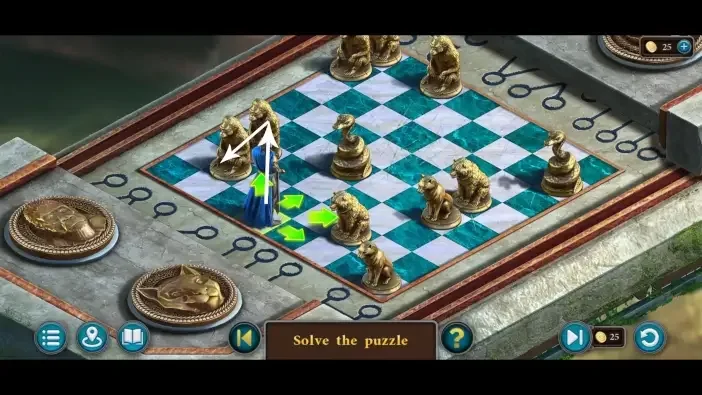
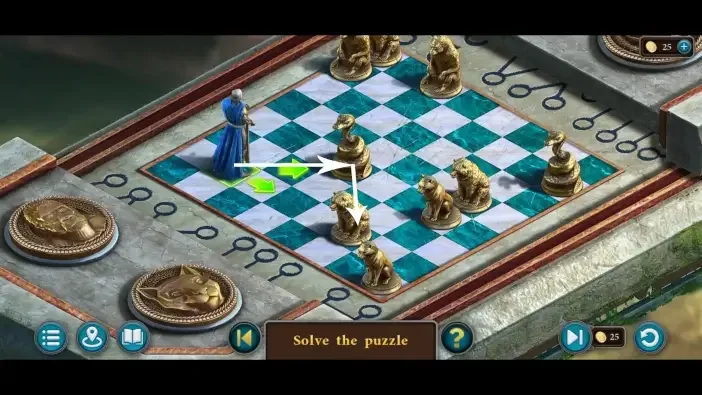
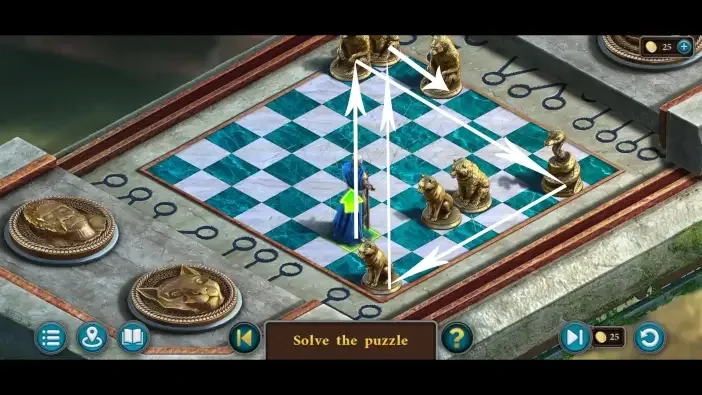
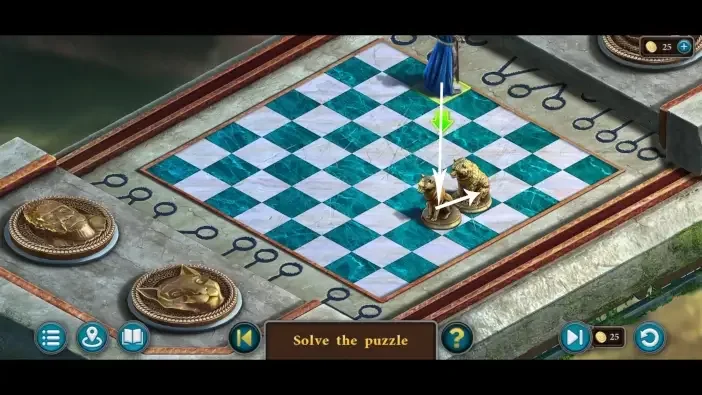
Variants: Board layout can differ per playthrough.
26Kainbekh Fish Puzzle
Where: Mosaic circle on the floor at the top of the Kainbekh steps, fitted with the fish item.
You need: Fish item · Clue seen inside the park vase
Use the fish clue at Kainbekh’s fish mechanism.
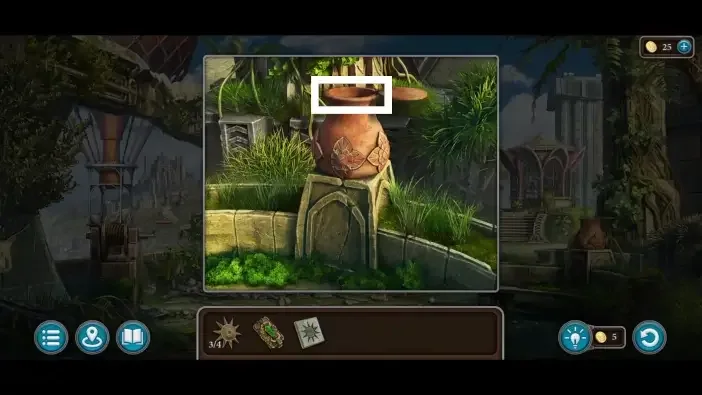
Show the full solution
Connect the buttons in the order shown by the clue found inside the park vase.
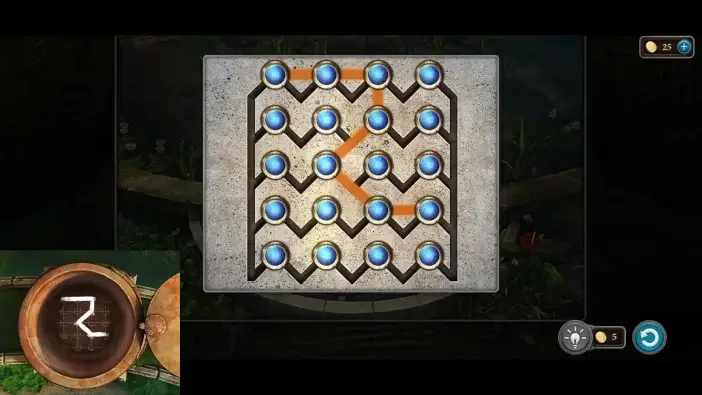
Variants: Pattern can differ per playthrough.
27Kainbekh Table Puzzle
Where: Pedestal reached after the fish mosaic puzzle, started with the red button on the table.
You need: Red button on the Kainbekh pedestal
Complete the mechanism on Kainbekh’s table.
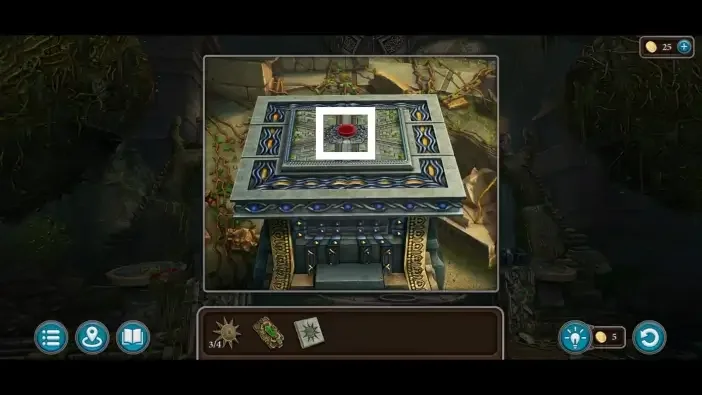
Show the full solution
Move the four flowers to their matching slots, sometimes pushing one flower with another.
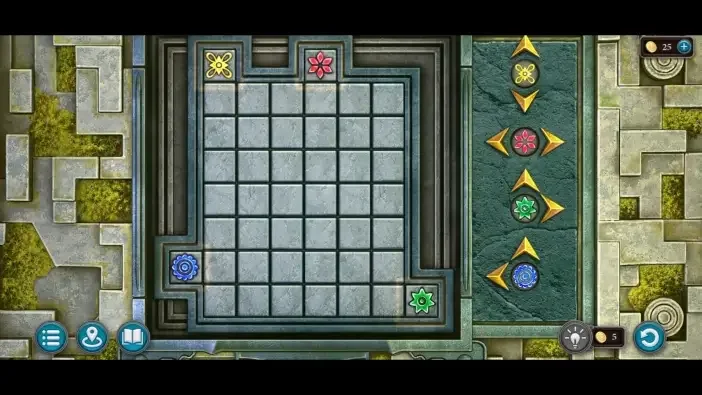
Variants: Layout varies per playthrough.
28Sun Key Door Puzzle
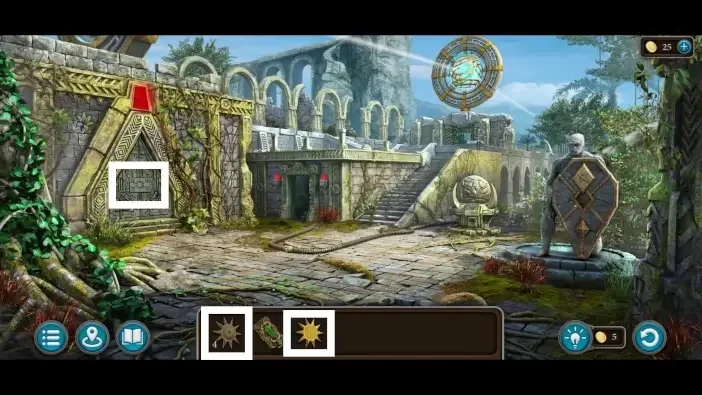
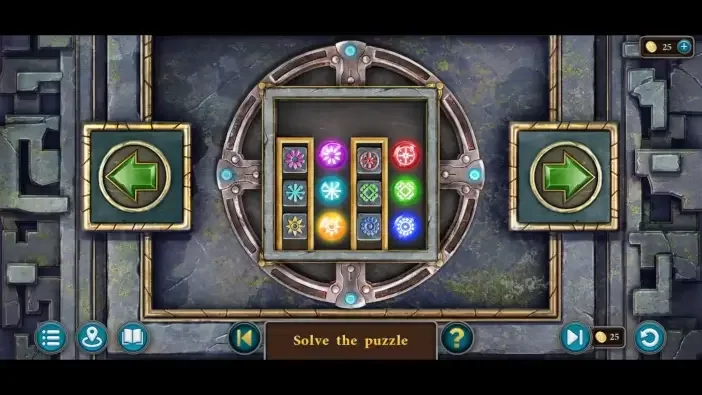
Where: Triangular reactor door in the energy district, unlocked with the four small sun keys plus the forged big one.
You need: Small Sun Key 1 to 4 of 4 · Big Sun Key
Use the sun keys to open the reactor-room door.
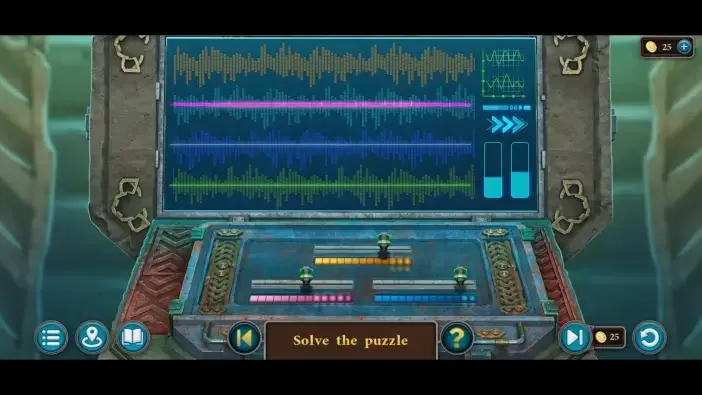
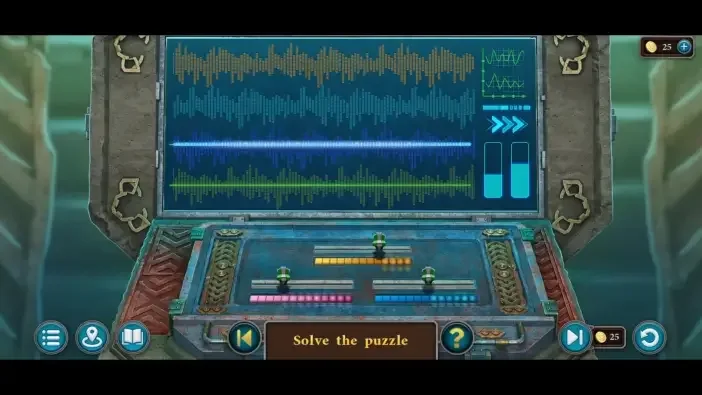
29Reactors Hall Control Panel Puzzle
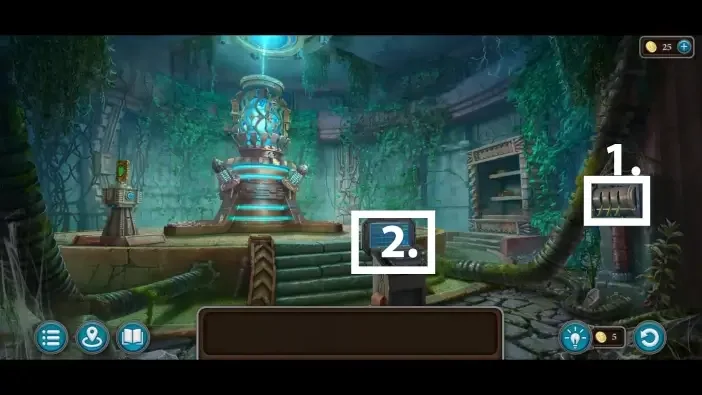
Where: Control panel in the centre of the reactors hall, after the fuse is replaced.
You need: Replacement fuse · Control Glove · Lightning item
Restore the reactor control panel one stage at a time.
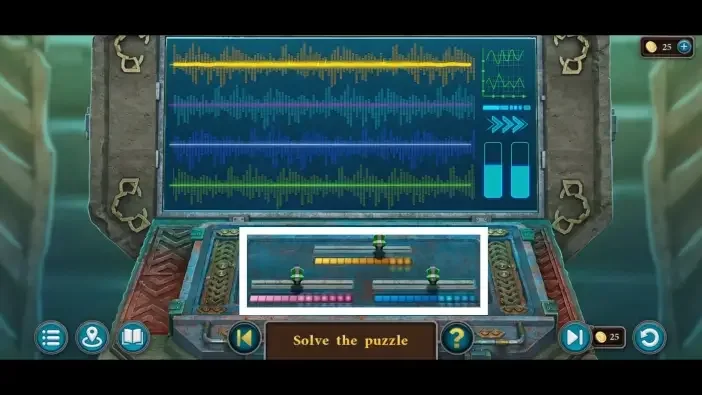
Show the full solution
Slide the three controls under each line until the yellow, pink, blue and green lines are flat and steady, then take the charged artifact.
This guide covers the researched puzzle stops. Some connecting exploration and item pickups are still being documented.
Collectibles along the way
- Lilies · 6 in this chapter (as stated by sources) — All six give the Florist achievement; they hang in Egil's courtyard above the oven, the suburb crossroad wall, the city gate, the energy district wall, the Alley of Light floor and the park.
- Runes · 9 in this chapter (as stated by sources) — All nine give the Explorer achievement; found in Egil's house, the well area, the docks, the isle beach sand, Kainbekh, the manor area, the city-centre hallway pool, the workshop shelf and the reactors room.
- Morphing Objects · 15 in this chapter (as stated by sources) — Objects 16 to 30 of the 45 in the game; they alternate between two appearances when a scene is watched.
- Manuscripts · 4 in this chapter (as stated by sources) — Four lore documents in this chapter: under Egil's trapdoor, inside the isle shed, in the Kainbekh pedestal drawer and in the reactors room wall compartment.
Open the Legendary Tales 5 collectibles checklist to tick items off as you play.
Commonly missed
- Morphing objects on distant scenery, such as the ship far off the isle beach and the tree in the energy district.
- Lily on the wall of the energy district next to the reactor room door, on a wall players pass quickly.
- Rune in the left pool of the city-centre hallway, which is covered until the net clears the leaves.
- Rune under the levers in the reactors room, located after the chapter's final puzzle.