Legendary Tales 5 Chapter 1 Walkthrough – Secret of the Island
Legendary Tales V. Price of Power · last updated 2026-10-15
Chapter overview and locations
Lucia and Ulf live on the refuge island of Ultima Lapis, protected from the witches by an artifact and by totems. She sets out to wake the ancient Drevolets and to open the Gmuri seal on the mountain so she can reach the catacombs. After a maze of trials she takes the artifact, is trapped by Xorhi monsters and finally carries the artifact out of the mine.
Scenes in this chapter: Camp / settlement, Lucia and Ulf's tent, stables · Stone monument with green crystal · Northern road and broken bridge · Beach with the ruined boat, siren statue · Waterfall area and wooden hut · Wooden cabin interior, cellar steps, attic · Watchtower on the upper path · Lake/pond area where Drevolets sleeps (Skimroot) · Magical forest and Radictis's nook · Cave behind the siren statue (treasury) · Altar room at the camp · Passage and door behind the waterfall · Catacombs hallway, puzzle room, flooded hall, orb room, Xorhi nest · Nine-key labyrinth inside the catacombs · Lava river cave with chasm and broken bridge · Artifact room
Step-by-step walkthrough
Follow the scenes below. Required items and screenshots sit beside each stop; answers expand on request. Select a screenshot to enlarge it.
Jump to a scene · 5 sections
Scene 01
Cross the bridge and follow the first stones
Start with the butterfly token and bridge chest. Use the green and purple stones at their own symbol boards.
1Butterfly Token Puzzle
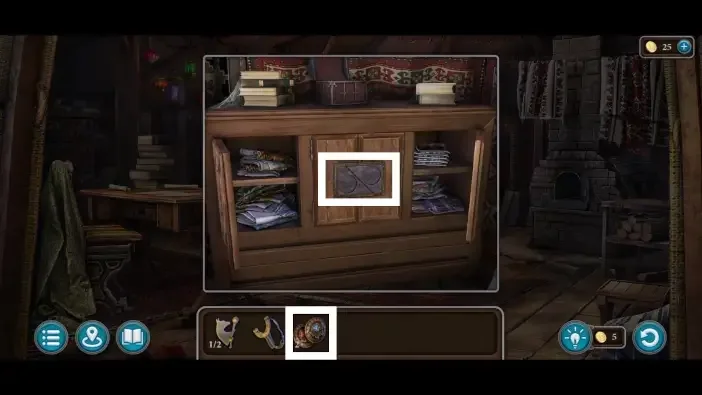
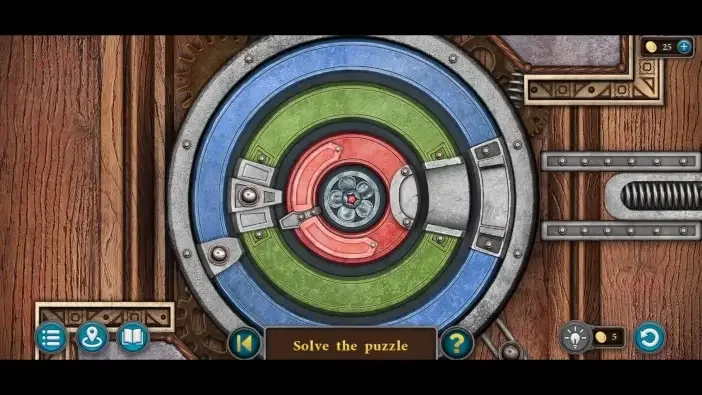
Where: Locked cupboard in Lucia and Ulf's tent, after opening the trapdoor and the stove door.
You need: Token with Butterflies 1 of 2 · Token with Butterflies 2 of 2
Fit both butterfly tokens to the cupboard door, then turn the rings to connect the grey lock bar.
2Bridge chest lock
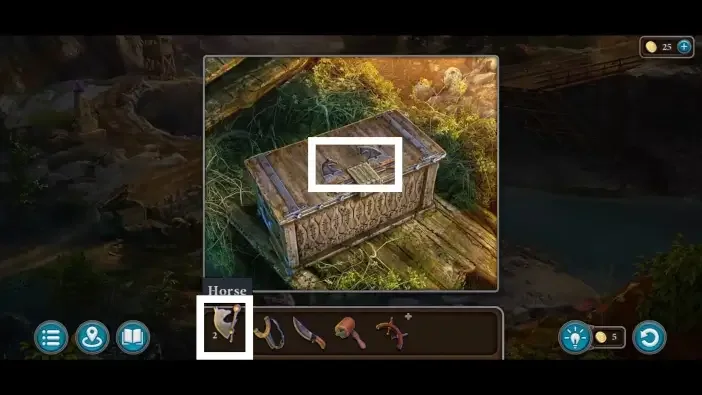
Where: Chest on the ground at the left of the broken bridge.
You need: Horse-shaped piece 1 of 2 · Horse-shaped piece 2 of 2
Use the bridge chest lock to continue along the opening route.
Show the full solution
Place both horse-shaped pieces in the chest to open it for the wire cutters and the first shell.
3Green Stone Symbol Puzzle
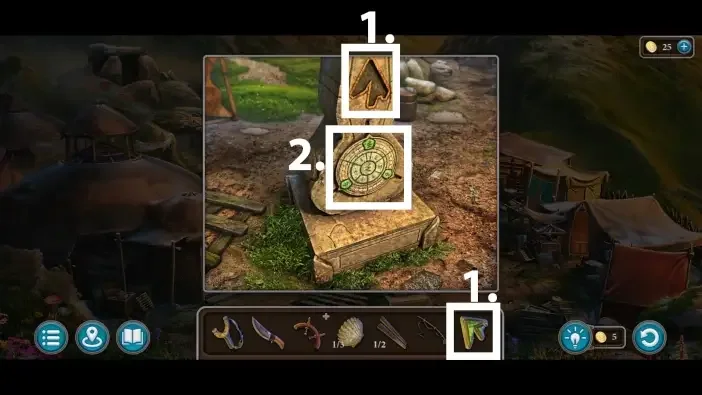
Where: Stone monument with a green crystal, in the camp.
You need: Green stone symbol
Use the green stone at its symbol board and match the coloured rays with the rune stones.
Show the full solution
Use the inner arrows to rotate rays and the outer arrows to swap them, so each ray joins the matching colour rune.
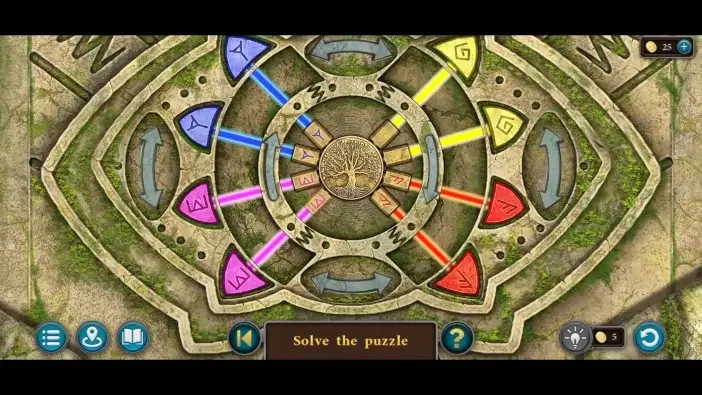
Variants: Starting ray layout can differ per playthrough.
4Purple Stone Symbol Puzzle
Where: Stone monument with a purple crystal, by the broken bridge.
You need: Purple stone symbol
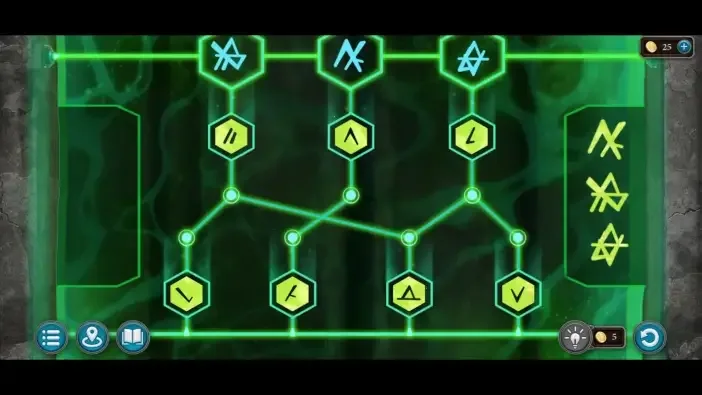
Use the purple stone at the hexagon board and mark its path.
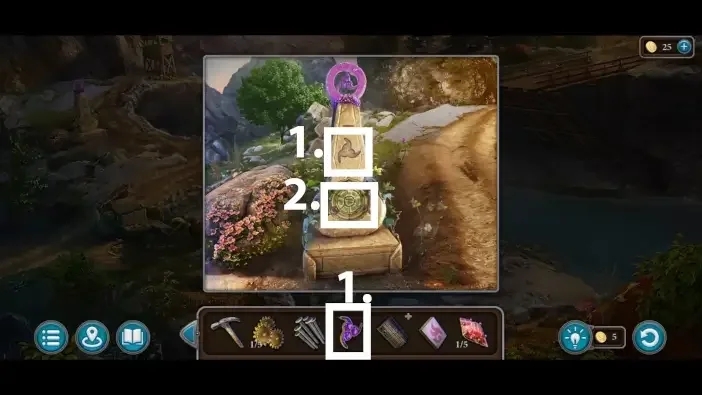
Show the full solution
Send the rune in different directions until all empty hexagons are filled without getting stuck.
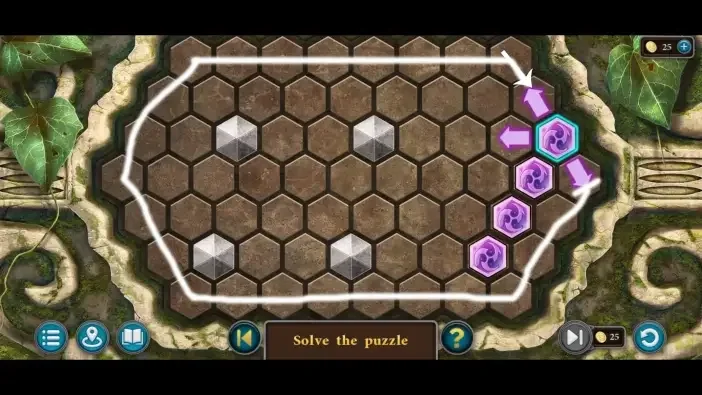
Variants: Board layout can differ per playthrough.
Scene 02
Search the forest and open the treasury
Complete the nook basket and bee mechanisms, then use the shells to reach the treasury search scene.
5Nook Basket Puzzle
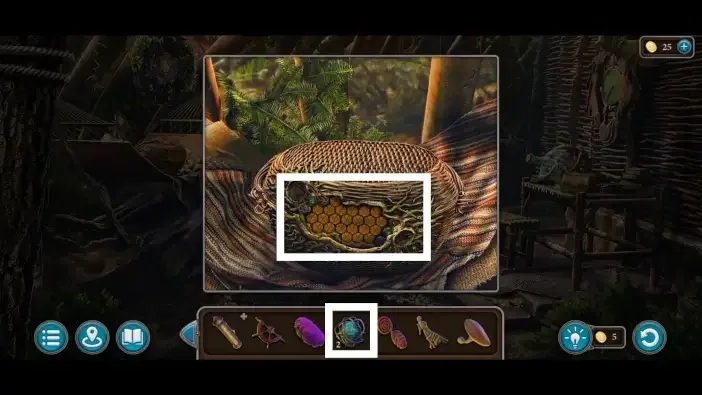
Where: Basket above the hammock in Radictis's nook.
You need: Wrapped stone 1 of 2 · Wrapped stone 2 of 2
Use the basket mechanism in the nook.
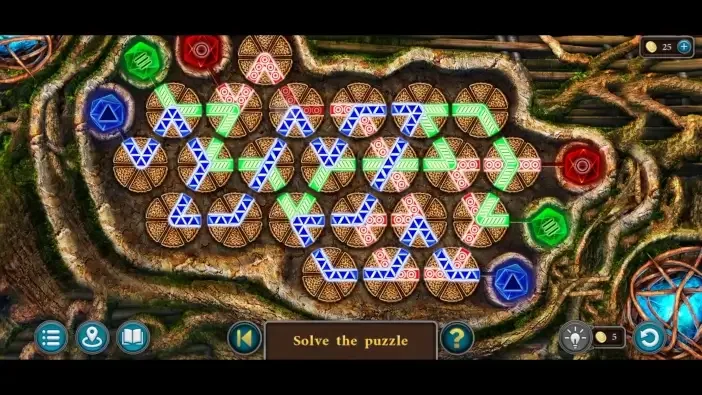
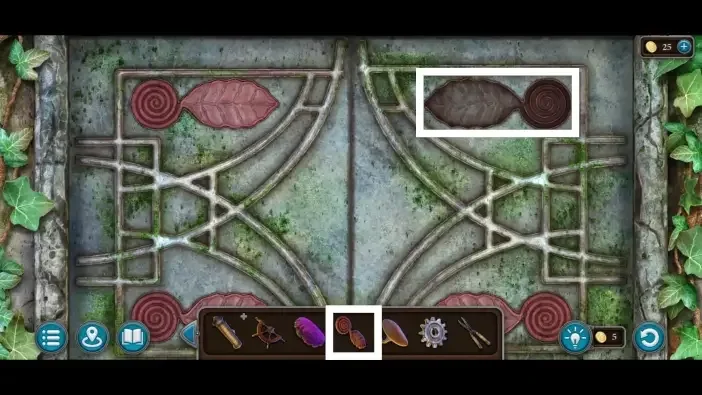
6Forest Bee Puzzle
Where: Stone plinth by the lake, activated with the leaf.
You need: Leaf
Complete the bee mechanism in the forest.
Show the full solution
Walk and rotate the bee onto the blue flower, keeping it off the rocks because each rock landing costs one of five lives.
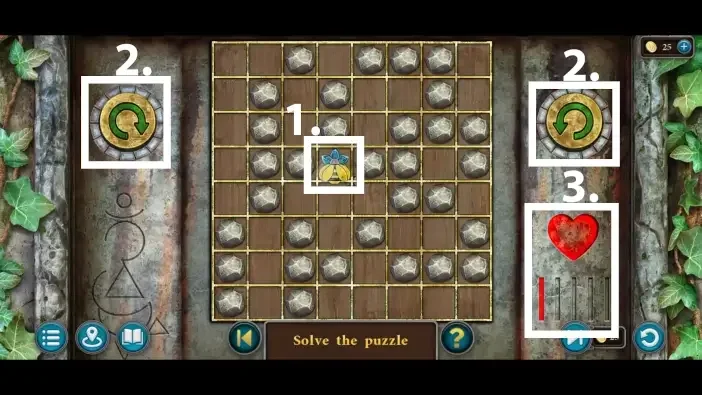
Variants: Stone layout can differ per playthrough.
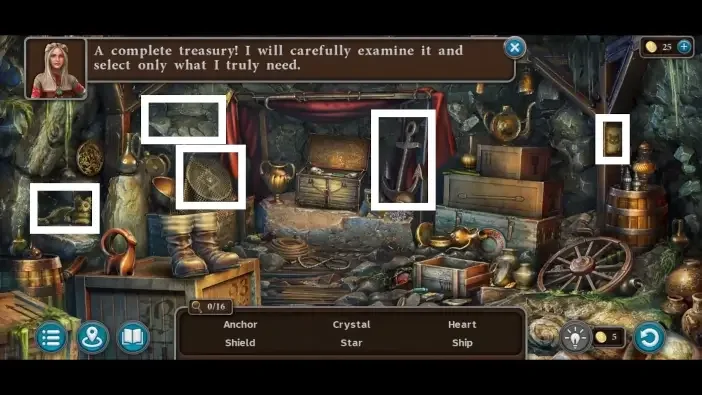
7Three Shells Puzzle
Where: Base of the siren statue on the beach, reached with the three shells.
You need: Shell 1 of 3 · Shell 2 of 3 · Shell 3 of 3
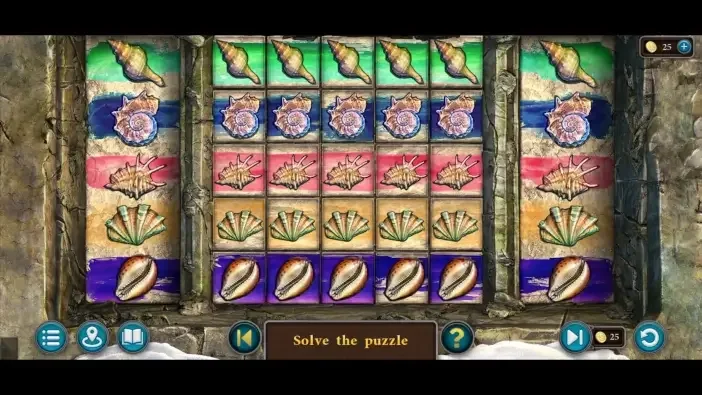
Fit the three shells to their matching mechanism.
Show the full solution
Slide the rows and columns until each grid row holds only the shell type shown beside that row.
Scene 03
Return through the ritual and altar
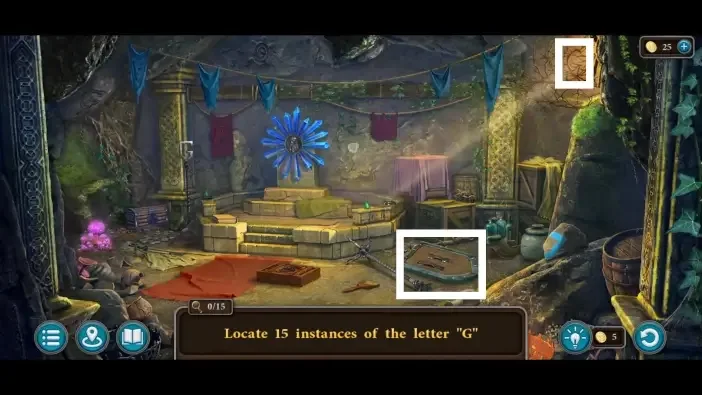
Follow the undersea picture and Gmuri ritual, then the shield and letter-G altar search.
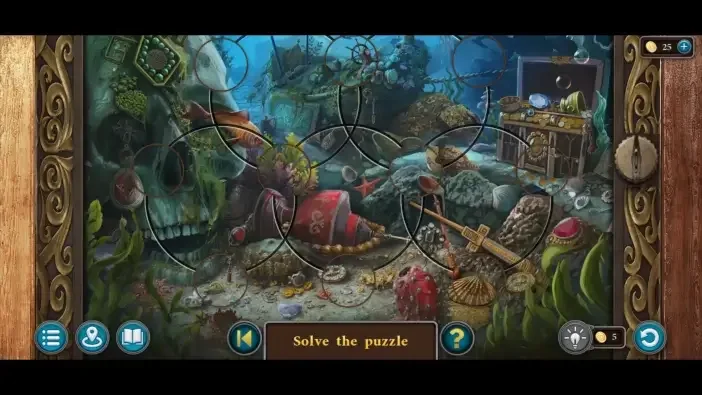
9Undersea Picture Puzzle
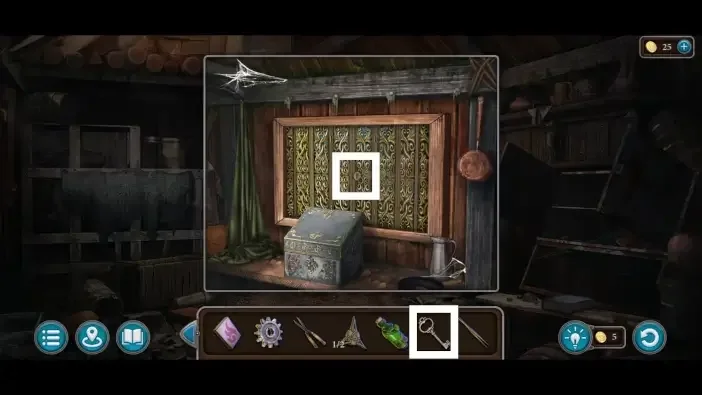
Where: Locked box on the shelf in the wooden hut at the waterfall.
You need: Key from the quartz box
Arrange the undersea picture at its matching board.
10Gmuri Ritual Puzzle
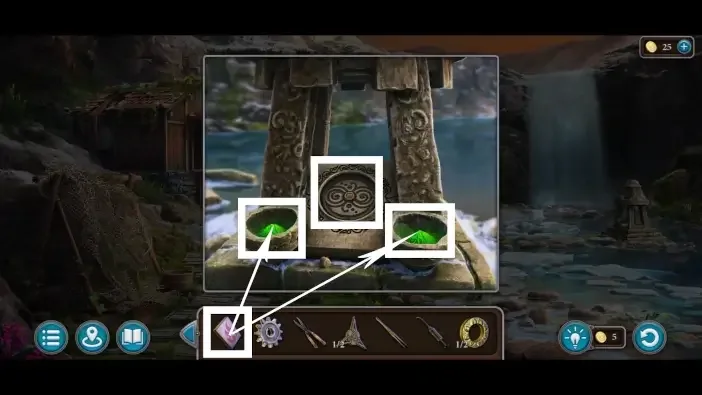
Where: Riverside shrine beside the waterfall, used once jade dust has been burned in its bowls.
You need: Jade dust · Matches · Clue pattern from the mossy rocks
Prepare the Gmuri ritual at its marked interaction.
Show the full solution
Tap circles so the six symbols around each tapped circle rotate clockwise until the grid matches the clue pattern.
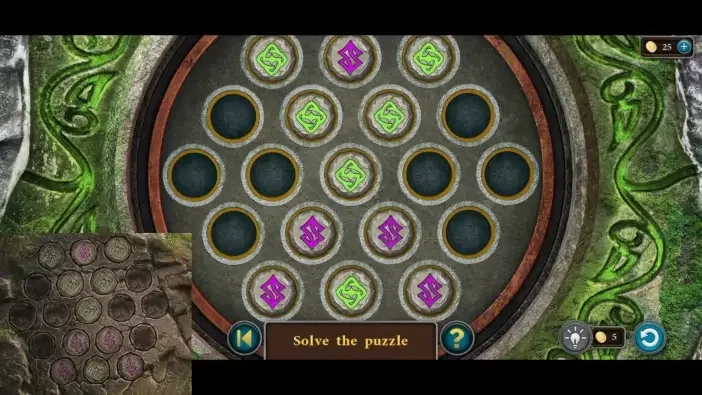
Variants: Clue pattern can differ per playthrough.
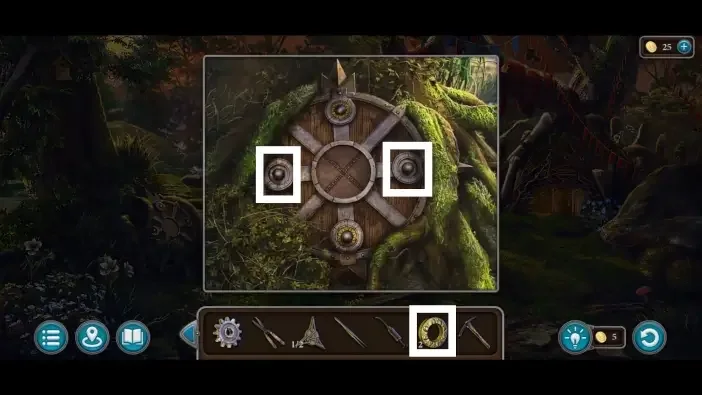
11Shield Puzzle
Where: Old shield at the foot of a tree in the magical forest, by Radictis's nook.
You need: Hoop 1 of 2 · Hoop 2 of 2
Use the shield at its matching board.
Scene 04
Enter the catacombs and follow the drawer clue
Open the catacombs doorway and search the room. Use the drawers and their clue before entering the labyrinth.
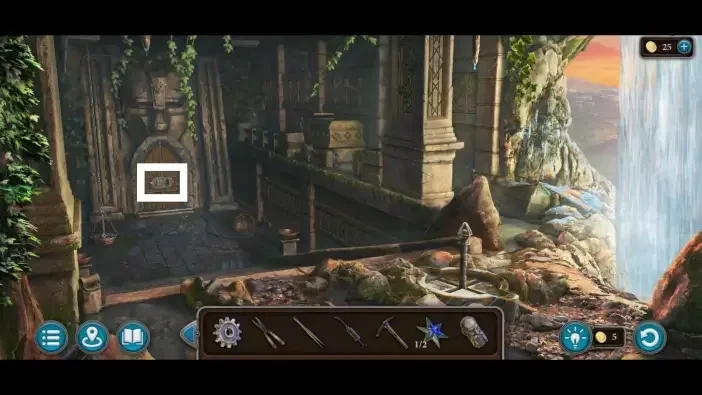
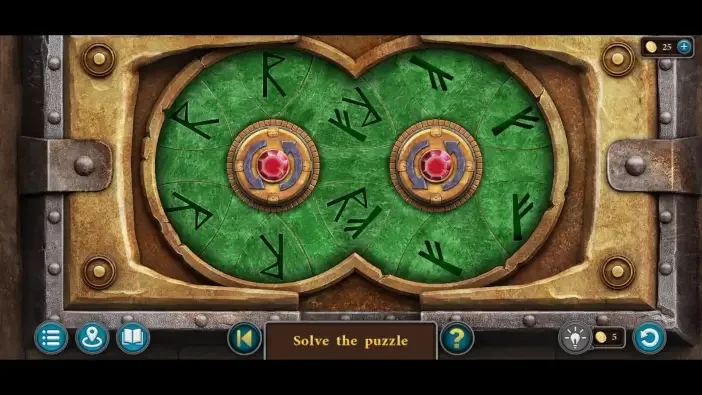
13Catacombs Doorway Puzzle
Where: Main door in the passage behind the waterfall, fitted with the bas-relief.
You need: Bas-relief from the altar room
Open the mechanism at the catacombs doorway.
14Catacombs item-finding room
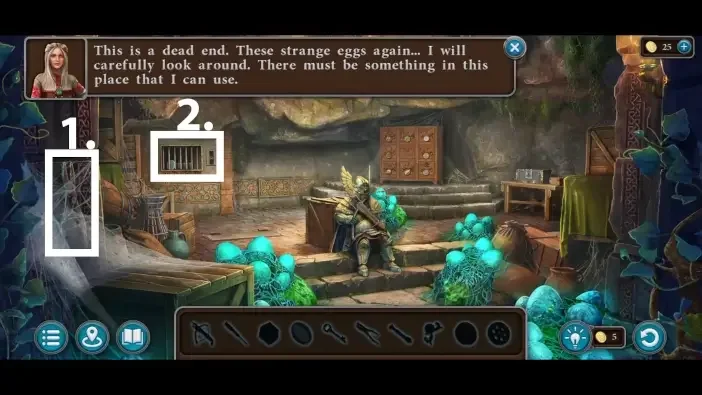
Where: First chamber up the overgrown steps in the catacombs, entered with the garden shears.
You need: Garden scissors to clear the doorway
Search the catacombs room for the objects on its item list.
Show the full solution
Collect the listed items in order: pliers, lens, lever, handle, key, screwdriver, crossbow, two details, emblem and finally the tile.
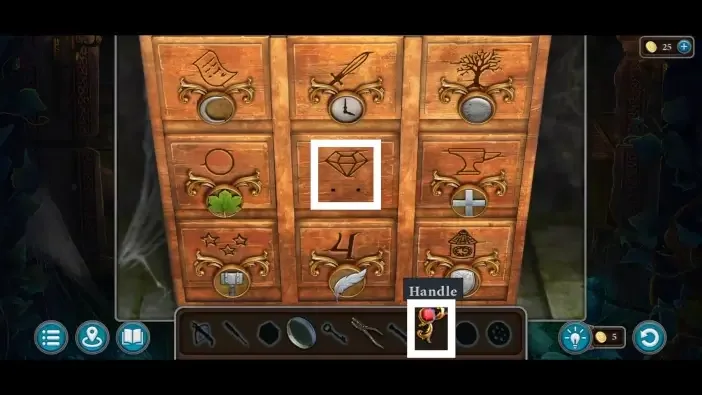
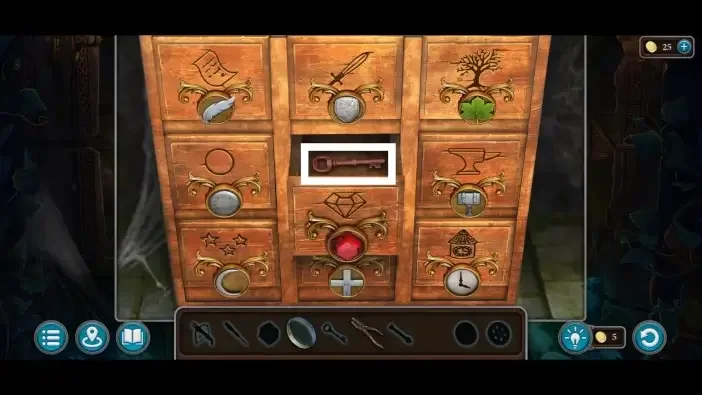
15Drawers Puzzle
Where: Tall chest of drawers in the rear corner of the catacombs item room.
You need: Handle
Inspect the drawers and complete their mechanism.
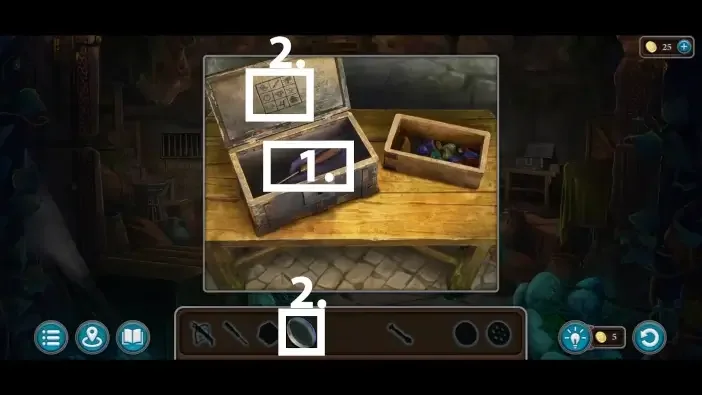
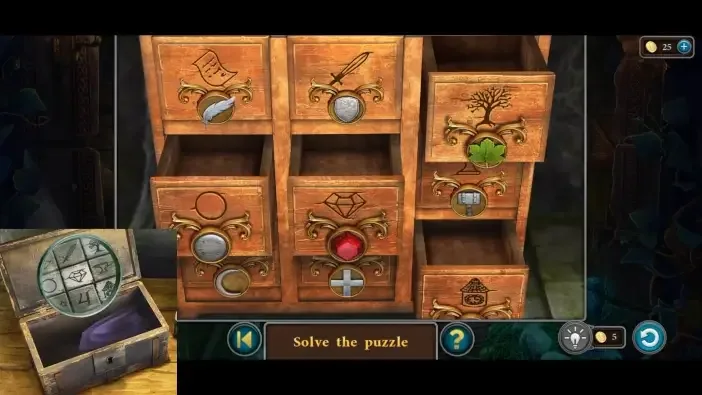
16Drawer-clue lock
Where: Hidden compartment behind the marked drawers in the catacombs item room.
You need: Key from the drawers puzzle · Pliers · Lens · Screwdriver
Use the drawer clue to open the matching lock.
Scene 05
Cross the labyrinth and finish the stone route
Work through the nine-key labyrinth, then the stone pattern, yellow gems and blue stone. Finish with the hearts, red stone and runes.
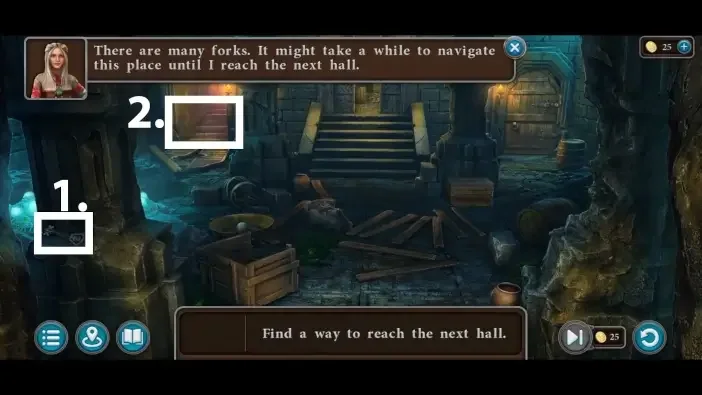
17Nine-key labyrinth
Where: Left path of the catacombs hallway, behind the gate opened with the tile.
You need: Nine keys
Collect and use the nine keys while navigating the labyrinth. Keep track of the passages you have opened.
Show the full solution
Search the branching rooms for all nine keys, then use them on the door with many locks.
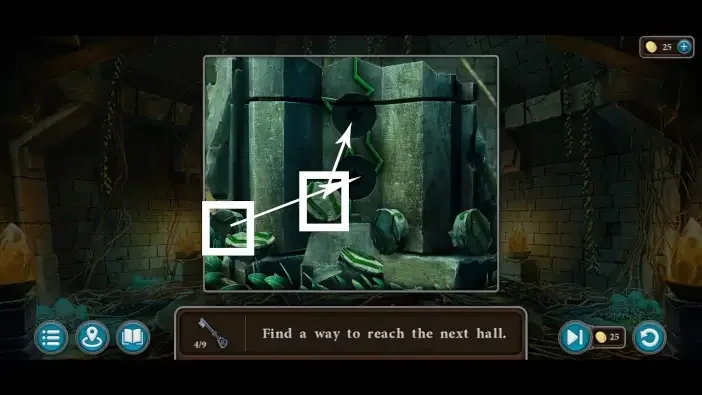
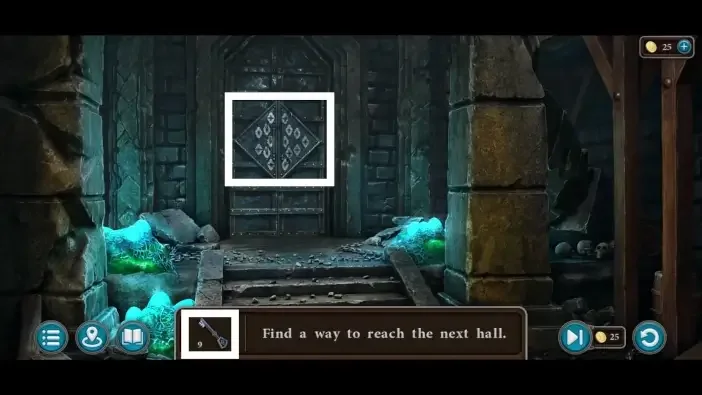
Variants: Key positions are not always the same per playthrough.
18Stone pattern puzzle
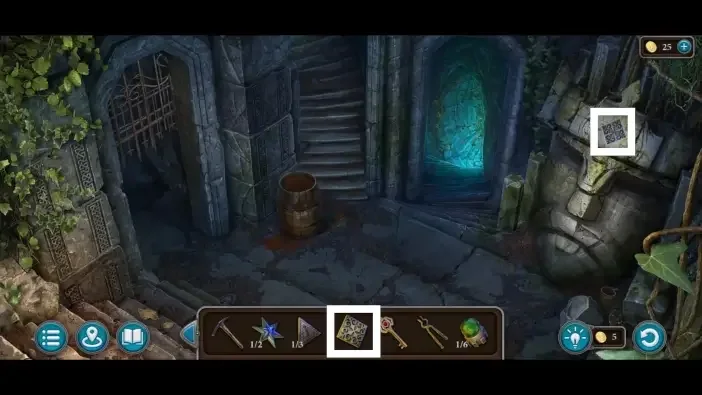
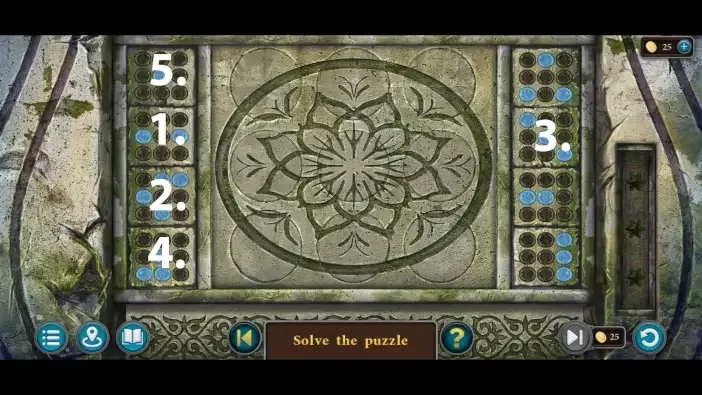
Where: Large face carved in the rock at the catacombs entrance room.
You need: Pattern taken from the gear mechanism
Compare the stone pattern with the matching board.
19Yellow Gems Puzzle
Where: Hammer held by the half-sunken statue in the flooded hall, activated with the two stars.
You need: Star 1 of 2 · Star 2 of 2
Fit both stars to the hammer, then move the gold gem to mark the circles.
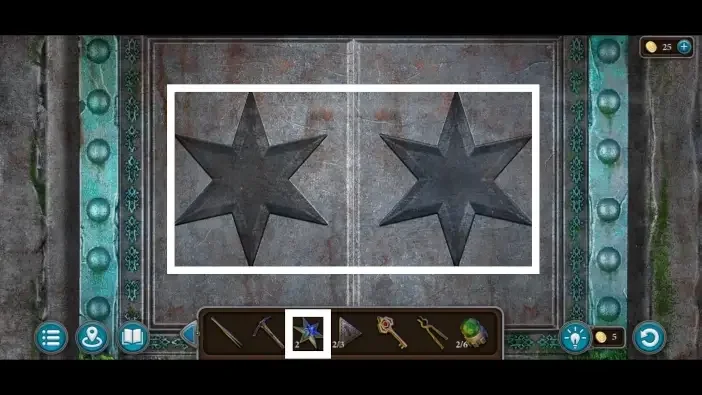
Show the full solution
Move the gems until every circle on the board is filled.
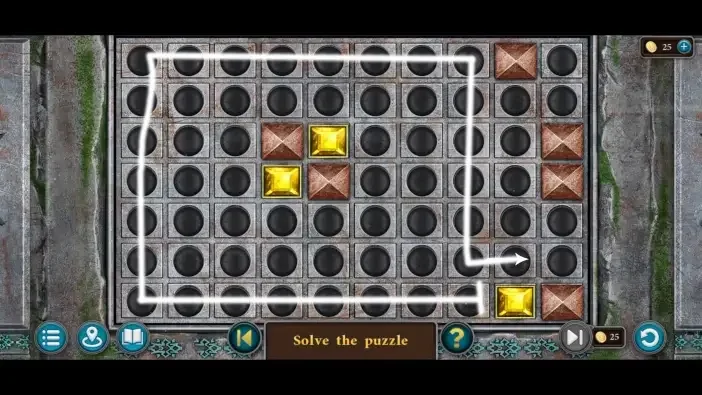
Variants: Board layout can differ per playthrough.
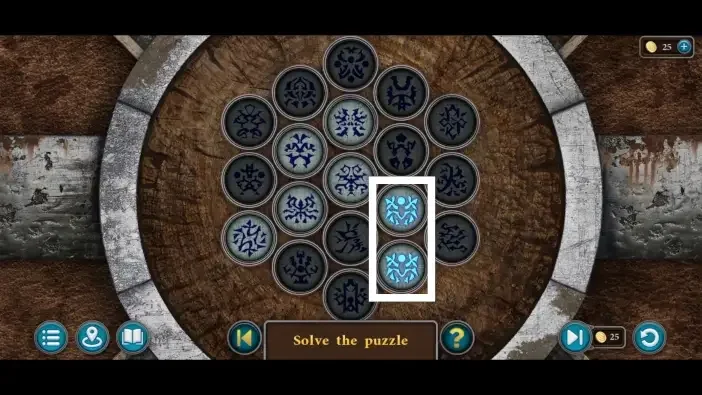
20Blue Stone Symbol Puzzle
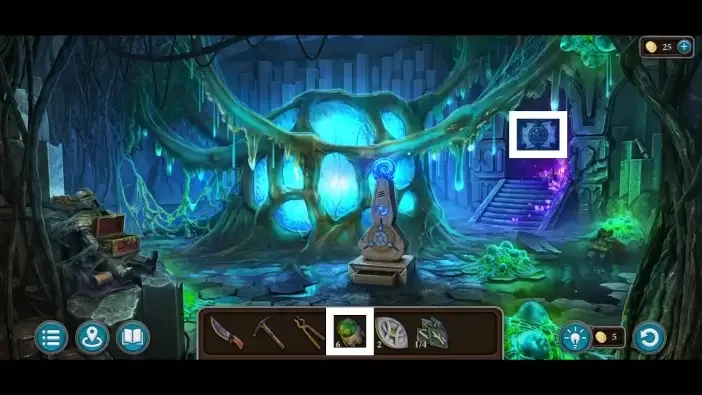
Where: Monument with a blue crystal in the room of the large glowing orb.
You need: Blue stone symbol
Use the blue stone at its symbol board.
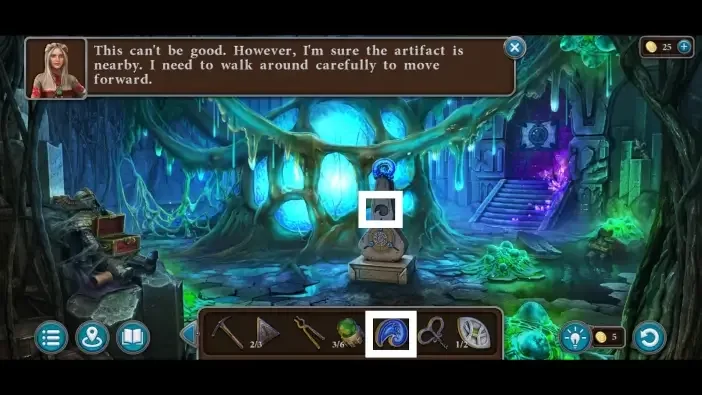
Show the full solution
Tap the runes in the right order to run the beam in straight lines through all of them to the exit.
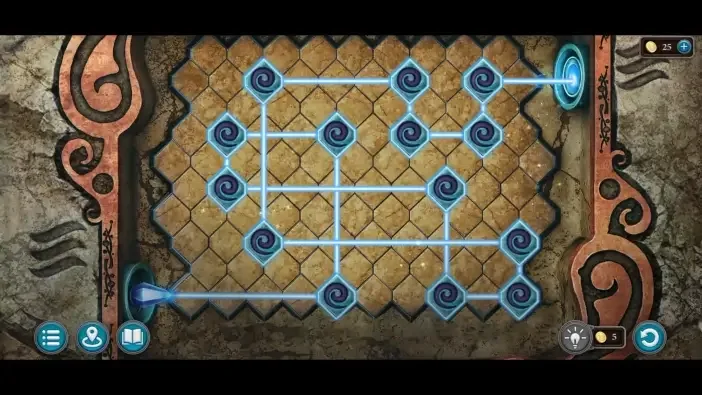
Variants: Rune layout can differ per playthrough.
21Hearts and Swords Puzzle
Where: Panel hanging on chains in the orb room, activated with the six spheres.
You need: Sphere 1 to 6 of 6
Arrange the hearts and swords at their mechanism.
Show the full solution
Slide the hearts into positions where no heart is next to a sword block.
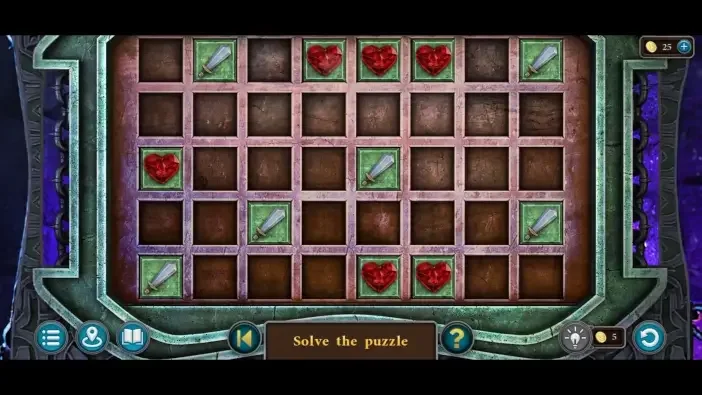
Variants: Block layout can differ per playthrough.
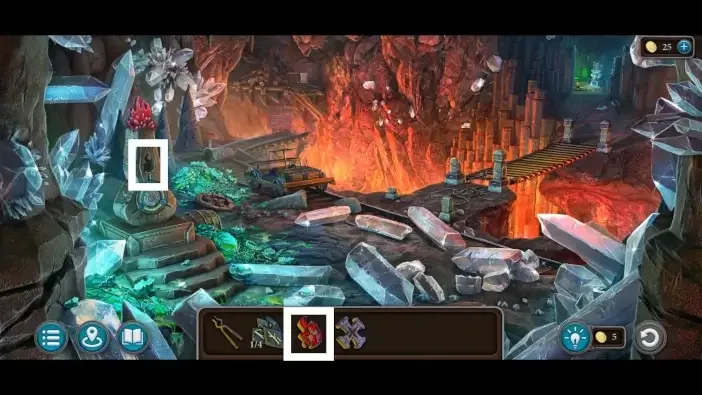
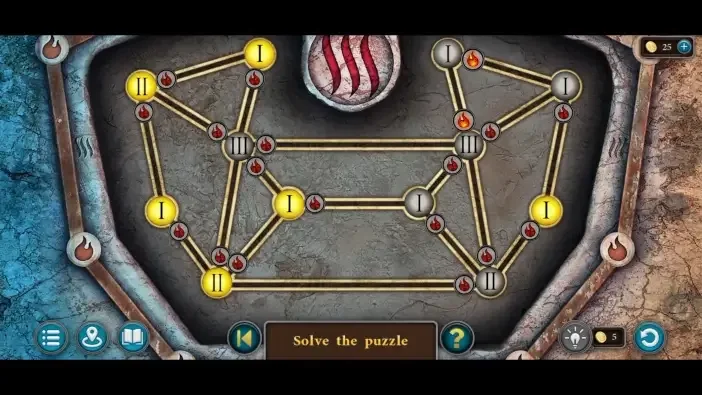
22Red Stone Symbol Puzzle
Where: Stone monument with a red crystal in the chasm cave, reached with the cross and hacksaw.
You need: Red stone symbol · Cross · Hacksaw
Use the red fire-stone token at the monument, then group the fire tokens by the Roman numerals.
23Runes Puzzle
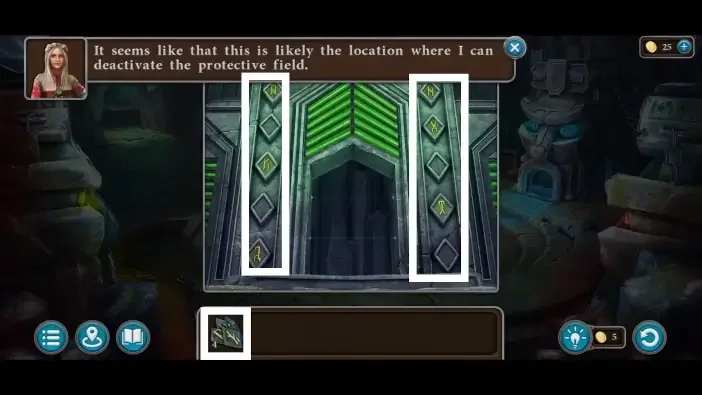
Where: Large arch beside the artifact, after collecting four runes.
You need: Rune 1 of 4 · Rune 2 of 4 · Rune 3 of 4 · Rune 4 of 4
Complete the rune mechanism at the end of this route.
This guide covers the researched puzzle stops. Some connecting exploration and item pickups are still being documented.
Collectibles along the way
- Mushrooms · 7 in this chapter (as stated by sources) — All seven give the Forager achievement; locations include the camp corner, bridge corner, tent shelf, waterfall riverbank, lake corner, forest by the nook and the lava river area.
- Mugs · 8 in this chapter (as stated by sources) — All eight give the Collector achievement; found at the beach boat, the wooden cabin shelf, the nook table, the catacombs entrance and hallway, the Xorhi nest and the artifact room.
- Morphing Objects · 15 in this chapter (as stated by sources) — Chapter 1 holds 15 of the 45 in the game; they change appearance every few seconds, so watching a scene reveals them.
- Manuscripts · 4 in this chapter (as stated by sources) — Manuscripts 1 to 4 of the 12 in the game: tent desk drawer, lake totem, ruined boat chest and the statue compartment in the catacombs.
Open the Legendary Tales 5 collectibles checklist to tick items off as you play.
Commonly missed
- Mug in the lake area where Skimroot and the sleeping Drevolets are; AppGamer players report trouble picking it up.
- Morphing objects such as the camp tent flags, the grass under the bridge and the log end in the wooden cabin, which must be watched rather than tapped in passing.
- The manuscript inside the lake totem and the manuscript in the ruined boat chest, both on top of progression items.
- Items that cannot be taken until an earlier scene triggers the need for them, so AppGamer advises revisiting locations.