Legendary Tales 5 Chapter 3 Walkthrough – Downfall
Legendary Tales V. Price of Power · last updated 2026-10-15
Chapter overview and locations
Scarlett joins the resistance and must break into the archwitches' stronghold, so the Oracle teaches her to transform into a crow. She passes the Fire, Water, Earth and Air trials to gather the four shards and gain new powers. Inside the floating castle she gathers the relics and messages needed to summon the archwitches and send an encoded call for a gathering.
Scenes in this chapter: Starting house with the armory and storeroom · Bridge area, gate and staircase · Swamp with the ruined boat, snail statue and head statue · Pier, wooden hut and the far pier across the river · Portal area with the central room and bell · Oracle's Tower, puppet theatre and alchemy table · Well area with the tree door to the Earth Trial · Water wheel / mill area with the beehives · Mountain peak above the mill · Cave with the Fire Trial portal · Underwater columns area (Water Trial) · Archwitches' floating castle island, hallway, main hall, supreme archwitch's office and sewer tunnel
Step-by-step walkthrough
Follow the scenes below. Required items and screenshots sit beside each stop; answers expand on request. Select a screenshot to enlarge it.
Jump to a scene · 5 sections
Scene 01
Open the armory and bridge
Use the armory gate and feather monument, then search the fly chest and open the bridge pattern gate.
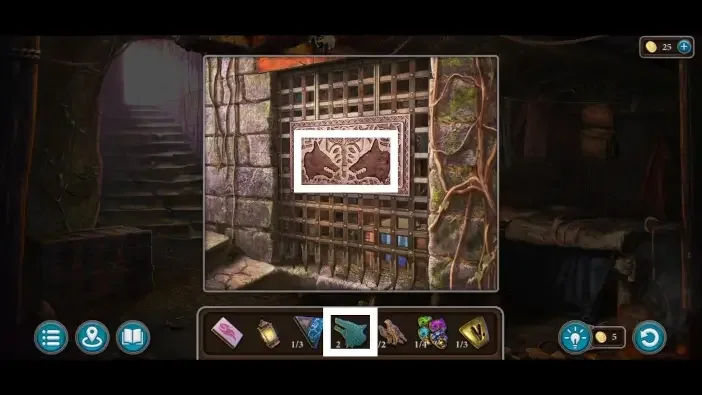
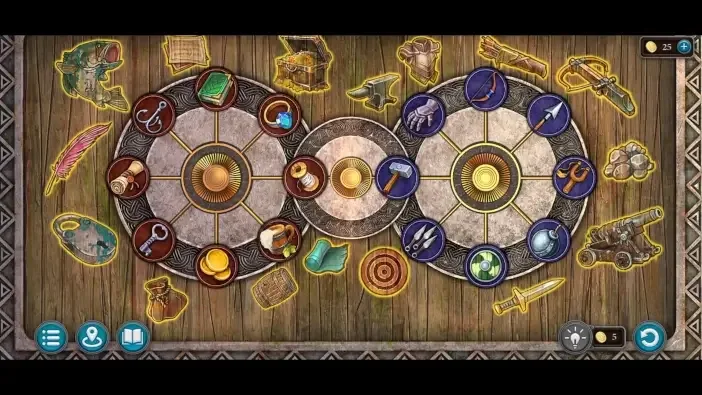
1Armory gate puzzle
Where: Armory gate inside the starting house, using the two wolf heads.
You need: Wolf's head 1 of 2 · Wolf's head 2 of 2
Open the pattern mechanism at the armory gate.
2Bridge monument feather puzzle
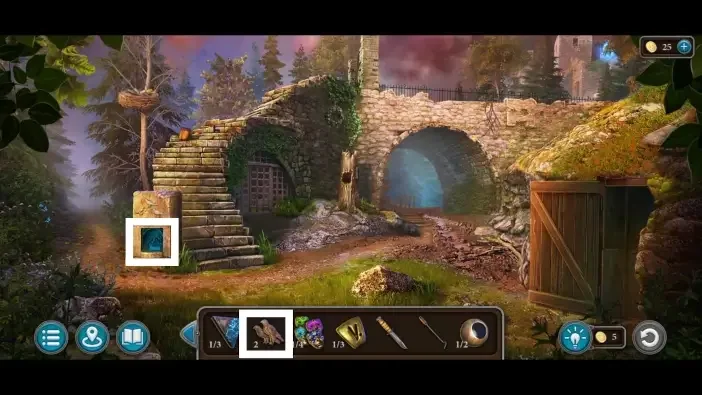
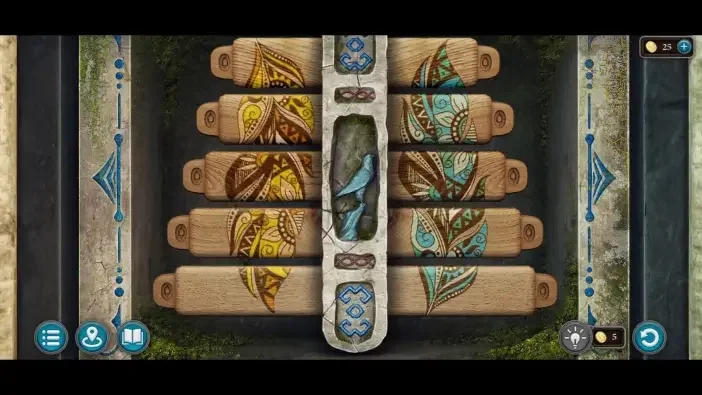
Where: Monument beside the staircase in the bridge area, fitted with the two bird items.
You need: Bird-shaped item 1 of 2 · Bird-shaped item 2 of 2
Use the feathers at the bridge monument.
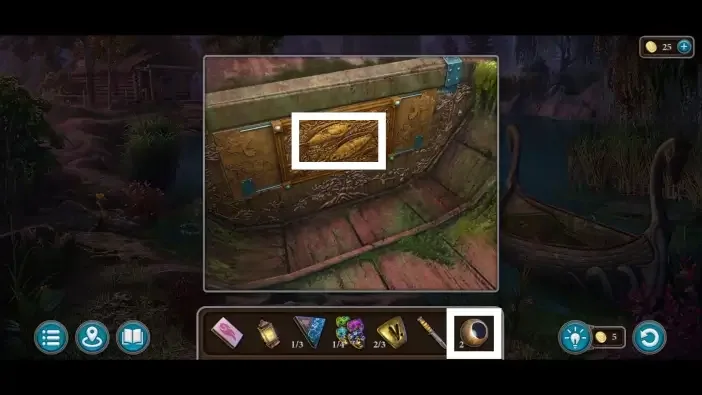
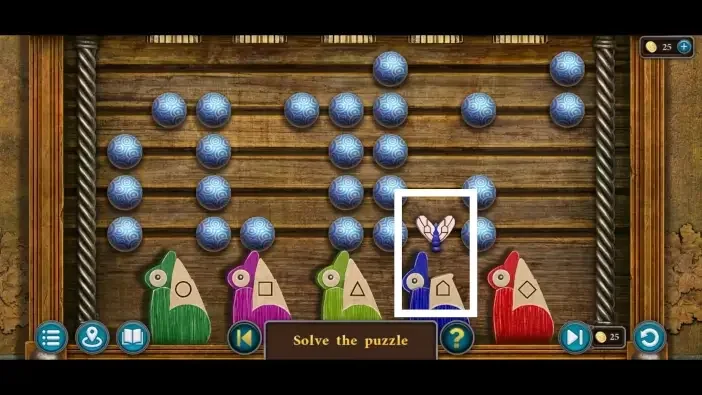
3Boat chest fly puzzle
Where: Chest on the boat in the pier area, opened with the two eyes.
You need: Eye 1 of 2 · Eye 2 of 2
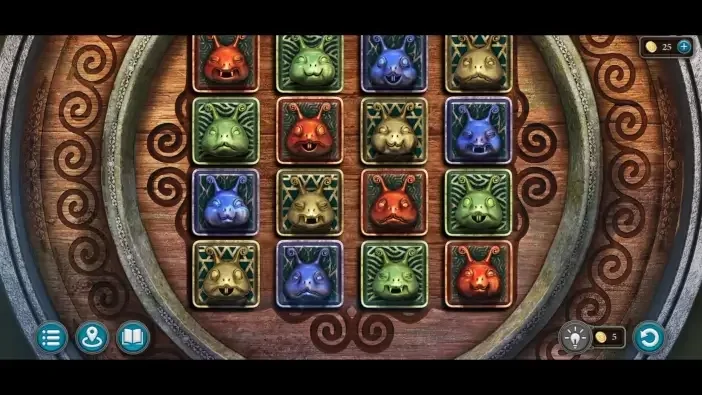
Fit both eyes to the fish chest, then move each coloured fly to its matching box.
4Bridge gate pattern puzzle
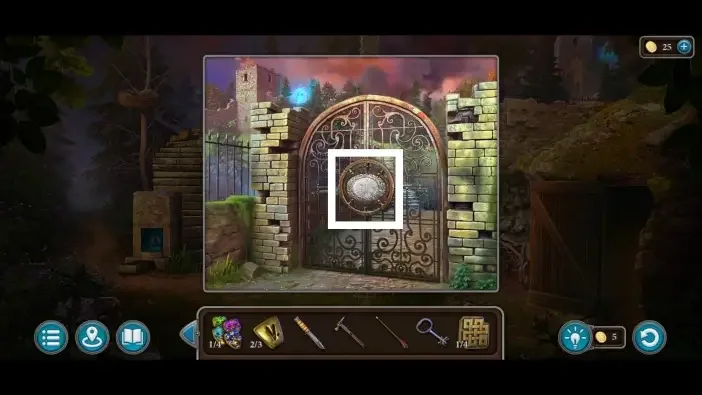
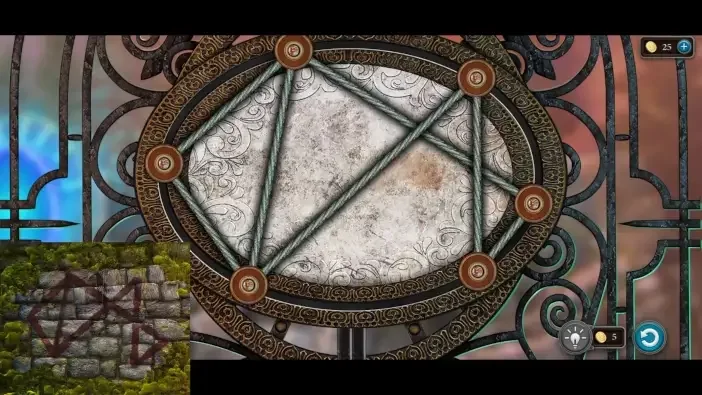
Where: Gate on the bridge at the top of the staircase.
You need: Clue pattern cleaned from the wall under the bridge with the brush
Use the pattern clue to open the bridge gate.
Scene 02
Follow the hut and statue clues
Continue through the snail statue, arrow box and snake mechanism. Open the egg cabinet and puppet theatre.
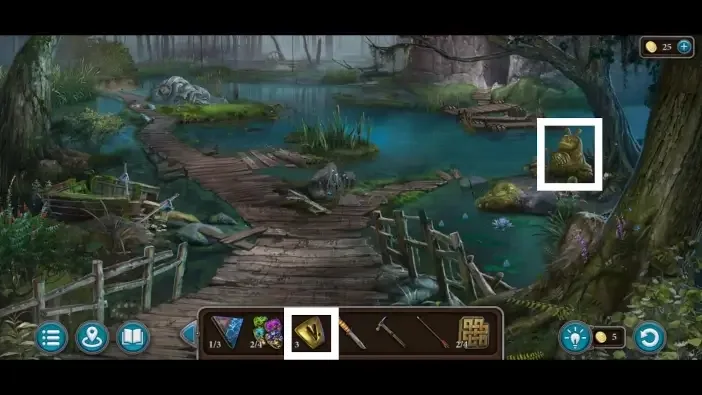
5Snail statue rune puzzle
Where: Snail statue in the swamp, activated with the three runes.
You need: Rune 1 of 3 · Rune 2 of 3 · Rune 3 of 3
Complete the rune mechanism on the snail statue.
6Hut arrow box puzzle
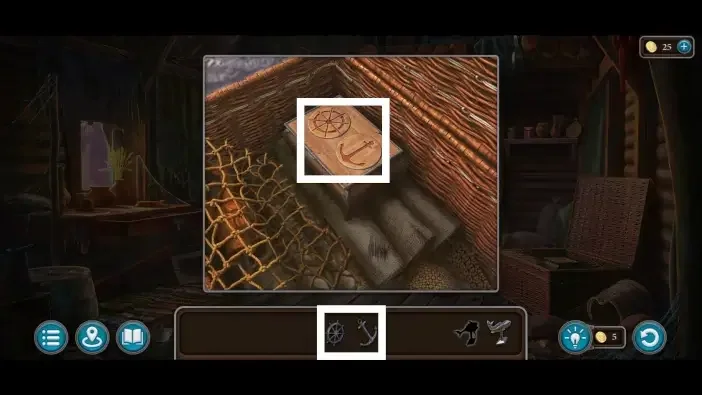
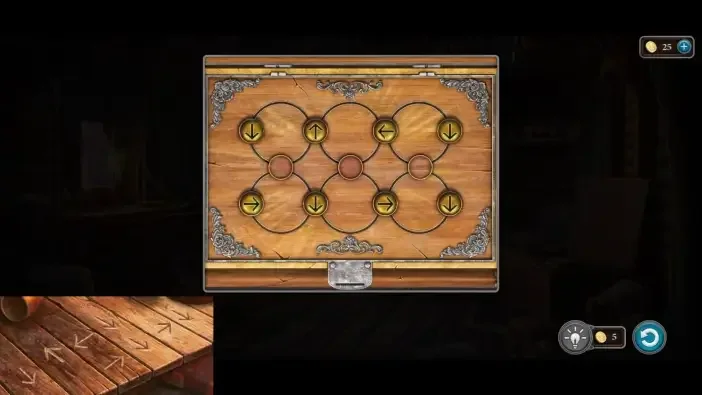
Where: Small box inside the pier's wooden hut, using the steering wheel and the anchor.
You need: Steering wheel · Anchor · Clue from the hut table plate
Open the arrow box in the hut.
7Head statue snake puzzle
Where: Head statue in the swamp, after distracting the crocodile with a fish.
You need: Snake-shaped head 1 of 2 · Snake-shaped head 2 of 2 · Fish from the trap
Complete the snake mechanism on the head statue.
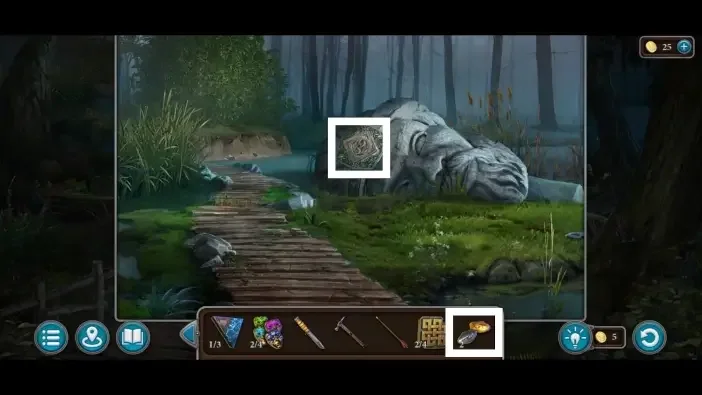
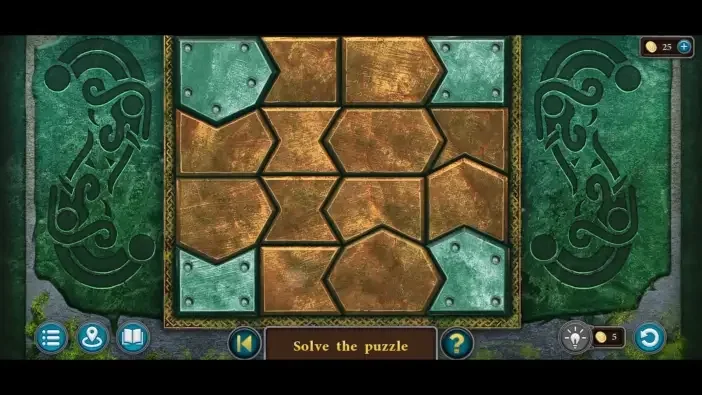
8Cabinet egg puzzle
Where: Cabinet in the portal area's middle room, fitted with the three feathers.
You need: Feather 1 of 3 · Feather 2 of 3 · Feather 3 of 3
Use the eggs at the cabinet mechanism.
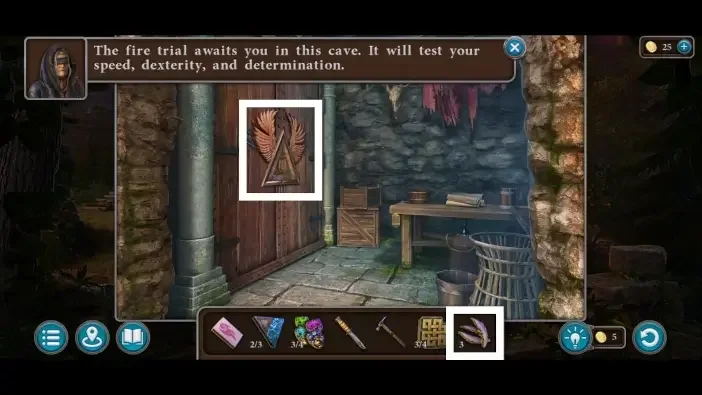
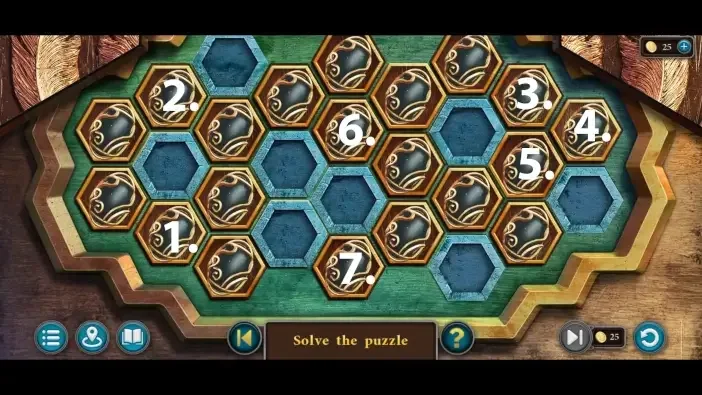
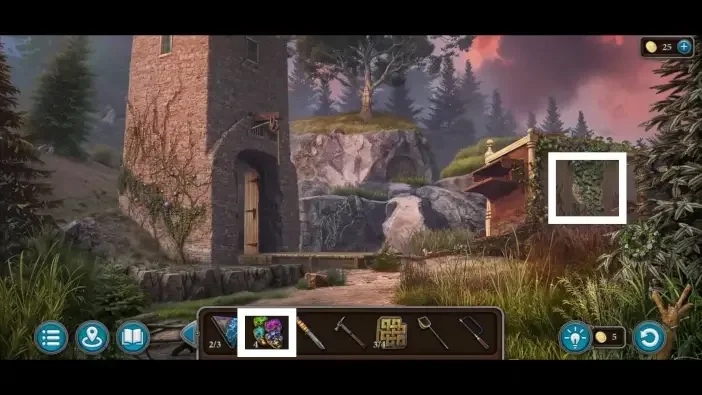
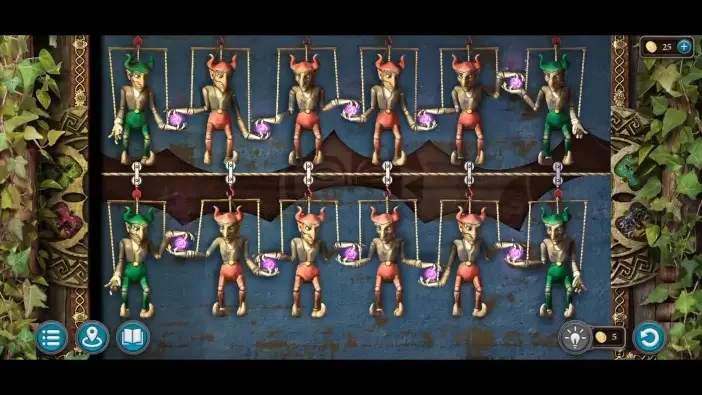
9Puppet theatre mask puzzle
Where: Puppet theatre at the Oracle's Tower area, using four masks.
You need: Mask 1 of 4 · Mask 2 of 4 · Mask 3 of 4 · Mask 4 of 4
Use the masks at the puppet theatre.
Scene 03
Reach the cave and trial portals
Use the well butterfly and tree statue, then open the blue stone gate and lizard chest. Follow the portal drawing into the fire trial.
10Well statue butterfly puzzle
Where: Statue in the well area, activated with the butterflies from the beehive.
You need: Butterfly-shaped items
Use the butterflies at the well statue.
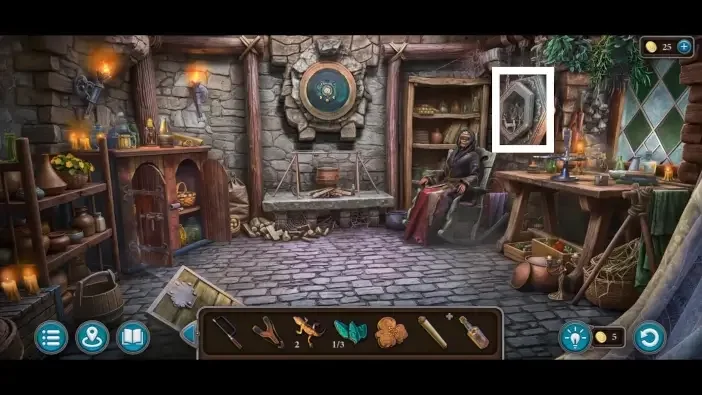
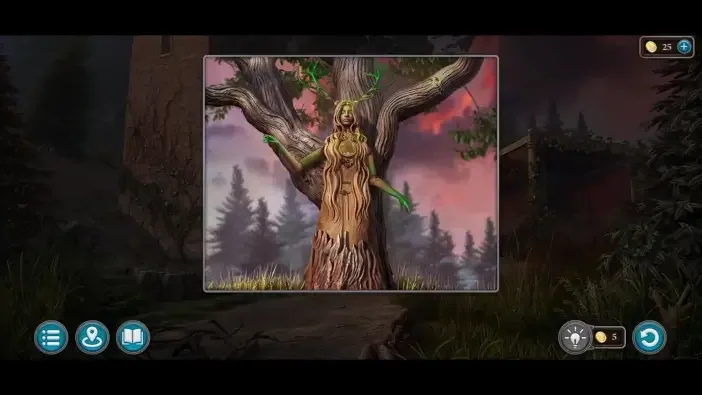
11Tree statue puzzle
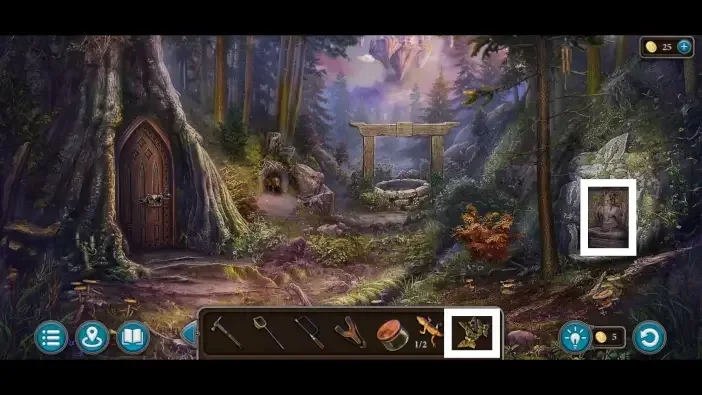
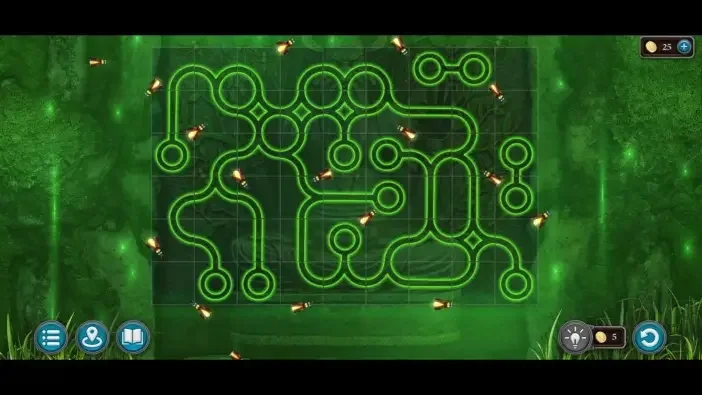
Where: Tree with the statue on the hill outside the Oracle's Tower, fitted with the flower item.
You need: Flower item · Clue from the third figurine behind the Oracle
Complete the tree statue mechanism using its clue.
12Blue stone gate puzzle
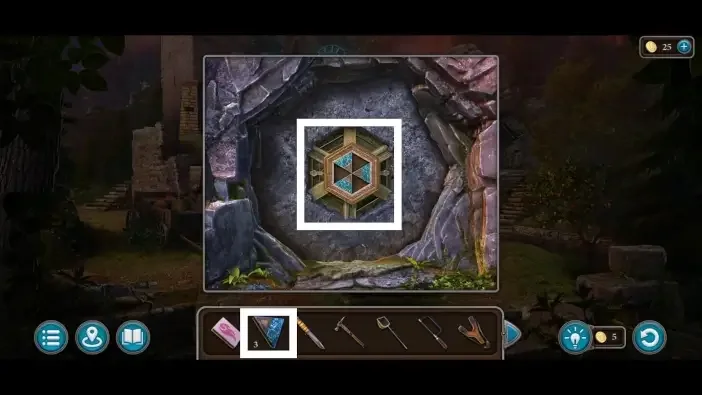
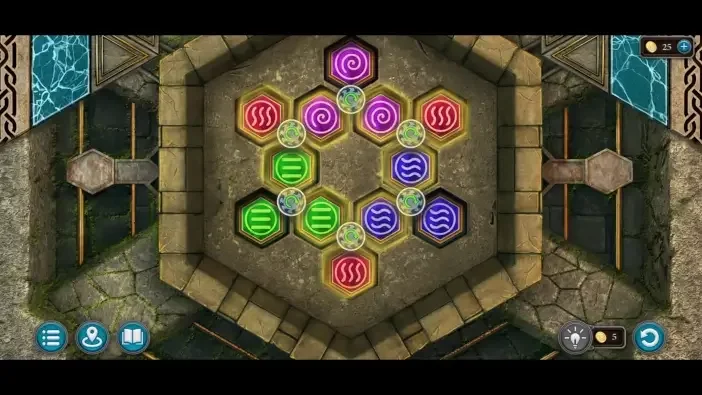
Where: Stone gate on the right of the portal area, using the three blue stones.
You need: Blue stone 1 of 3 · Blue stone 2 of 3 · Blue stone 3 of 3
Use the blue stones to open the matching gate.
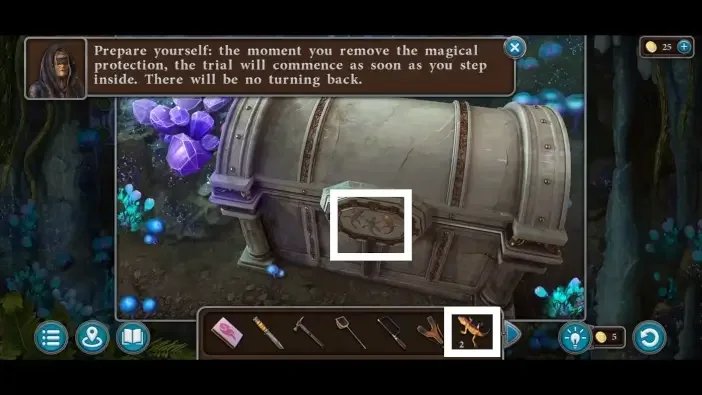
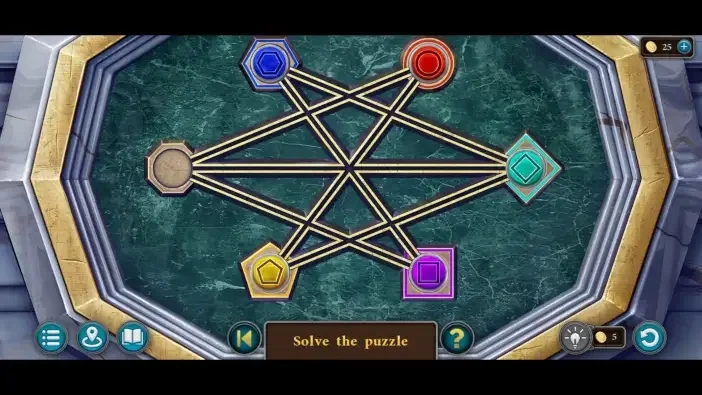
13Cave chest lizard puzzle
Where: Chest on the far side of the Fire Trial cave, using the two lizards.
You need: Lizard 1 of 2 · Lizard 2 of 2
Open the lizard mechanism on the cave chest.
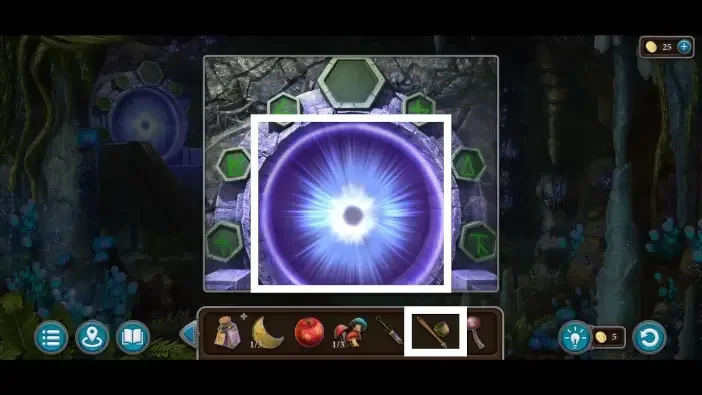
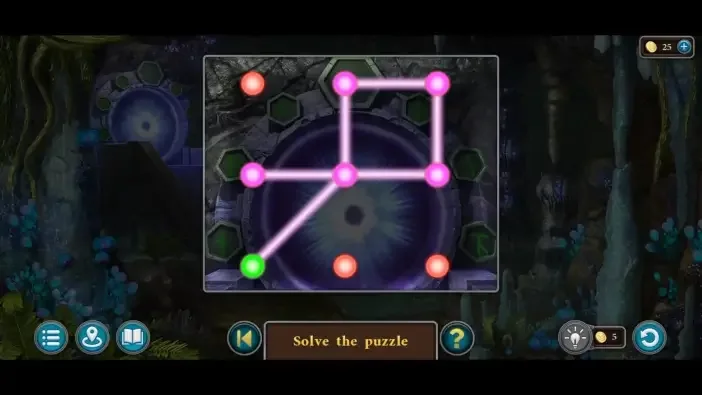
14Fire Trial portal drawing
Where: Portal on the left of the Fire Trial cave, painted with the paint.
You need: Paint · Symbol clue seen after scaring the bats with the slingshot
Follow the drawing at the fire-trial portal.
15Fire Trial
Where: Tunnel beyond the Fire Trial portal.
You need: Paint portal opened
Enter the fire trial and follow its challenge sequence.
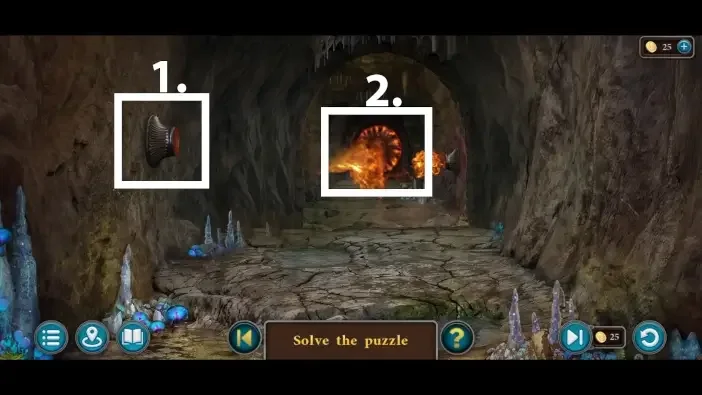
Show the full solution
Wait until the flames die down, then tap the centre of the screen to run forward and reach the pedestal with the fire shard.
Scene 04
Complete the remaining elemental trials
Inspect the half-moon colours, then continue through air, water and earth. Unconfirmed text answers remain marked below.
16Half-moon colour puzzle
Where: Shield on the middle wall of the Oracle's Tower, above the cauldron, using three half moons.
You need: Half moon 1 of 3 · Half moon 2 of 3 · Half moon 3 of 3
Fit the three half moons to the shield above the cauldron in the Oracle’s Tower. The target colours remain unconfirmed.
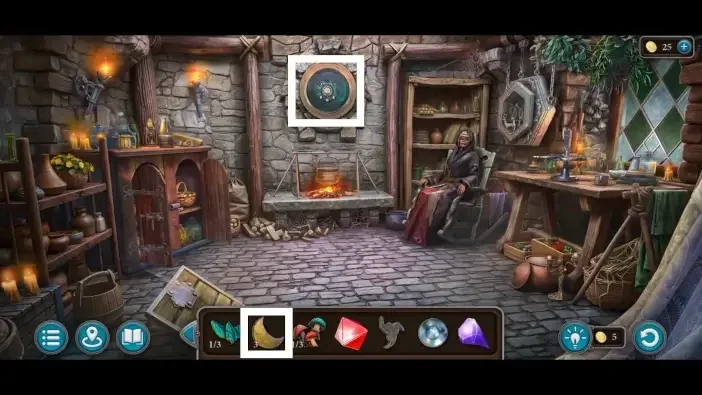
We could not confirm a solution for this one yet, so there is nothing to spoil here.
17Air Trial
Where: Peak of the mountain above the water wheel, using the totem part on the stone with the wings.
You need: Totem part
Enter the air trial and complete its mechanism.
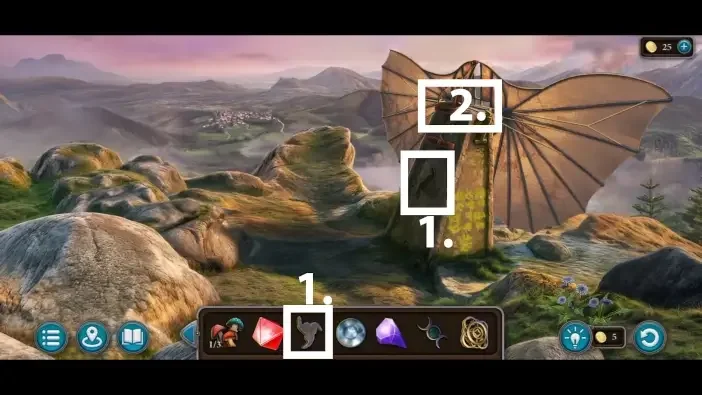
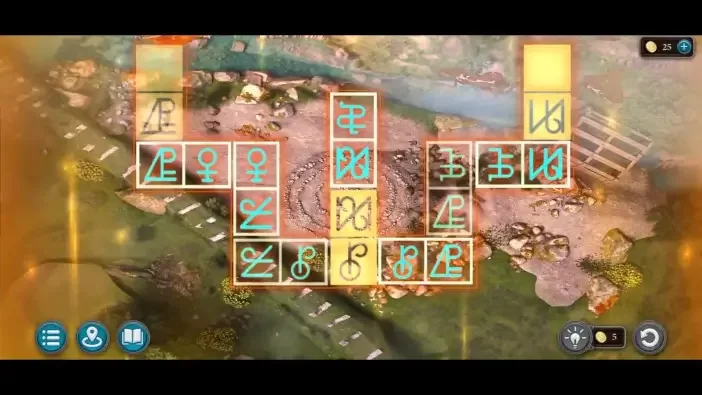
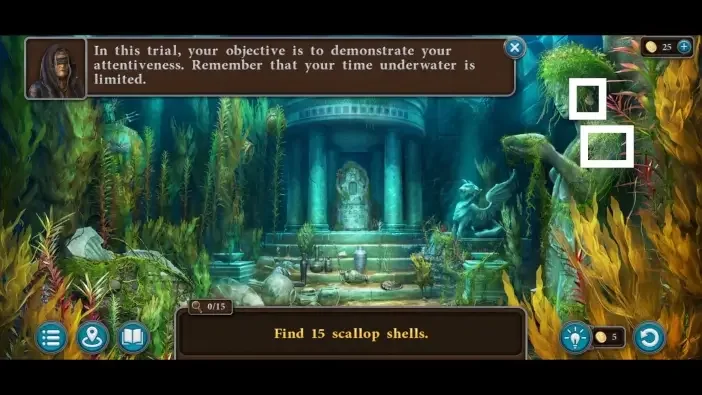
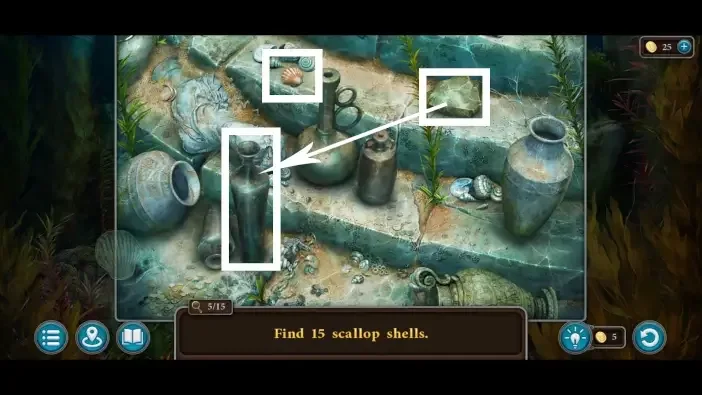
18Water Trial scallop hunt
Where: Underwater area reached with the Underwater Breathing Potion.
You need: Underwater Breathing Potion · Mirrors fitted to the three pillars · Ornament on the largest column
Search for the scallops during the water trial.
19Earth Trial
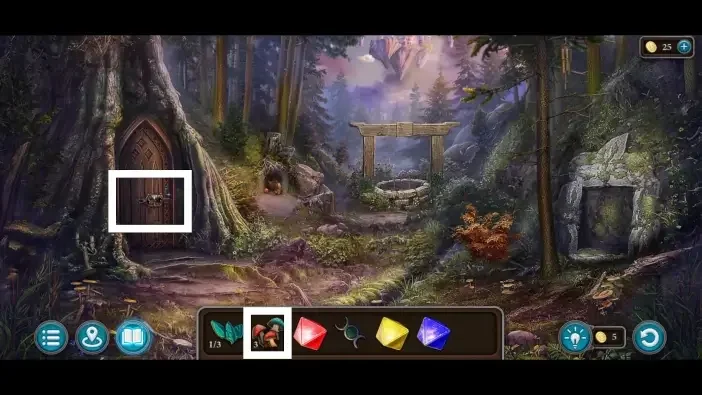
Where: Tree door in the well area, opened with the three mushrooms.
You need: Mushroom 1 of 3 · Mushroom 2 of 3 · Mushroom 3 of 3
Enter the earth trial. The complete route through the tree doors remains unconfirmed.
We could not confirm a solution for this one yet, so there is nothing to spoil here.
Scene 05
Return to the castle and recover the message
Use the shield hammer and office symbol pairs, then the courtyard leaf chest and window pattern. Finish at the message globe.
20Castle shield hammer puzzle
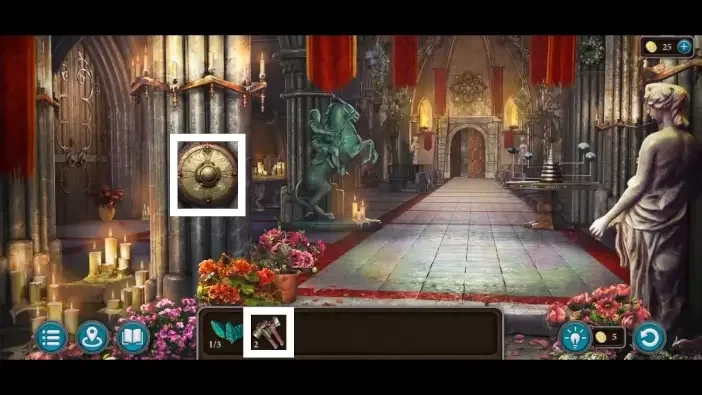
Where: Shield on the left column of the castle hallway, fitted with the two hammers.
You need: Hammer 1 of 2 · Hammer 2 of 2
Use the hammer at the castle shield mechanism.
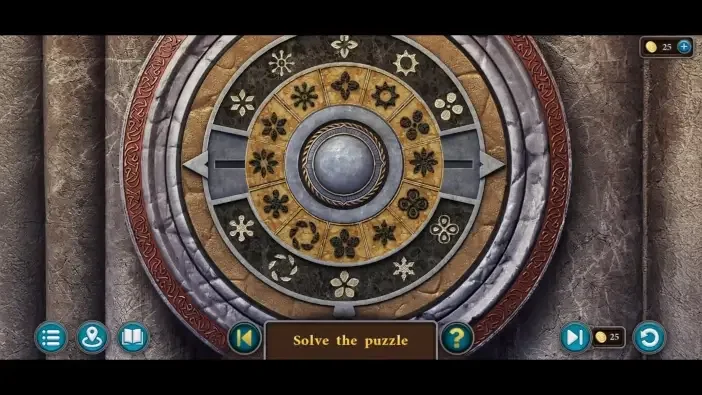
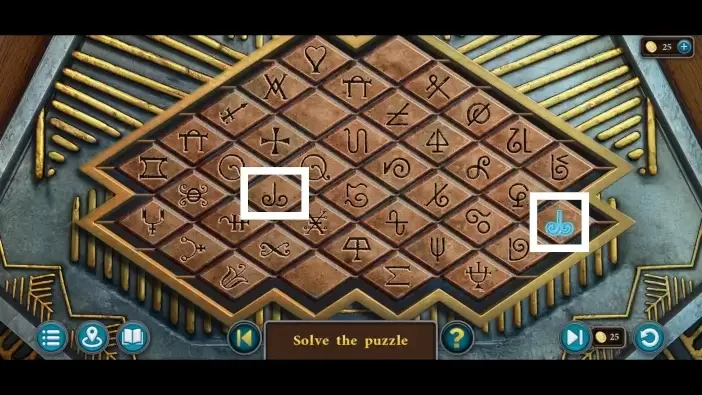
21Supreme office symbol pairs
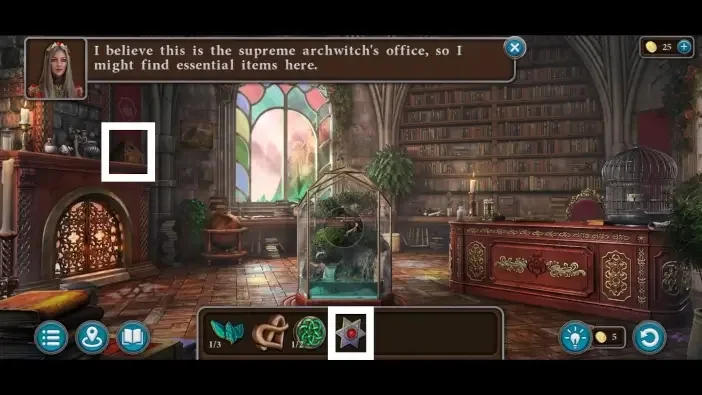
Where: Box on the left of the supreme archwitch's office, opened with the star-shaped item.
You need: Star-shaped item from the greenhouse
Match the symbol pairs in the Supreme’s office.
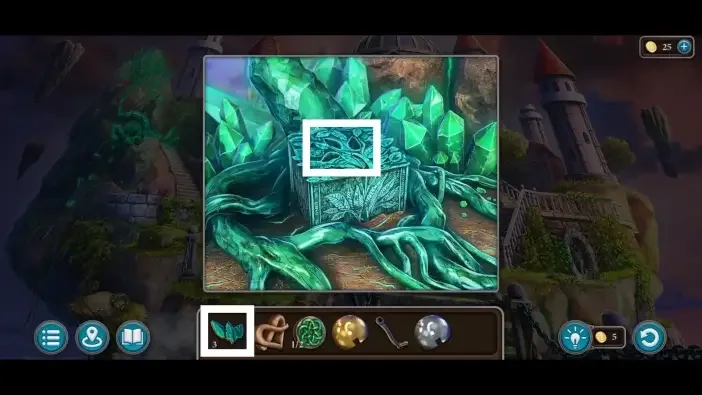
22Courtyard chest leaf puzzle
Where: Castle courtyard, on the chest reached by climbing the staircase on the left, using three leaf-shaped items.
You need: Leaf-shaped item 1 of 3 · Leaf-shaped item 2 of 3 · Leaf-shaped item 3 of 3
Use the leaves at the courtyard chest mechanism.
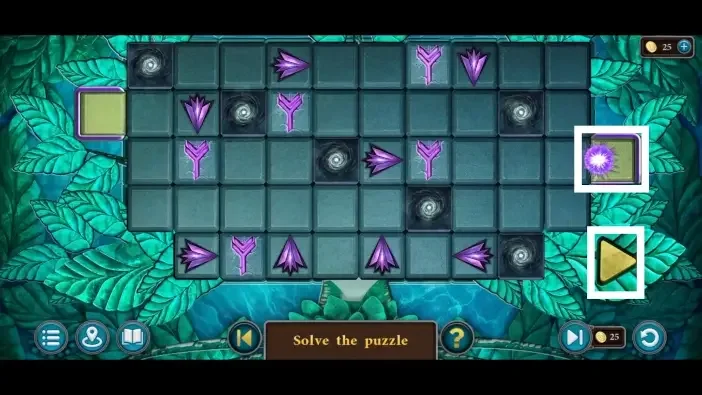
23Window pattern wall puzzle
Where: Big pattern on the hallway wall over the entrance to the main hall, started with the first pattern piece.
You need: Pattern piece from the shield puzzle · Memorised layout of the castle window
Compare the window clue with the wall pattern.
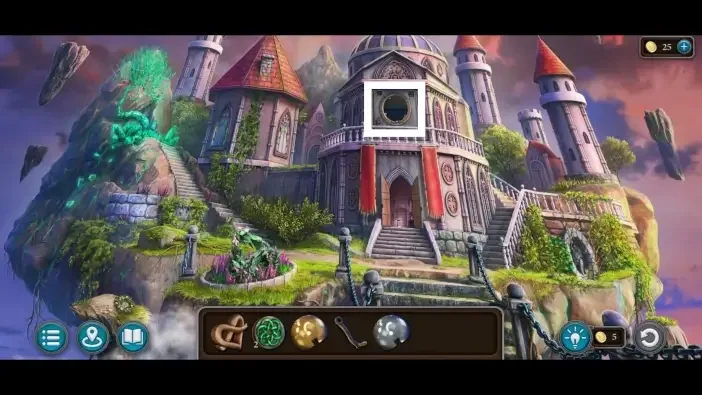
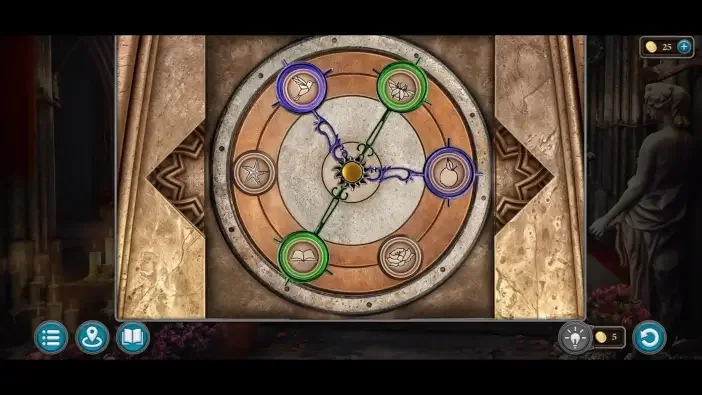
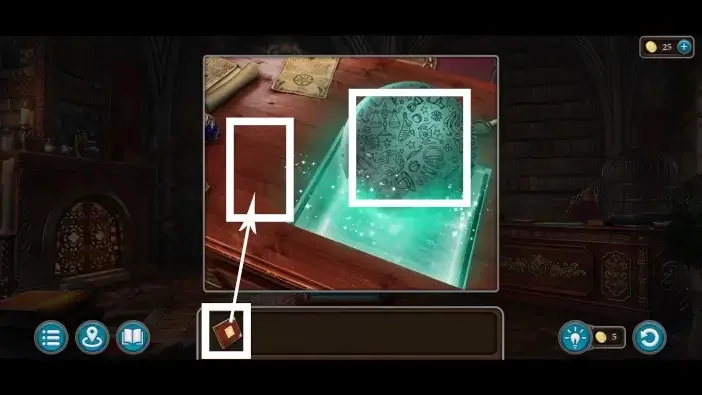
24Message globe puzzle
Where: Work desk in the supreme archwitch's office, started after placing the book and tapping the ball.
You need: Encryption book · Second pattern item in the desk drawer
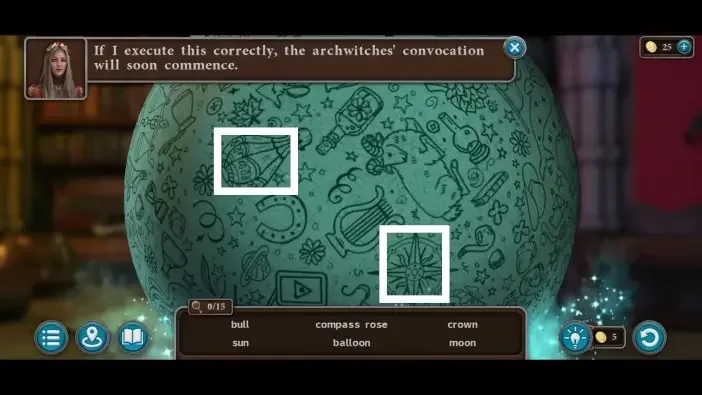
Open the message globe and search its scene for the listed objects.
This guide covers the researched puzzle stops. Some connecting exploration and item pickups are still being documented.
Collectibles along the way
- Candlesticks · 8 in this chapter (as stated by sources) — All eight give the Decorator achievement; spread from the starting staircase and portal area to the Oracle's Tower, well, Fire Trial cave, underwater area, castle hall and the archwitches' office.
- Wreaths · 7 in this chapter (as stated by sources) — All seven give the Villager achievement; found in the bridge area, swamp, pier, Oracle's Tower tree, water wheel area and the archwitches' castle.
- Morphing Objects · 15 in this chapter (as stated by sources) — Objects 31 to 45 of the 45 in the game; collecting every morphing object across the chapters gives Master of Details.
- Manuscripts · 4 in this chapter (as stated by sources) — Four lore documents in this chapter, found in the armory, inside the well near the skeleton, in the castle sewer tunnel and inside the globe in the supreme witch's office.
Open the Legendary Tales 5 collectibles checklist to tick items off as you play.
Commonly missed
- Morphing objects on distant scenery, such as the wheel across the swamp and the tower far off on the floating castle island.
- Wreath floating on the water in the pier area and the wreath hanging on a column in the castle hallway.
- Manuscript inside the well near the skeleton, reached only after the ladder is placed.
- Manuscript in the castle sewer tunnel near the dead warrior, in an optional side area.