Legendary Tales 4 Chapter 2 Walkthrough – Strange Coincidence
Legendary Tales: Map of Hope · bonus story · last updated 2026-10-15
Chapter overview and locations
The chapter follows a rebellion member instead of Lucia, tracking down who is copying the maps of magical creatures. The trail runs from a tent camp and a hermit's forest cabin to a birder on the mountain, who is forced with a truth elixir to reveal that the maps come from a tower. After gathering rune stones in the caves and driving a giant slug out with incense, the protagonist opens a portal, finds the tower empty of an oracle and overloads the map-printing machine with slug acid.
Scenes in this chapter: Tent camp by the river · Hermit's forest cabin and its attic · Ritual stone and stone door near the camp · Birder's house on the mountain (window, aviary, store room) · Snowy garden and mountain with the goat monument and furnace · Swamp (fifteen swamp flowers) · Caves (first level, workshop, crystal cave with the slug, sphere/portal room) · Bridge and barred window of the Oracle's Tower · Oracle's Tower (hallway, storage room and laboratory, upper room, map-printer room, crystal obelisk) · Spheres/portal room
Step-by-step walkthrough
Follow the scenes below. Required items and screenshots sit beside each stop; answers expand on request. Select a screenshot to enlarge it.
Jump to a scene · 5 sections
Scene 01
Open the eye and cabin mechanisms
Use the Knower’s Eye and cabin lock, then the owl and tree face. Continue with the animal figures and shield.
1Knower's Eye Puzzle
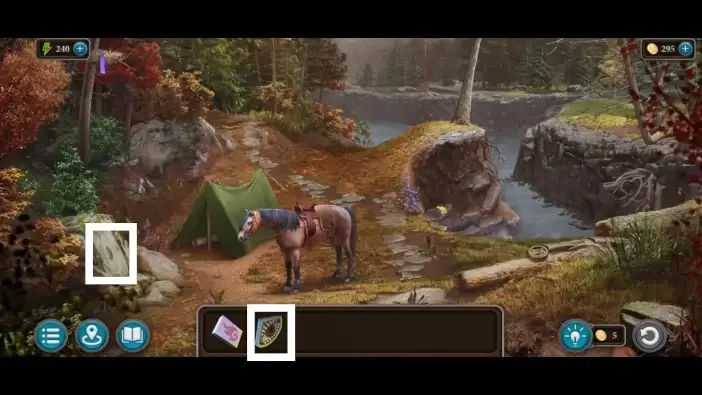
Where: Flat-faced stone door to the left of the tent.
You need: Knower's Eye from the covered stash hidden-object scene
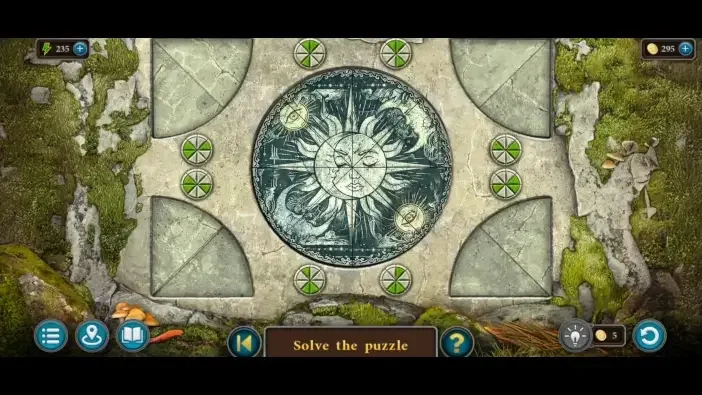
Use the Knower’s Eye at its mechanism and complete the board.
2Cabin Lock Puzzle
Where: Door of the hermit's forest cabin.
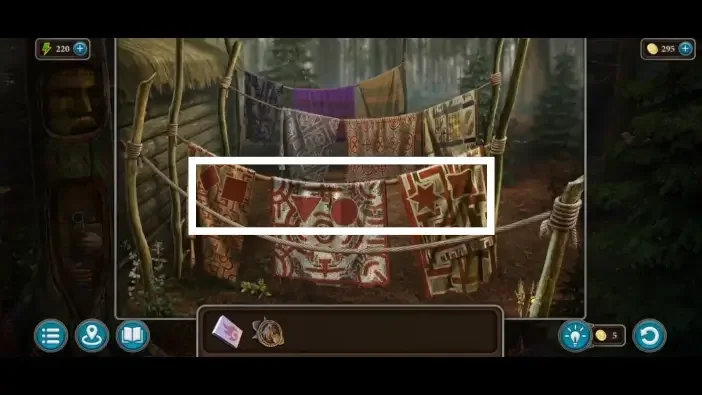
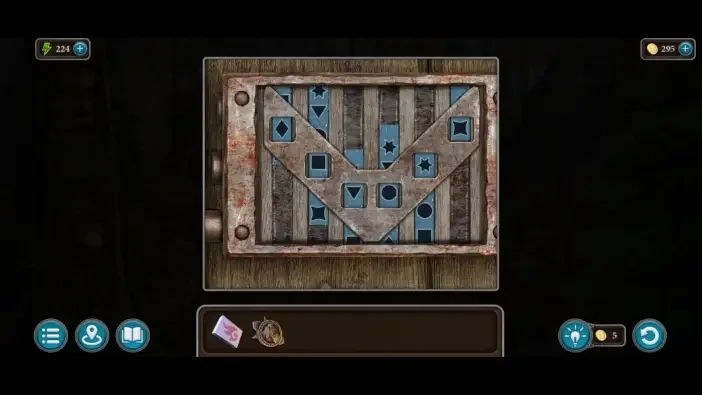
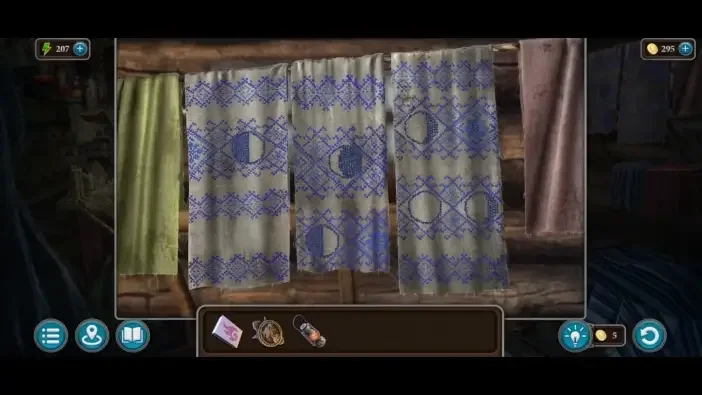
You need: Stencil · Clue from the symbols on the hanging blankets
Inspect the cabin lock and use its matching parts.
3Owl Puzzle
Where: Shelf at the back of the forest cabin with a five-owl box.
You need: Owl from the attic chest · Clue from the moon phases on the hanging sheets
Use the owl at the matching board.
Show the full solution
Set every owl's eyes according to the moon-phase clue, with the owls standing for the moon positions.
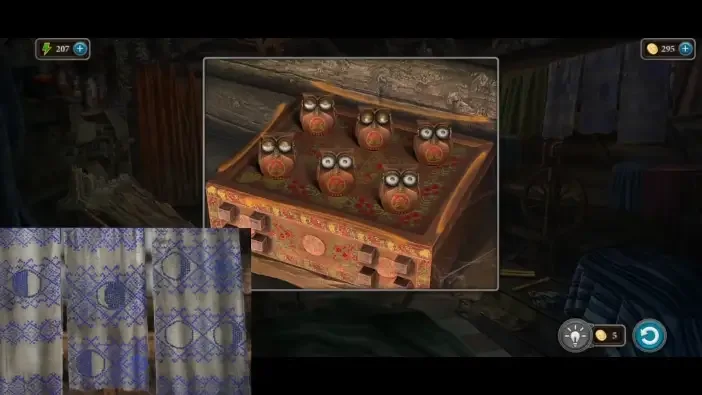
Variants: AppGamer states the answer can differ per game, so check your own moon clue.
4Tree Face Puzzle
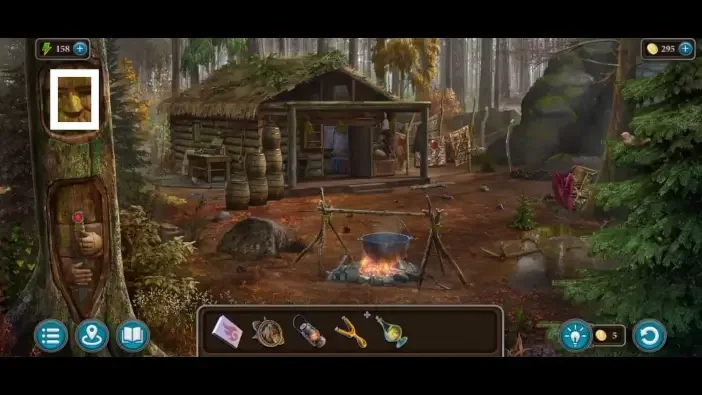
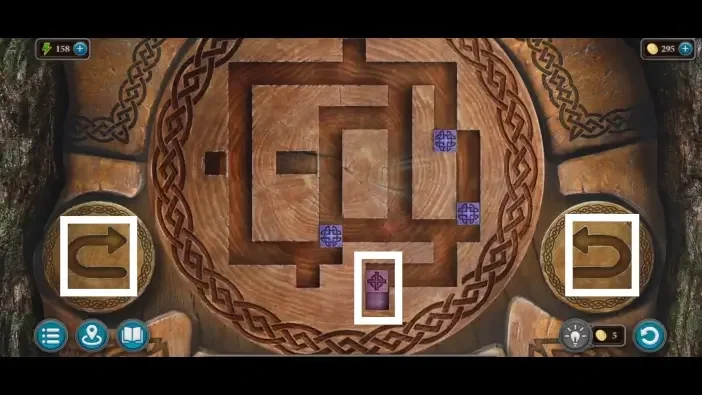
Where: Tree with a carved face near the cabin, opened with the gem on the knife hilt.
You need: Gem from the birder's window · Knife from the totem
Inspect the tree face and complete its mechanism.
5Animal Figures Puzzle
Where: Ritual stone below the birder's house, opened with the two amulets and the carved stone.
You need: Amulet from behind the stone door · Amulet shot down from the nest · Stone with the pattern clue
Compare the animal figures with the nearby clue before arranging them.
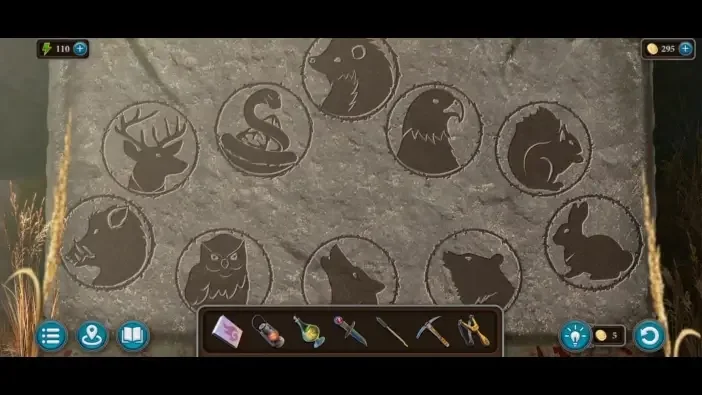
Show the full solution
Arrange the animal figurines to match the drawings on the stone with the pattern.
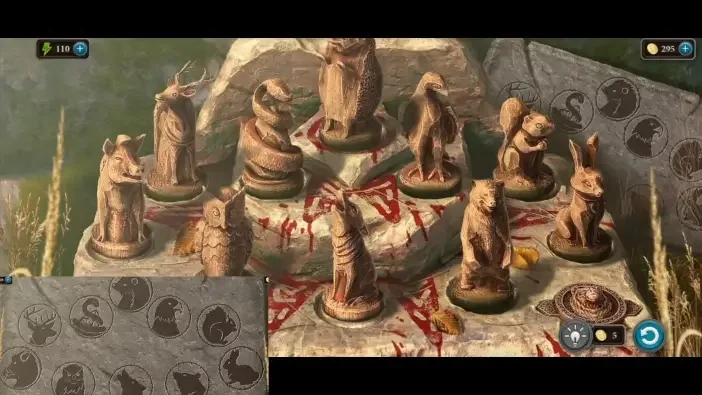
Variants: AppGamer states the answer can differ per game.
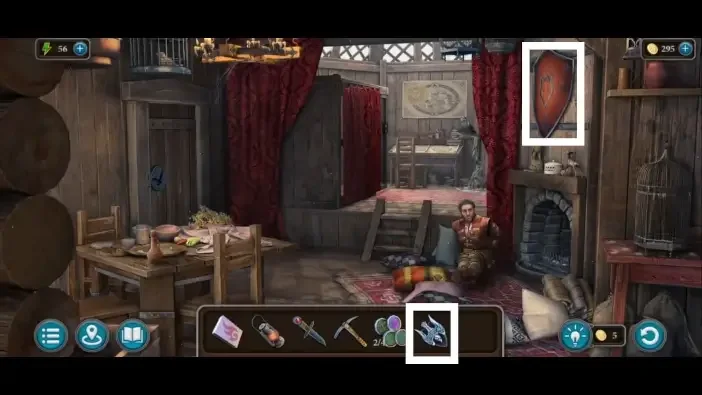
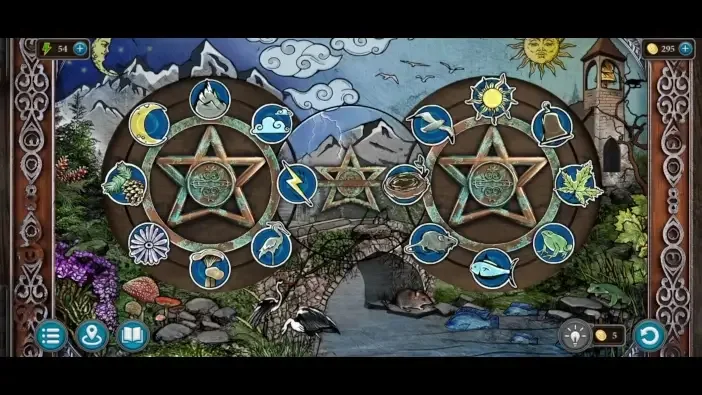
6Shield Puzzle
Where: Shield above the fireplace in the birder's house.
You need: Bird shot from the frozen bird-shaped item in the mountains
Use the shield at its matching mechanism.
Scene 02
Gather flowers and enter the cave
Open the insect chest and gather the swamp flowers before using the cave gate and cave mechanisms.
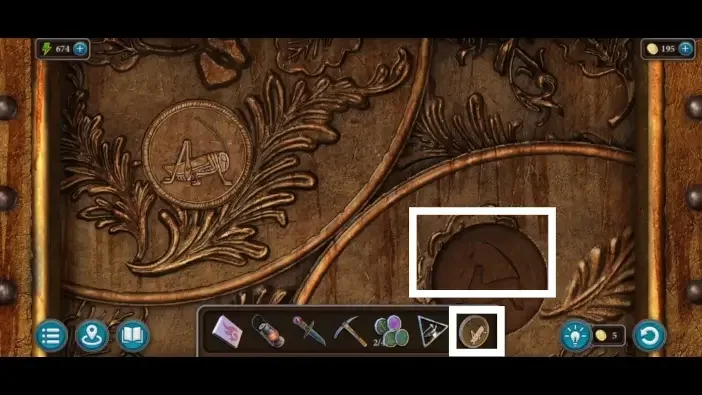
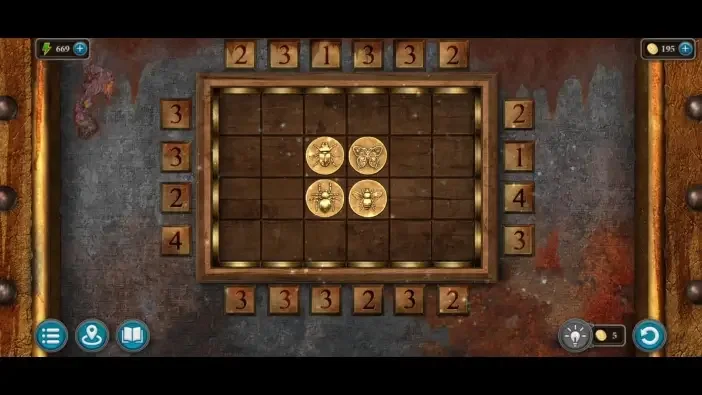
7Chest Insect Puzzle
Where: Large chest beside the hermit in the forest cabin, opened with the medallion.
You need: Medallion from the aviary chest
Open the insect mechanism on the chest.
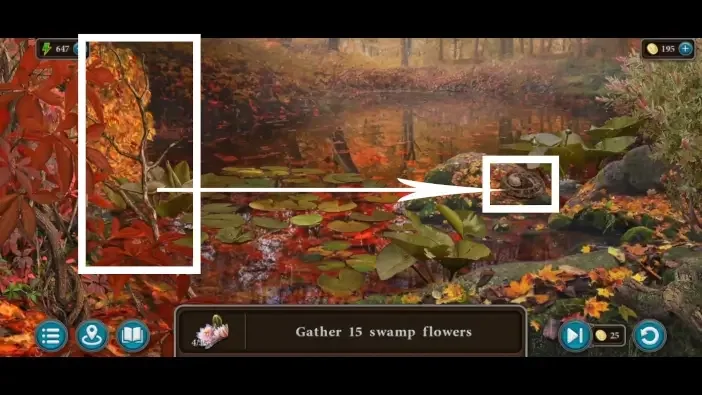
8Fifteen Swamp Flowers
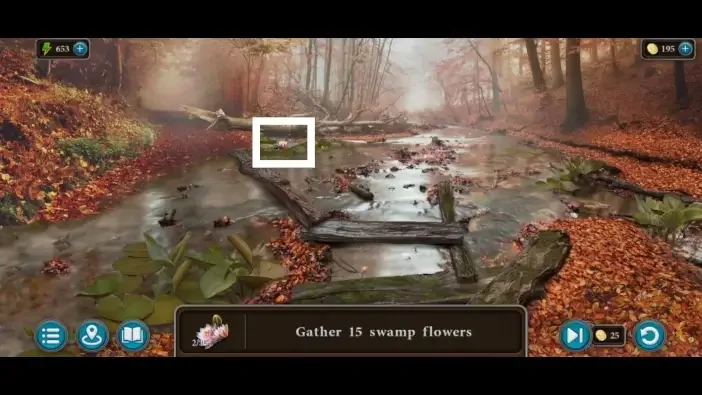
Where: Swamp maze reached from behind the birder's house.
You need: Planks for one bridge · Branches to scare off a snake and a boar
Search the swamp flower scene for all fifteen flowers.
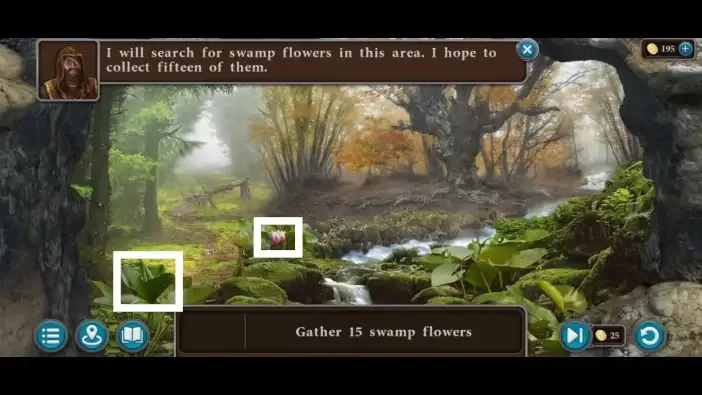
We could not confirm a solution for this one yet, so there is nothing to spoil here.
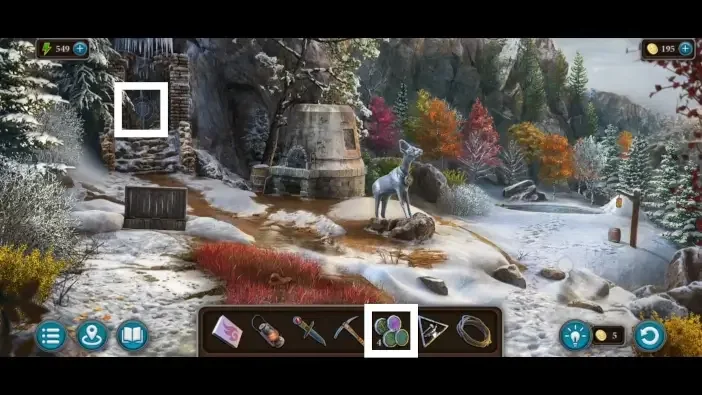
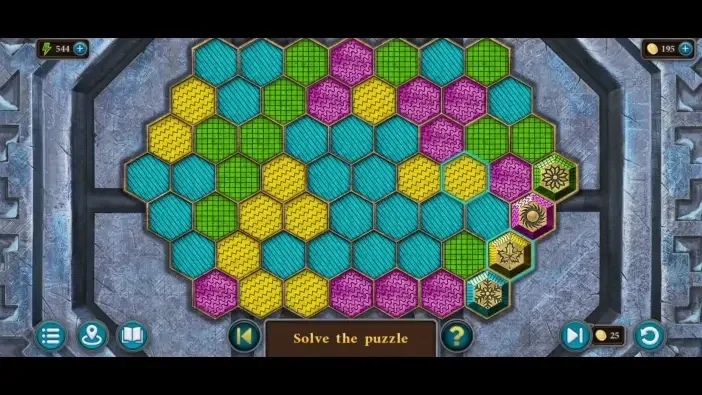
9Cave Gate Puzzle
Where: Gate to the caves in the mountain garden, opened with four chips.
You need: Chip 1 of 4 (animal figures drawer) · Chip 2 of 4 (birder's desk) · Chip 3 of 4 (forest cabin chest) · Chip 4 of 4 (snow-covered chest hatch)
Use the cave gate mechanism to open the passage.
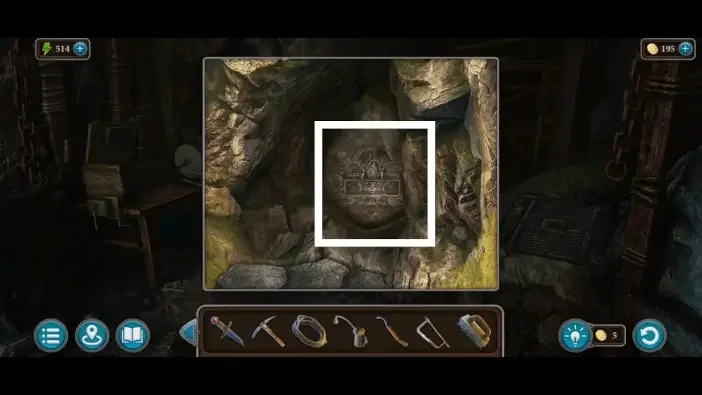
10Cave Puzzle
Where: Rock recess in the first cave level, where the cave spirit appears.
Enter the cave and complete the next board.
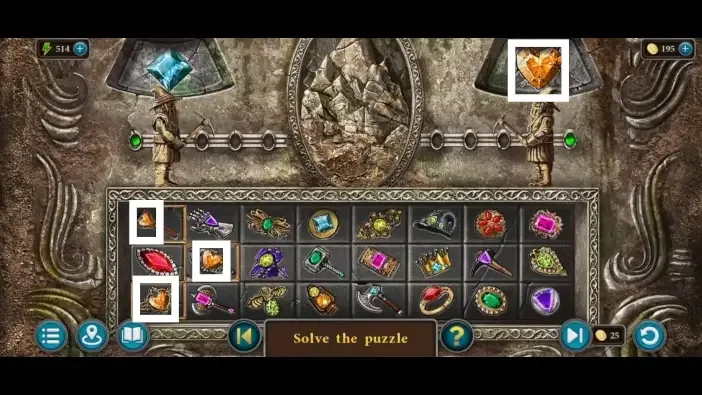
Scene 03
Prepare the cast and reach the tower
Complete the gears, goat, rune spheres and mathematical symbols before making the hand cast.
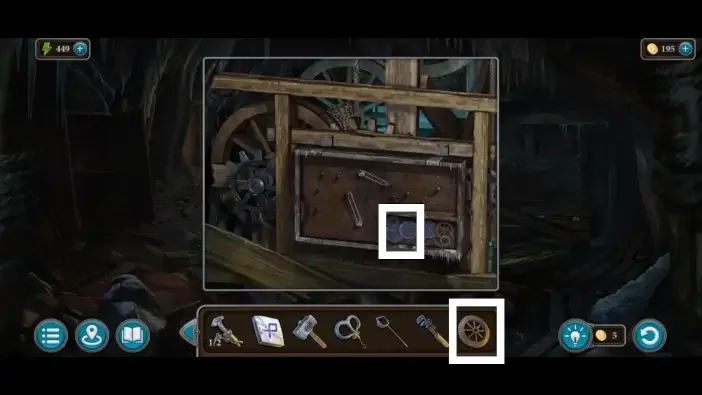
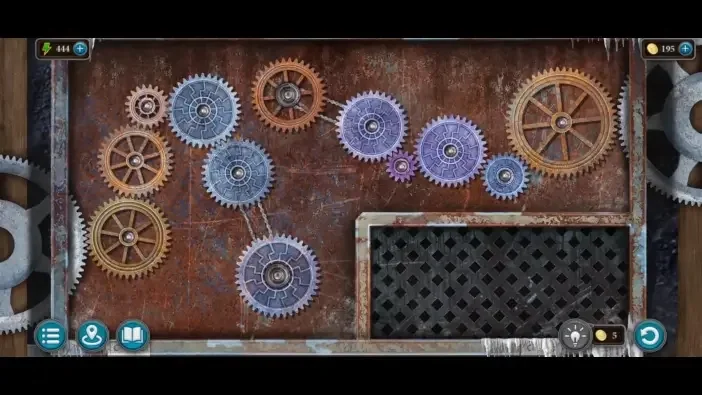
11Gears Puzzle
Where: Broken mechanism at the back right of the first cave level.
You need: Repaired gear (use the Hammer on the bent gear at the anvil)
Fit the gears to their mechanism.
12Goat Puzzle
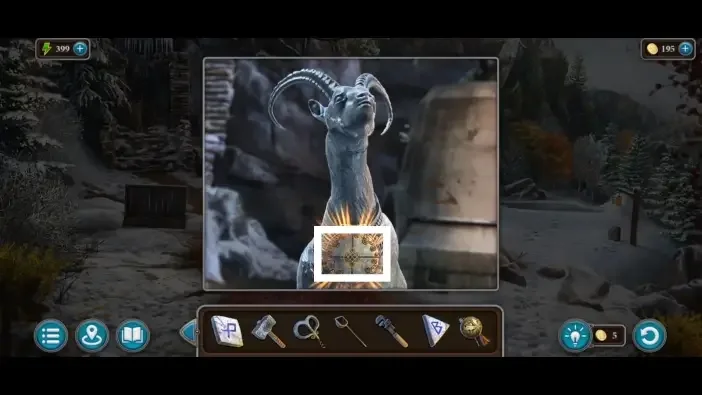
Where: Goat monument in the snowy garden, activated with the Horn.
You need: Horn from the cave hatch
Use the goat at its matching board.
Show the full solution
Move the goat token around the board until it has eaten every carrot token.
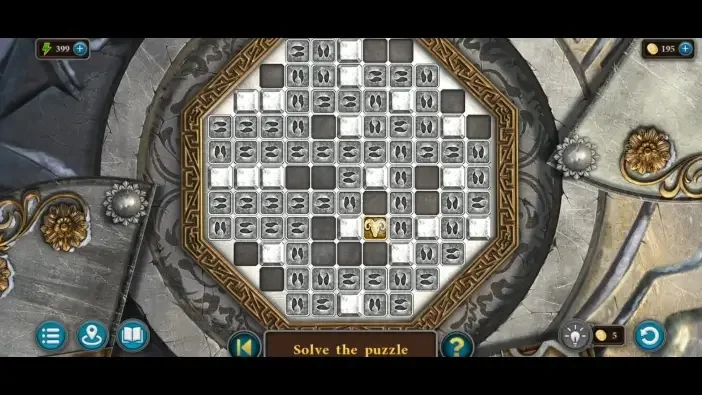
Variants: AppGamer states the carrot layout can differ in each game.
13Rune Spheres Puzzle
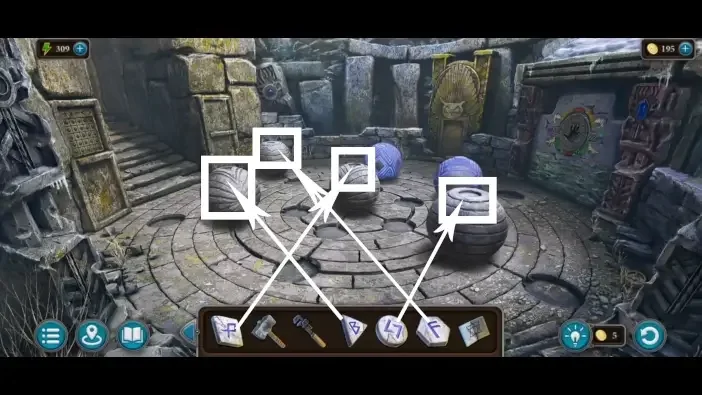
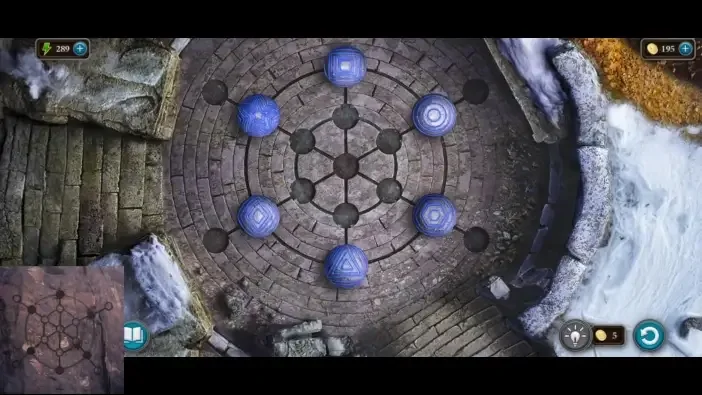
Where: Hidden spheres room behind the goat monument, opened with the four rune stones.
You need: Rhombus, triangle, circle and hexagon rune stones · Sphere pattern clue seen through the telescope
Arrange the rune spheres at their mechanism.
14Mathematical Symbols Puzzle
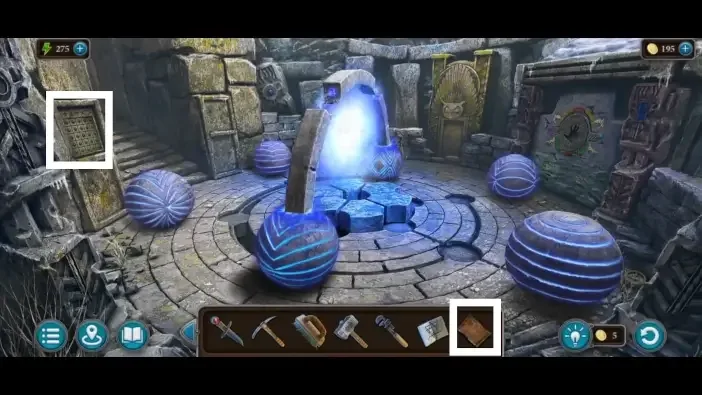
Where: Wall to the left of the steps in the spheres room.
You need: Clue from cleaning the dirty tablet at the cave waterfall
Use the mathematical-symbol clue at the matching board.
Show the full solution
Press the six grid buttons whose row and column symbols match the six pairs in the clue.
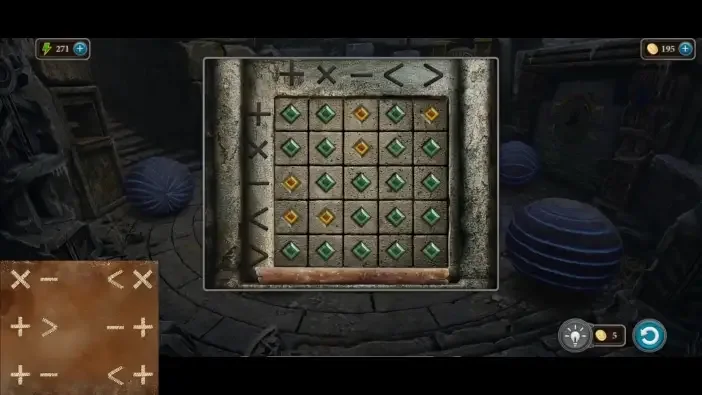
Variants: AppGamer states the clue may differ in each game.
15Hand Cast Puzzle
Where: Wall to the right of the portal in the garden, opened with the Cast.
You need: Cast from the stone cache near the tower bridge
Prepare the hand cast for the next part of the route.
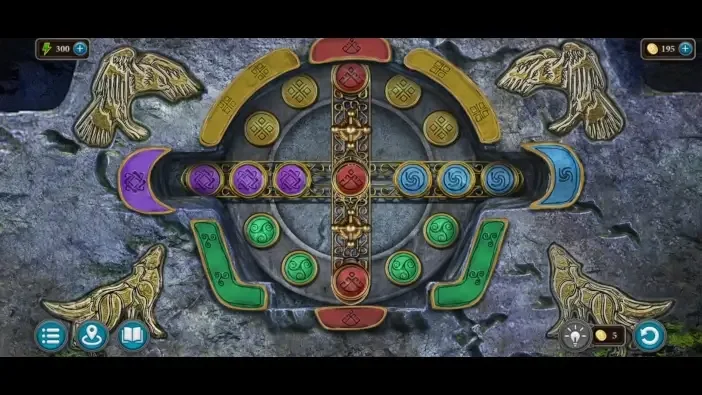
Show the full solution
Arrange all the chips so their colours match the coloured sections around the outside of the circle.
Scene 04
Cross the tower and oracle rooms
Use the runes at the tower, then complete the floor, statue pose and constellation lock.
16Runes Puzzle
Where: Wheels and floating stones on the left side of the tower bridge, opened with the Handle.
You need: Handle from the sphere cache · Three-symbol clue seen through the binoculars at the barred window
Use the runes at the matching mechanism.
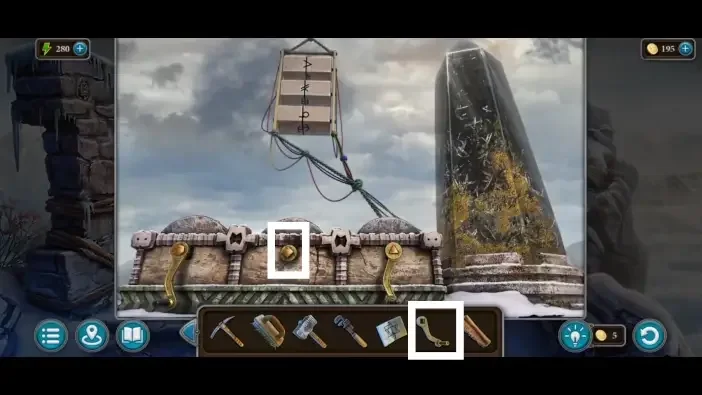
Show the full solution
Set the runes to the three symbols from the binocular clue, then clean the glowing obelisk with the Brush to reveal the main rune.
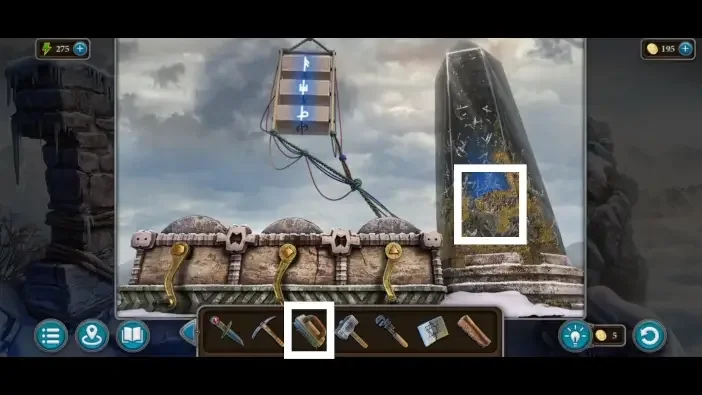
Variants: AppGamer states the runes needed may differ.
17Tower Door Rune Puzzle
Where: Main door of the Oracle's Tower, opened with the Triple Moon.
You need: Triple Moon · Main rune clue from the cleaned crystal obelisk
Compare the rune clues with the tower door and set its lock.
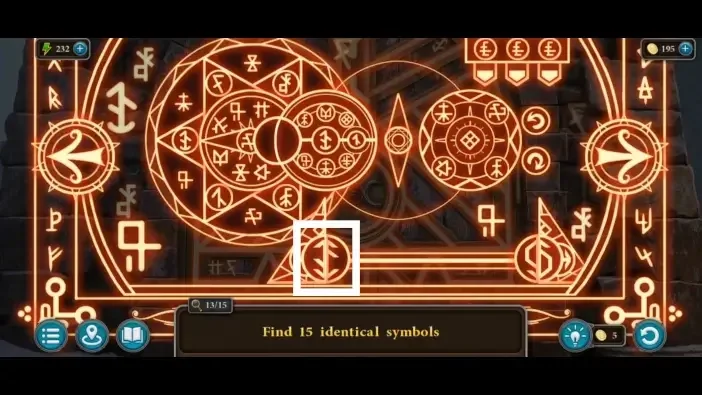
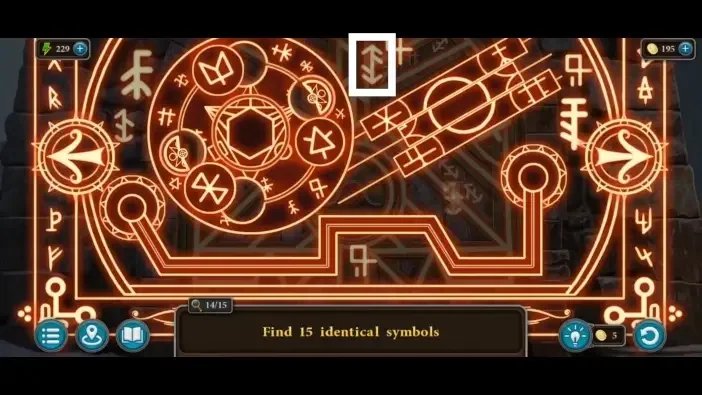
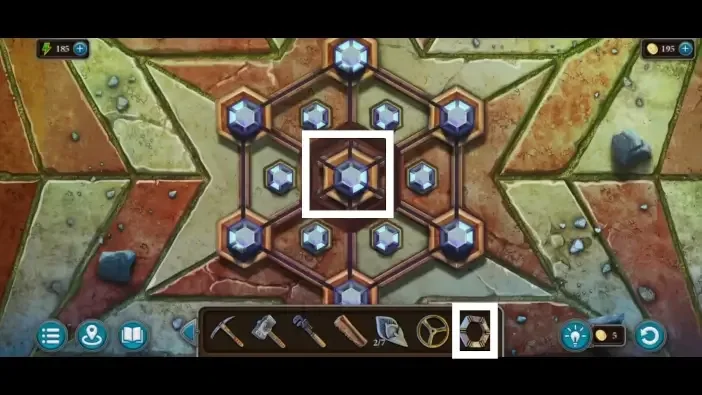
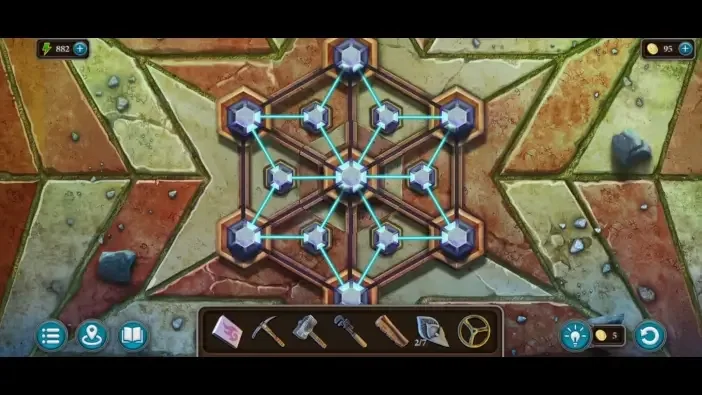
18Tower Floor Puzzle
Where: Pattern in the centre of the upper room floor of the Oracle's Tower.
You need: Detail from the storage-room chest
Complete the mechanism in the tower floor.
19Statue Pose Puzzle
Where: Statue on the right side of the Oracle's Tower hallway.
You need: Bronze figurine pose remembered from the storage-room cabinet
Adjust the statue to the pose required by its clue.
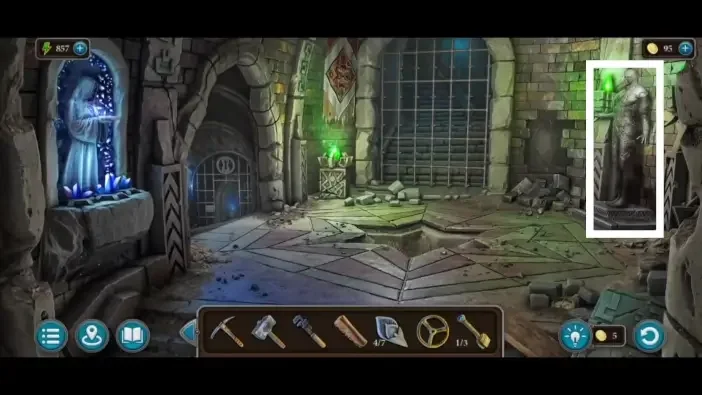
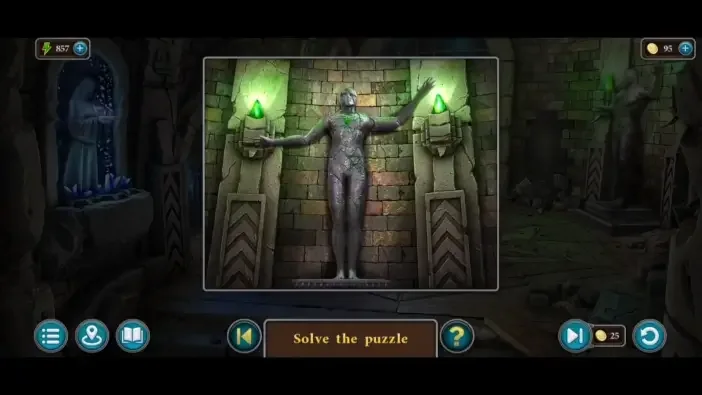
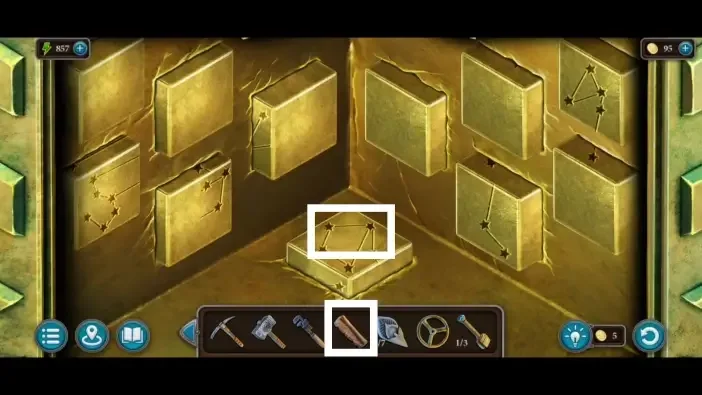
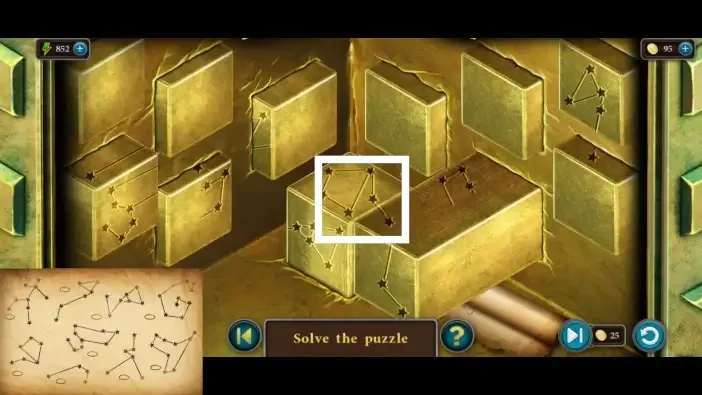
20Oracle Door Constellation Lock
Where: Door of the Oracle's room in the tower.
You need: Parchment showing constellations
Compare the constellation clue with the oracle door lock.
Scene 05
Build the model and weigh the materials
Use the owl mask and model, then compare the material weights at the scales.
21Owl Mask Puzzle
Where: Owl-faced stone block at the back right of the portal garden.
You need: Mask from the laboratory desk · Clue from the banner in the tower hallway
Use the owl mask at its matching mechanism.
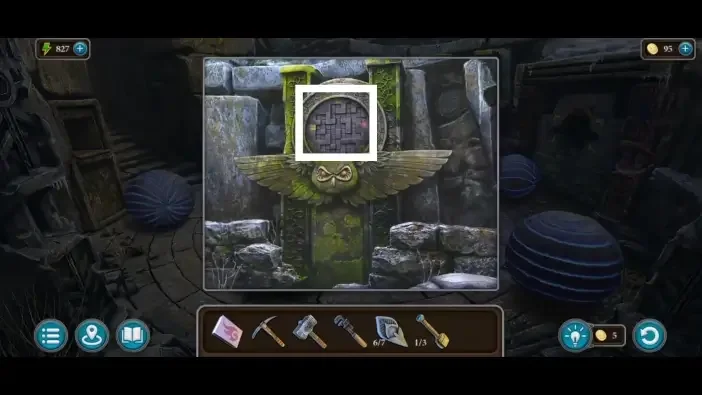
Show the full solution
Slide the tokens into the positions given by the banner clue: yellow bottom, blue left, red top and green right.
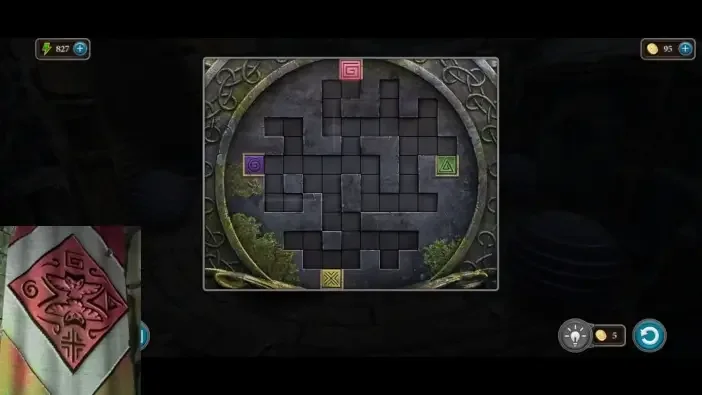
Variants: AppGamer states your game may differ, so check the banner clue in the tower.
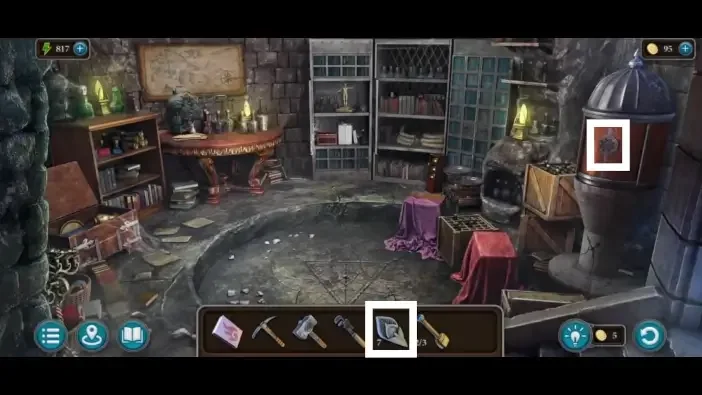
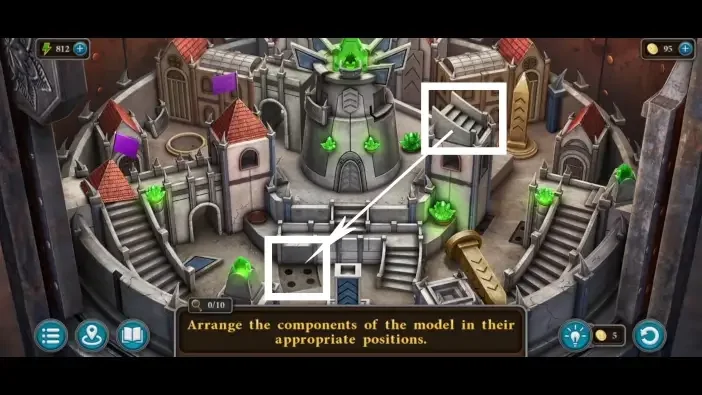
22Model Puzzle
Where: Red cylinder in the laboratory, opened with the seven petals.
You need: Seven petal items
Assemble the model at the model board.
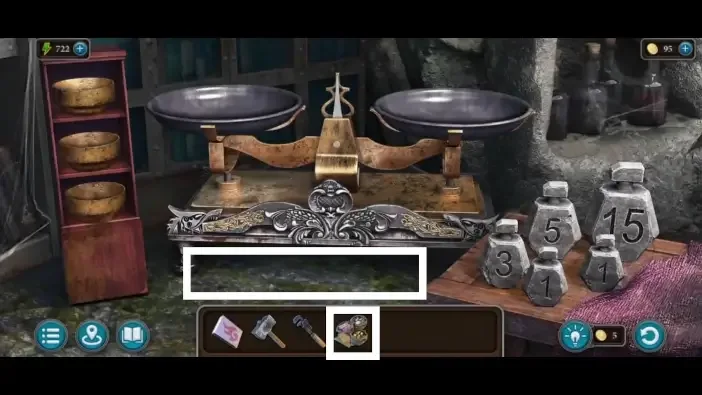
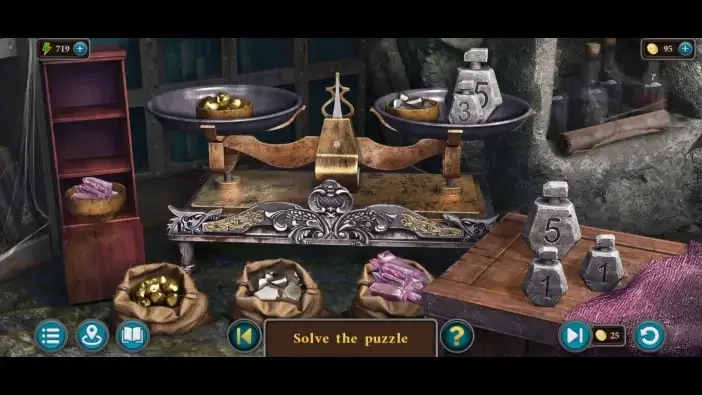
23Weighing the Materials
Where: Scales under a pink sheet in the laboratory, loaded with the alloy materials and five weights.
You need: Five weights (1, 3, 5, 15 kg and one more) · Gold, silver and crystal ores · Three bowls
Use the scales to compare the materials and obtain the required amounts.
This guide covers the researched puzzle stops. Some connecting exploration and item pickups are still being documented.
Collectibles along the way
- Compasses · 8 in this chapter (as stated by sources) — All eight give the Navigator achievement; spread across the tent area, oracle tower rooms, hermit's cabin, spheres room, tower bridge rock and the crystal cave.
- Birds · 7 in this chapter (as stated by sources) — All seven give the Ornithologist achievement; found in the tower storage room, near the cabin, near and inside the birder's house, on the mountain, in the cave and in the crystal cave.
- Morphing Objects · 15 in this chapter (as stated by sources) — Chapter 2 holds objects 16-30 of the 46 in the game.
Open the Legendary Tales 4 collectibles checklist to tick items off as you play.
Commonly missed
- The hermit's house and the birder's house hold several collectibles that sit above shelves or in cages, so they are easy to walk past.
- Morphing objects in this chapter sit on ceilings, ice, snow tracks and wall signs rather than in plain sight.
- Two cave scenes and the crystal cave hold several collectibles, and both are places players tend to rush through on the way to the slug.