Legendary Tales 4 Chapter 3 Walkthrough – The Map of Hope
Legendary Tales: Map of Hope · last updated 2026-10-15
Chapter overview and locations
Lucia and Ulf hire Captain Brodovitch and gather the components needed to sail to the island of Ultima Lapis, where werewolves may still live. They arrive in a flooded temple, help the Vilas and open the gates to the surface by collecting two gate keys. Above ground they pass through a town, heal an injured traveller to make an ointment, power the golem with an ice and a fire crystal and finally destroy the Defender machine that blocks the road to the werewolf settlement.
Scenes in this chapter: Harbour and dock with the drawbridge, hut and wrecked boats · Abandoned ship with red sails and the ruined ship interior · Ultima Lapis: sunken/flooded temple (arrival room, hallway, statue area, mechanism room) · Stone bridge and gate leading up to the town · Outside the town walls (ruined house, cart, tower, bushes) · Town: square with the statue, monument and fountain, workshop/forge and mill · Observatory above the mill · Golem interior, golem head and its outstretched arm · Broken bridge and the Defender area · Werewolf settlement
Step-by-step walkthrough
Follow the scenes below. Required items and screenshots sit beside each stop; answers expand on request. Select a screenshot to enlarge it.
Jump to a scene · 5 sections
Scene 01
Search the dock and ship route
Search the dock, then use the heads and knots. Open the ship chest before fitting the decorative elements.
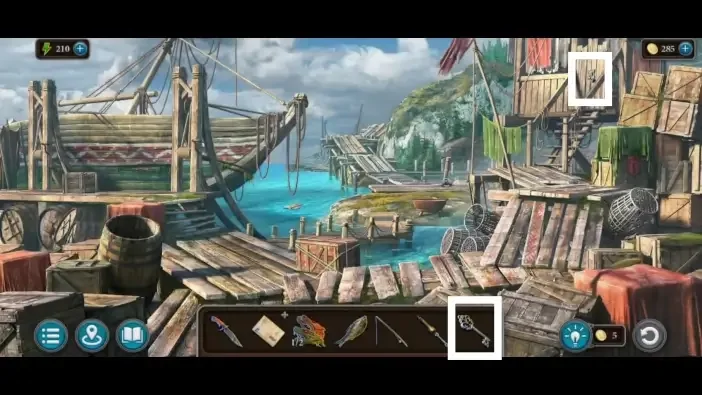
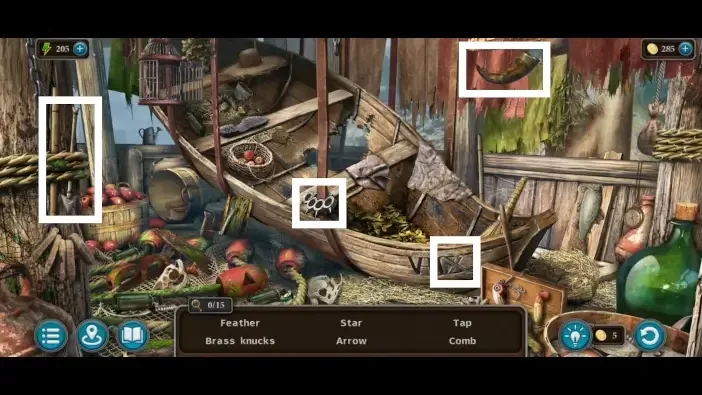
2Heads Puzzle
Where: Round panel on the wall at the base of the large statue near the wrecked boats.
You need: Two heads
Inspect the heads mechanism and arrange it according to its clue.
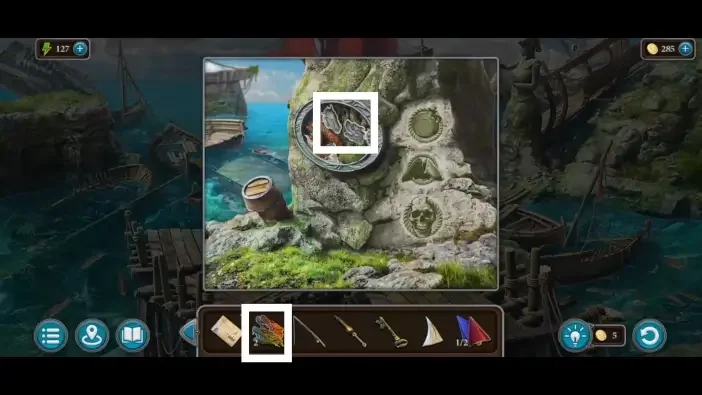
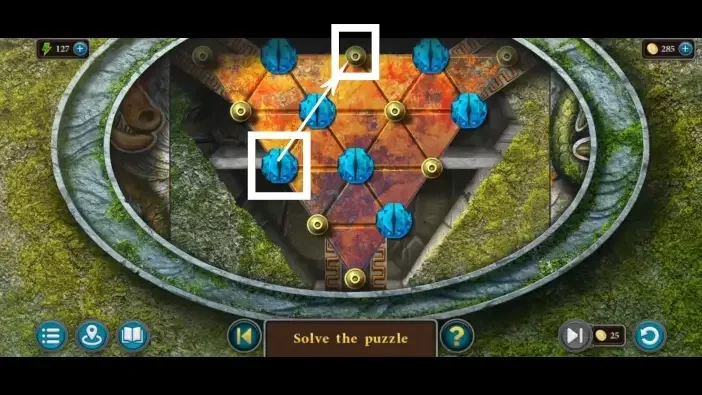
3Knots Puzzle
Where: Compass design under the bow of the large ship with red sails, opened with the two arrows.
You need: Two arrows
Work through the knots at their mechanism.
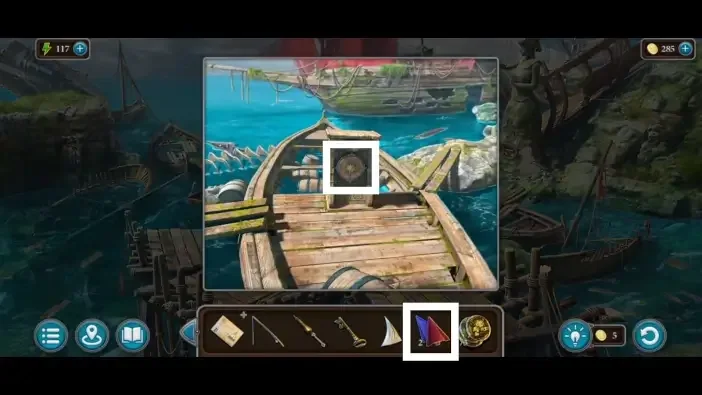
Show the full solution
Drag the knots onto the blue pegs so no rope lines cross.
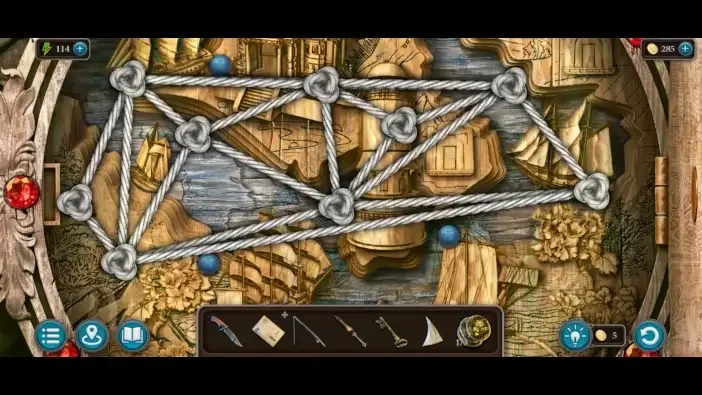
Variants: AppGamer states your game may have a different rope layout.
4Ship Chest Puzzle
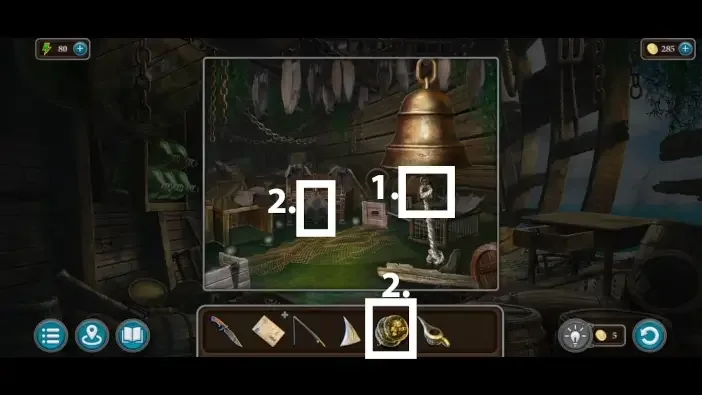
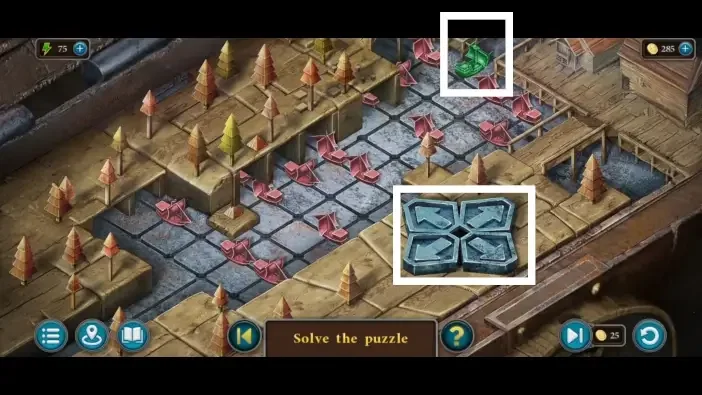
Where: Large chest on the ruined ship, opened with three amulets.
You need: Three amulets
Open the ship chest mechanism and complete its board.
5Decorative Elements Puzzle
Where: Pillar in the left corner of the ruined ship, opened with the Decorative element.
You need: Decorative element from the drawbridge · Symbol clue seen on the monument in the wrecked-boat area
Fit the decorative elements to the matching board.
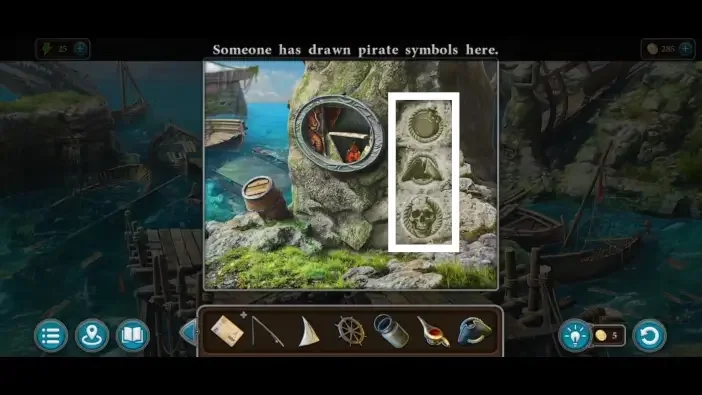
Show the full solution
Set the three symbols to match the clue seen on the stone in the wrecked-boat area.
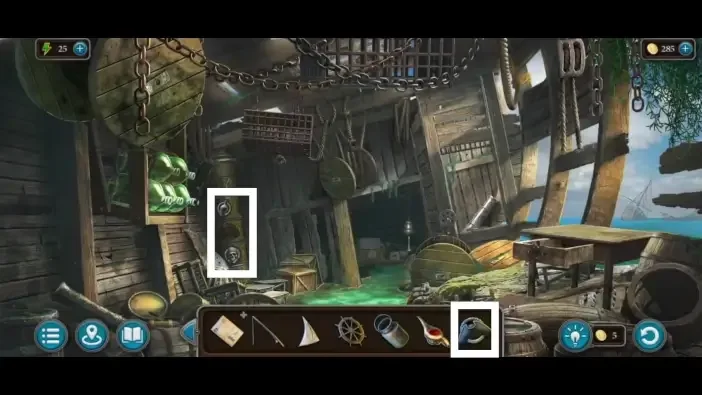
Variants: AppGamer states the symbols can be different in each game.
Scene 02
Pass through the flooded temple
Collect the gate stones and clean the symbol clue. Use the matching pillar and continue through the hoop mechanism.
6Gate Stones
Where: Left gate of the first temple room.
You need: Ten stones carved with waves
Recover the gate stones along the temple route and fit them to their matching circles.
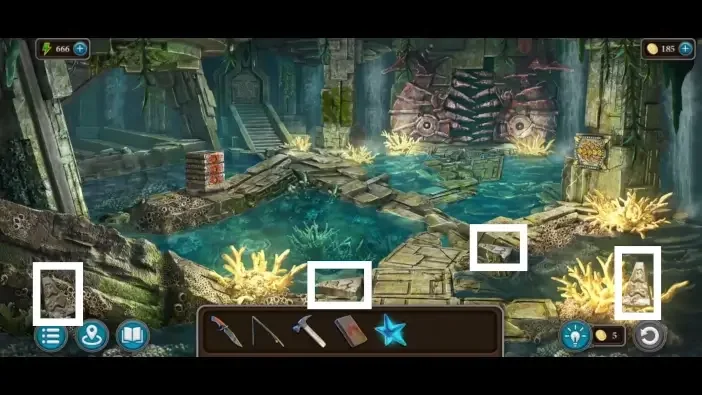
Show the full solution
Place all ten wave stones on the gate and turn the circle to open it.
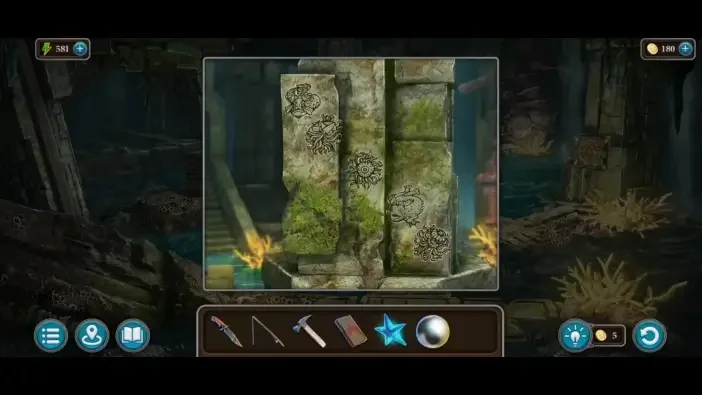
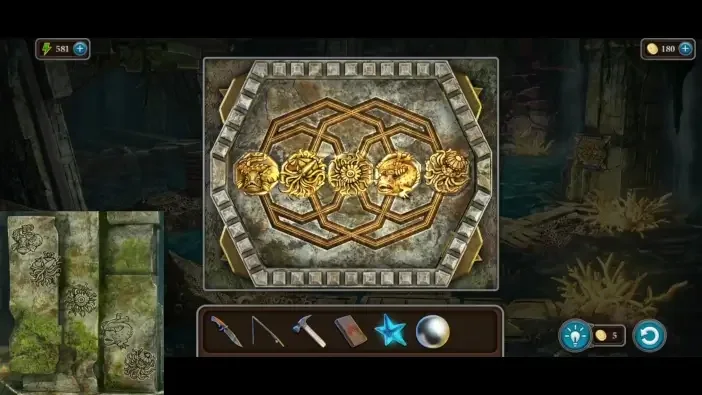
7Symbols Puzzle
Where: Large column on the right of the flooded temple room, after cleaning the mossy column with the Brush.
You need: Brush · Symbol order clue from the cleaned column
Clean the mossy pillar with the brush. Copy its creature order onto the opposite pillar.
8Hoop Puzzle
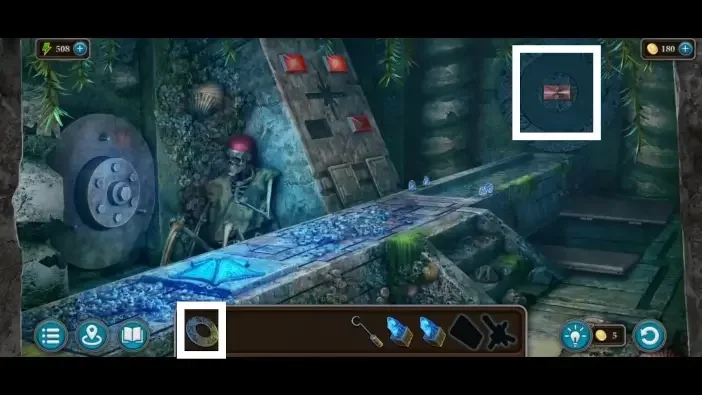
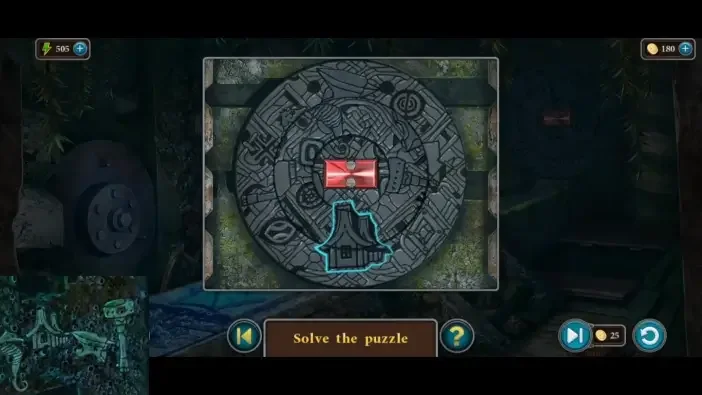
Where: Round panel on the back wall of the mechanism room, opened with the Hoop.
You need: Hoop taken from the wheel with the Spanner · Four designs seen on the left wall of the room
Use the hoop at its matching mechanism.
Scene 03
Open the statue and tower route
Continue with the statue, gate steps, diamonds and tower. Match the hexagons to enter the mill.
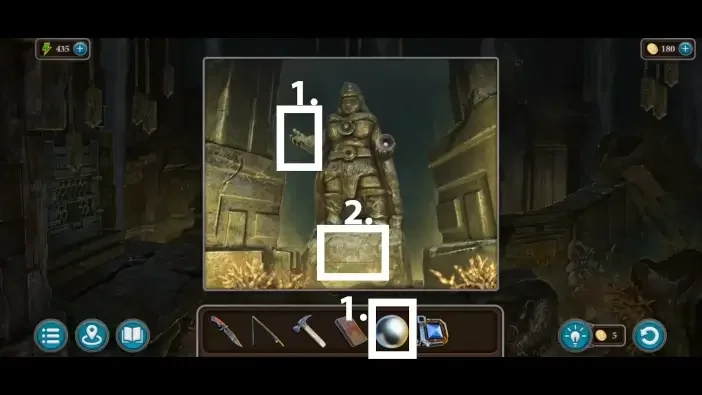
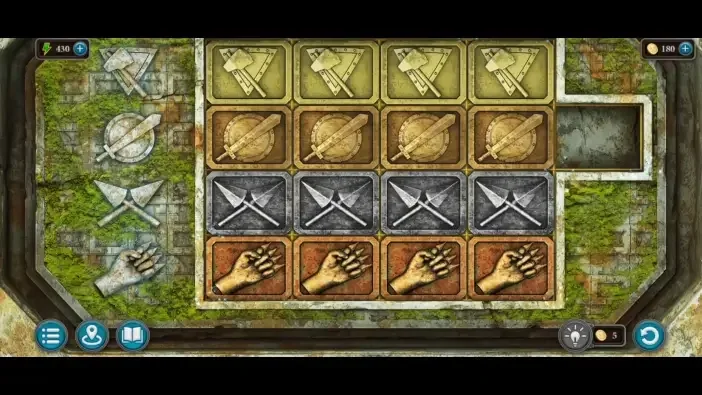
9Statue Puzzle
Where: Panel in the base of the statue in the sunken temple, opened by placing the Pearl in its hand.
You need: Pearl from the clam shell
Inspect the statue and complete its mechanism.
Show the full solution
Slide the tiles so each row matches the symbol shown on the left (source order: First number is column (top), second is row (side), x4 means click 4 times — (3,2)x4, (2,1), (1,1)x4, (2,4)x4, (3,3)x4, (2,2)x4, (1,1), (0,1)x4, (1,4)x4, (2,3)x4, (3,2)x4, (2,1)x4, (1,4)x4, (2,3), (3,3)x4, (4,2)).
10Gate Steps Puzzle
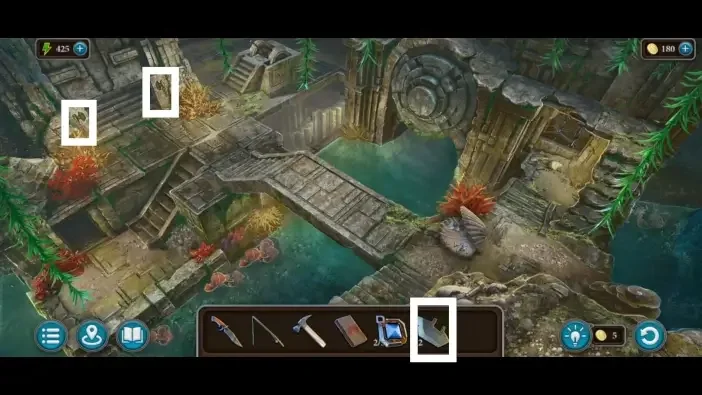
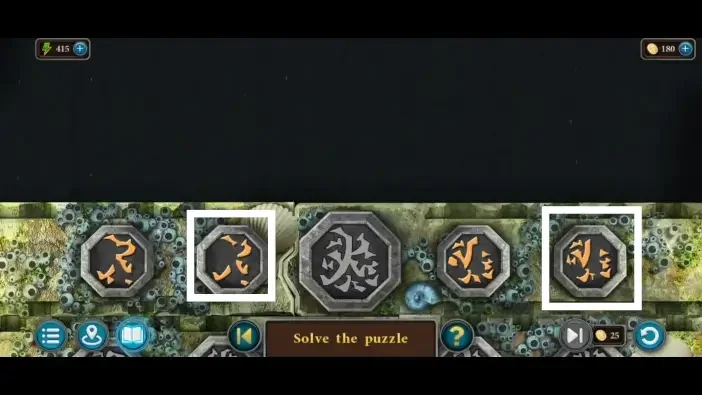
Where: Large doorway in the temple hall, opened with the two gate keys.
You need: Gate key 1 of 2 from the statue puzzle · Gate key 2 of 2 from the Vilas
Use the gate-step board to open the next passage.
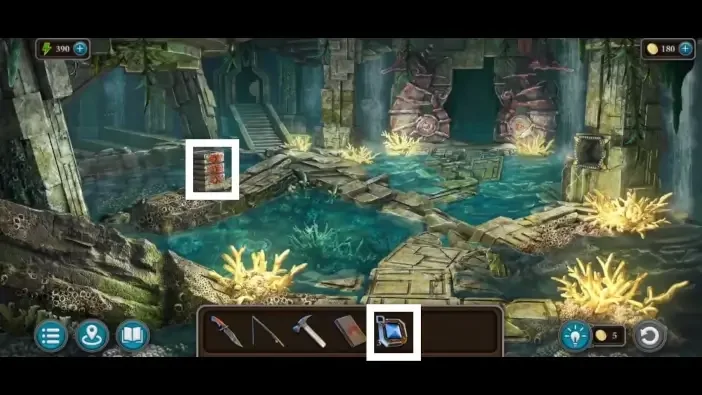
11Diamond Puzzle
Where: Stack of three stones with red slots in the first temple room, opened with three diamonds.
You need: Three diamonds
Use the diamonds at the matching mechanism.
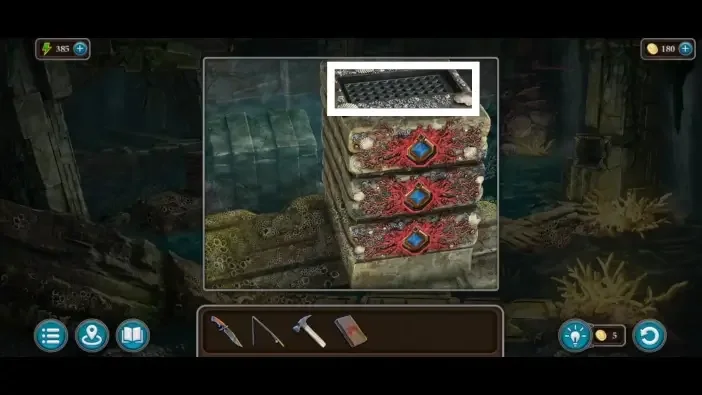
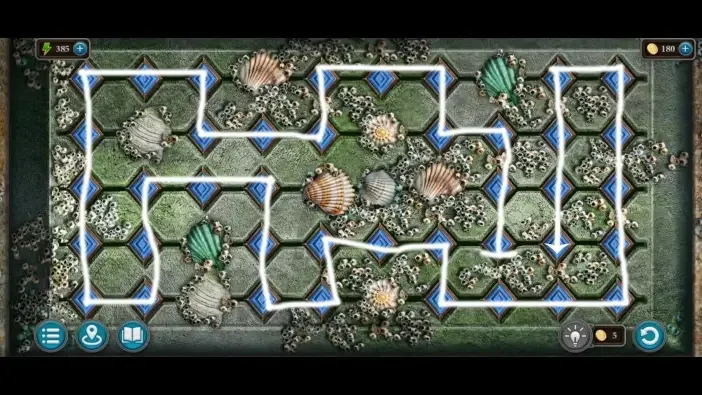
12Tower Puzzle
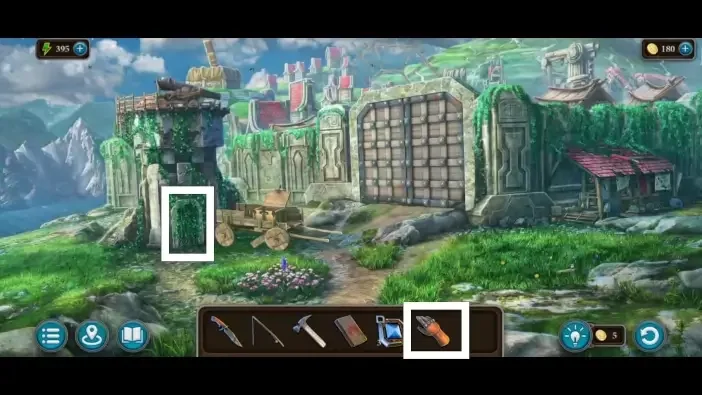
Where: Floor panel in the town-gate tower, opened with the Detail item.
You need: Detail item · Five coloured paths on the board
Complete the tower mechanism before continuing to the mill.
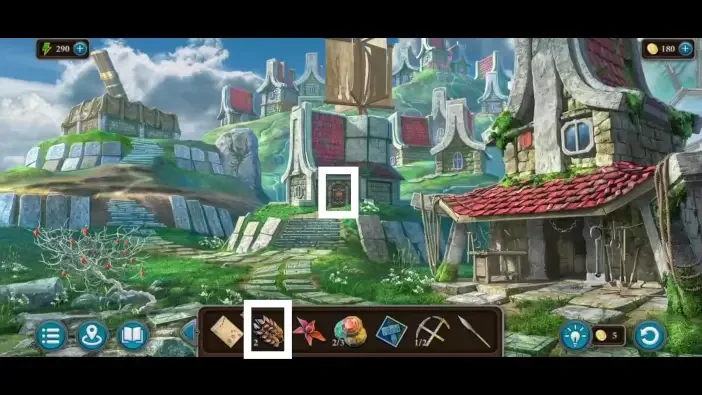
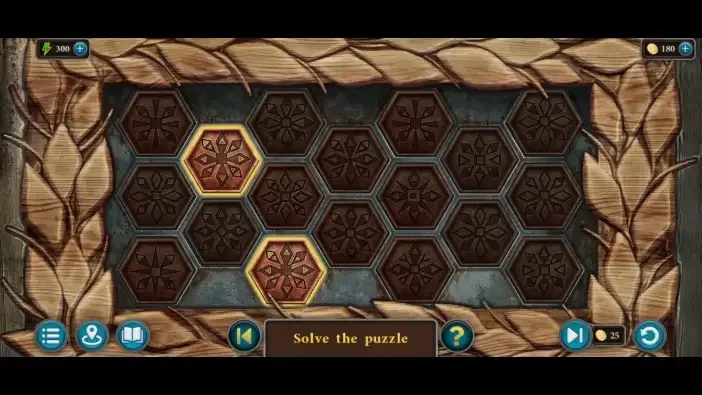
13Mill Matching Pairs Puzzle
Where: Door of the mill building in the town, opened with two spikelets.
You need: Spikelet 1 of 2 from the basket under the broken bridge · Spikelet 2 of 2 from the workshop apron pocket
Select matching hexagon pairs until the mill board is cleared.
Scene 04
Follow the telescope and light mechanisms
Use the constellation and amphora, then the telescope. Finish the tiles and beam before the workshop.
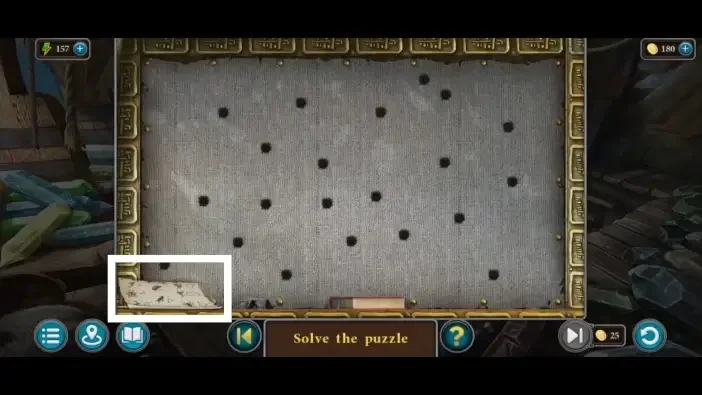
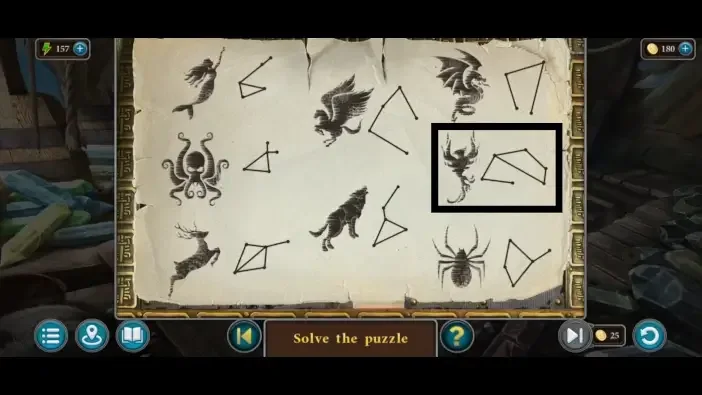
14Constellation Puzzle
Where: Behind the green cloth left of the telescope in the observatory.
You need: Paper clue in the same room · Phoenix drawing seen on the stone outside the observatory
Use the constellation clue at its matching board.
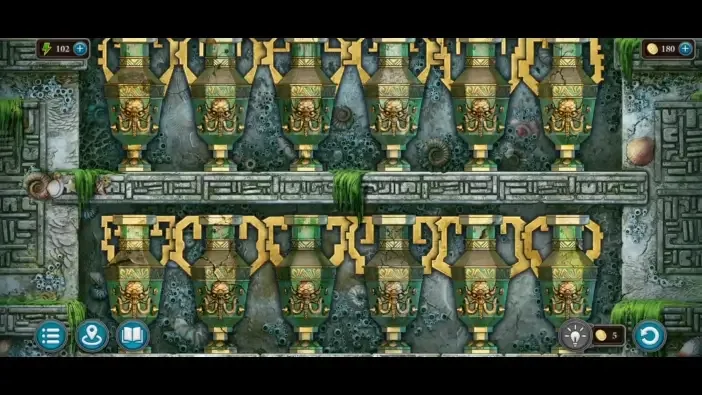
15Amphora Puzzle
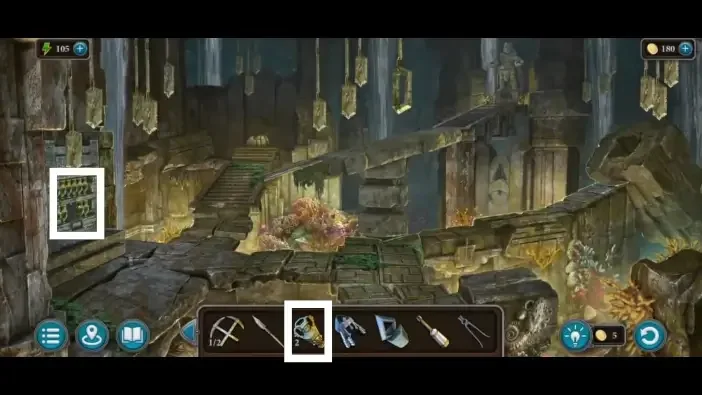
Where: Shelf on the left wall of the temple statue area, opened with the two amphoras.
You need: Amphora 1 of 2 from the workshop trapdoor · Amphora 2 of 2 from the workshop cabinet
Complete the amphora mechanism.
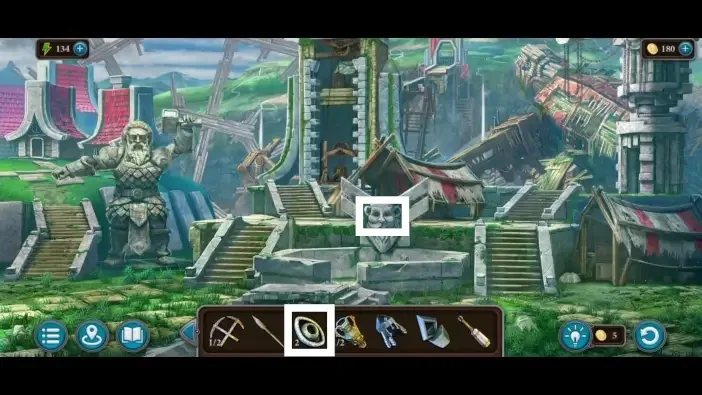
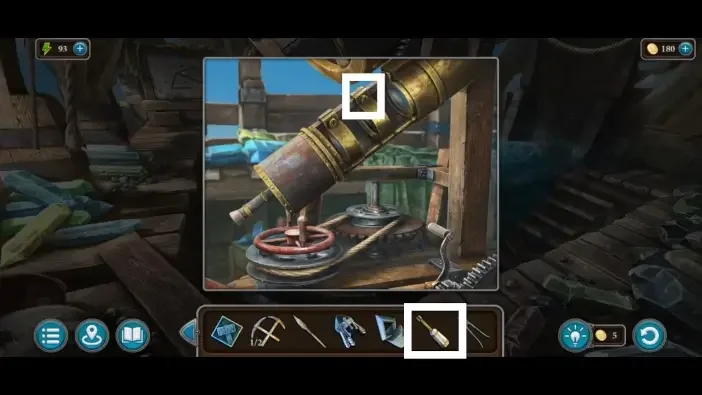
16Telescope Puzzle
Where: Telescope in the observatory.
You need: Lens from the town fountain (after placing both eyes) · Screwdriver · Mirror from the amphora puzzle
Use the telescope and follow its viewing clues.
17Tiles Puzzle
Where: Lid inside the tower on the right of the town centre, opened with two Details.
You need: Detail 1 of 2 from the town-gate tower puzzle · Detail 2 of 2 from the melted ice in the observatory
Arrange the tiles on their matching board.
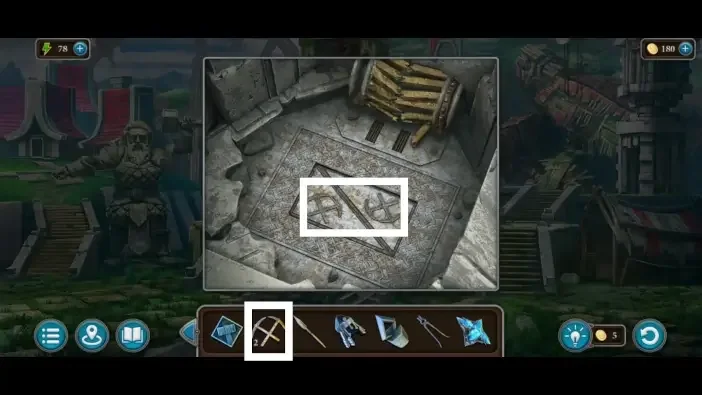
Show the full solution
Swap the green symbol tiles until they match the hidden connected symbols (source order: 1-1, 2-2, 3-3, 4-4, 5-5, 6-6, 7-7, 8-8, 9-9, 10-10, 11-11, 12-12, 13-13, 14-14).
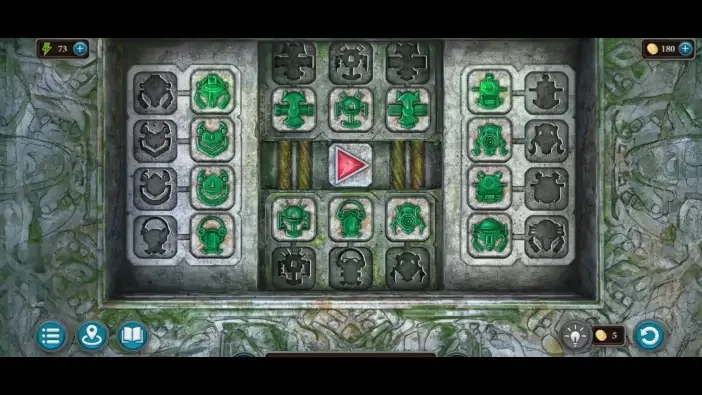
Variants: AppGamer states the arrangement of symbols can be different for your game.
18Beam Puzzle
Where: Round hatch in the golem interior, opened with the Mask.
You need: Mask · Ice Crystal and Fire Crystal placed in the golem heart
Adjust the beam mechanism to complete the light route.
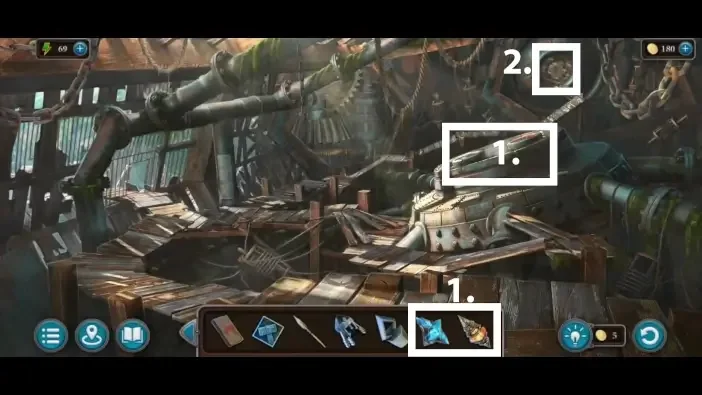
Show the full solution
Send the beam through every connector to the receiver on the bottom right.
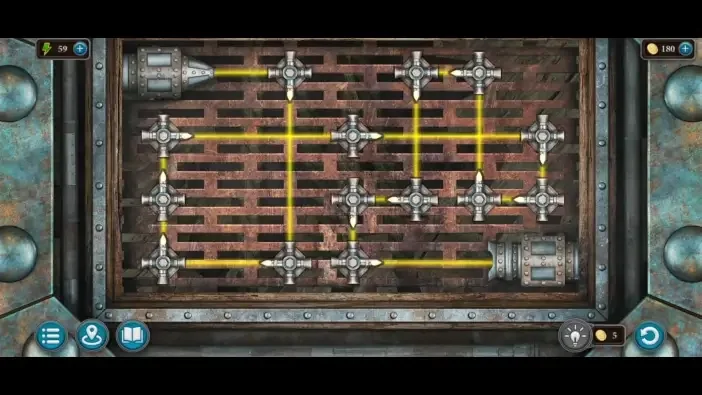
Variants: AppGamer states the layout may be different in your game.
Scene 05
Finish the workshop and scales
Complete the workshop tiles before setting the weights.
19Workshop Tiles Puzzle
Where: Cabinet at the top of the workshop stairs, opened with the hammer tile and the anvil tile.
You need: Hammer tile · Anvil tile from under the golem's finger
Arrange the workshop tiles before proceeding to the weights.
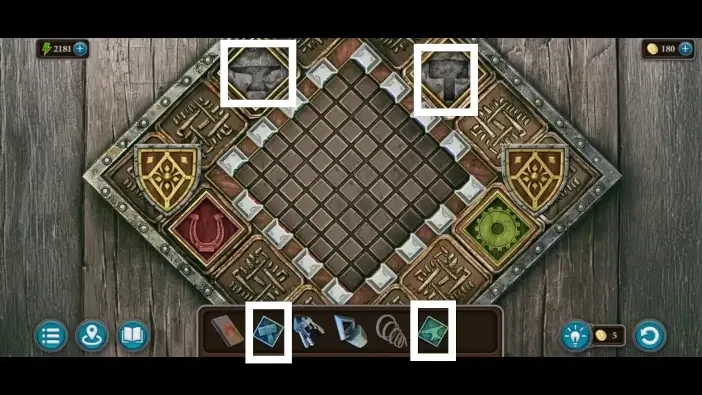
Show the full solution
Place four hammer symbols and one anvil symbol in their designated centre slots (source order: A4-D5-F3-E6-C3-B4-G3-A1).
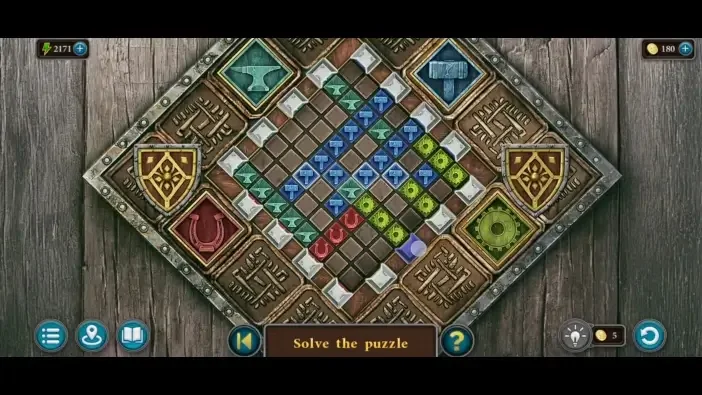
Variants: AppGamer states your layout may be different.
20Weights Puzzle
Where: Weights hanging from chains on the left of the gate beyond the bridge.
You need: Weight from the town-centre chest
Use the weights at the scales after completing the workshop route.
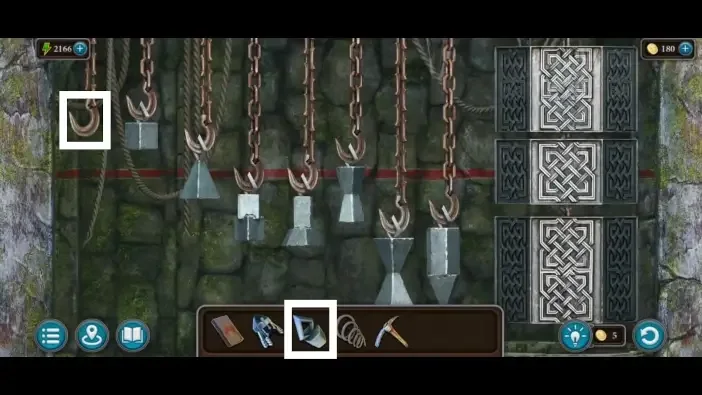
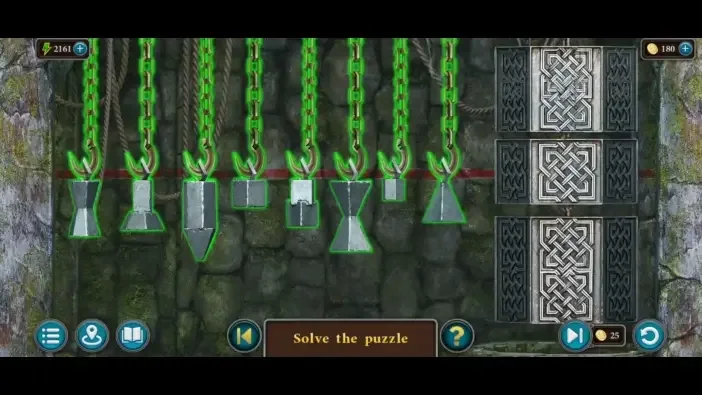
This guide covers the researched puzzle stops. Some connecting exploration and item pickups are still being documented.
Collectibles along the way
- Flags · 9 in this chapter (as stated by sources) — All nine give the Enthusiast achievement; found on boats at the wreck site, in the golem, at the bridge to town, in the flooded temple, in town, in the observatory, in the workshop, in the dock and above the town-centre fountain.
- Screws · 7 in this chapter (as stated by sources) — All seven give the Collector achievement; found on the broken bridge, in the sunken temple hallway, in the Defender area, outside the town walls, in the mill, on the ruined ship and in the temple statue area.
- Morphing Objects · 16 in this chapter (as stated by sources) — Chapter 3 holds objects 31-46 of the 46 in the game.
Open the Legendary Tales 4 collectibles checklist to tick items off as you play.
Commonly missed
- AppGamer's answer pages include a player who could not find one of the chapter 3 flags, so the flag collection is the most commonly reported miss.
- Several flags and screws sit in one-time scenes such as the ruined ship, the golem interior and the temple statue area.
- Chapter 3 morphing objects are often distant or tiny: a far-off house roof, a pinecone over the stone door, a stalactite and a window between the mill and the workshop.
- Items on the dock and in the temple only become collectable after certain tasks, so they are easy to miss on a first sweep.