Legendary Tales 4 Chapter 1 Walkthrough – On the Road
Legendary Tales: Map of Hope · last updated 2026-10-15
Chapter overview and locations
Lucia needs a disguise before she dares re-enter the town where she and Ulf are wanted, so she gathers a cloak and the ingredients for a sleeping powder. In the Eye of the Gargoyle tavern Skarlett explains that a witch-hunter at one of the tables carries the map of magical-creature settlements. Lucia drugs the witch, picks her lock, steals the map and follows it across the river and into the forest toward the werewolf camp and the sacred tree.
Scenes in this chapter: Lucia's wooden hut (interior) and front garden · Road and covered wagon outside the city walls · City square (well, flagpole, tavern front, merchant stand, drain) · Eye of the Gargoyle tavern (main room, dark back room, witch's room upstairs, trapdoor) · Dock and warehouse/boathouse on the river · River crossing and beach with the bell · Watchtower with the telescope · Abandoned werewolf camp in the forest · Ancient city / fortress ruins (armory, stone bridge, chasm, hall) · Swamp with the dragonfly, frog and snake totems and the monument · Sacred tree area with the lion-head faucet · Basement and elevator beneath the tunnel
Step-by-step walkthrough
Follow the scenes below. Required items and screenshots sit beside each stop; answers expand on request. Select a screenshot to enlarge it.
Jump to a scene · 5 sections
Scene 01
Leave Lucia's hut and repair the crossing
Collect the five wolf amulets for the hut chest, then repair the winch and solve the stone obelisk.
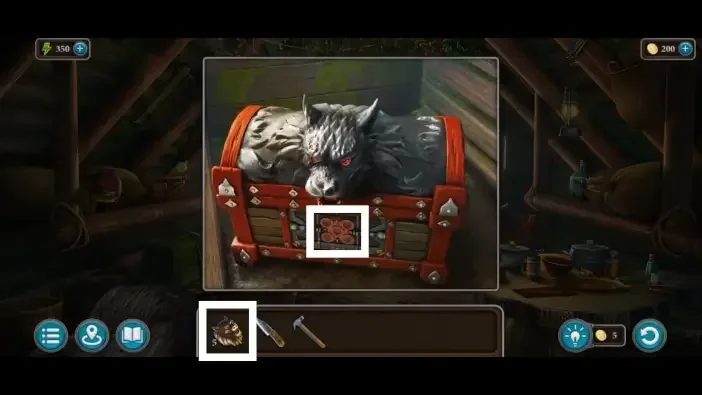
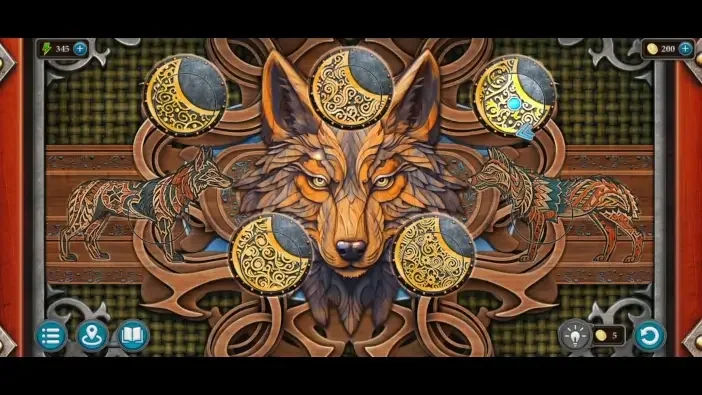
1Wolf Chest Puzzle
Where: Wolf chest in the corner of Lucia's wooden hut.
You need: Five wolf amulets
Return to the hut with all five wolf amulets and fit them to the wolf chest. Rebuild its wolf picture.
2Winch Puzzle
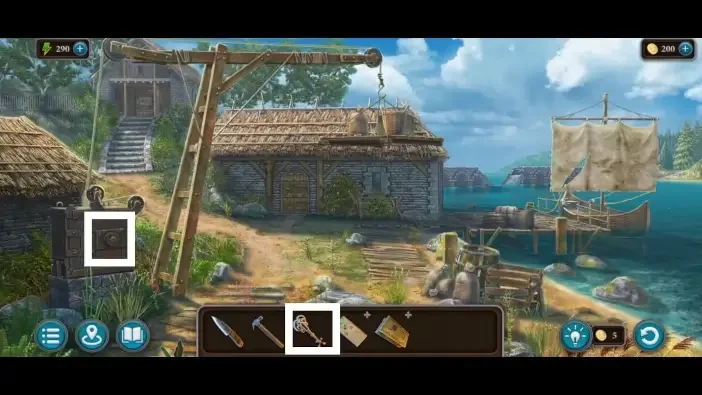
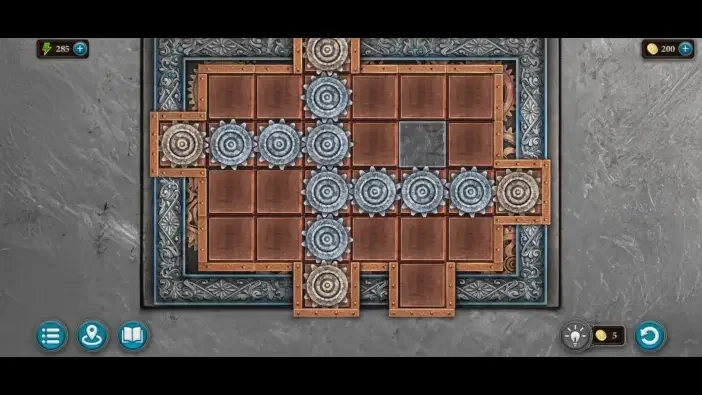
Where: Winch panel on the dock beside the boat.
You need: Key found in the wooden box near the covered wagon
Approach the winch and slide its blocks through the empty spaces to restore the mechanism.
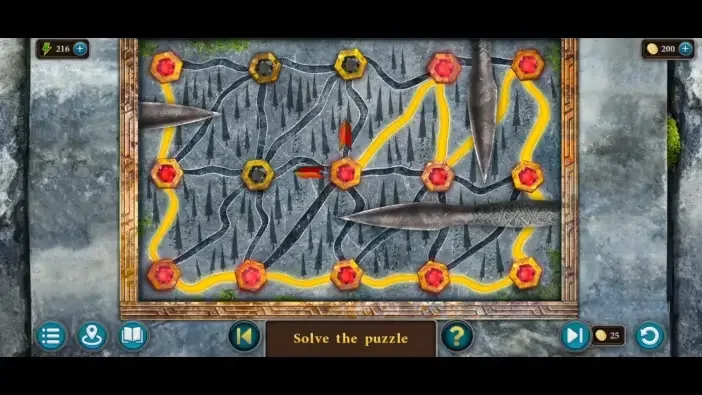
3Stone Obelisk Puzzle
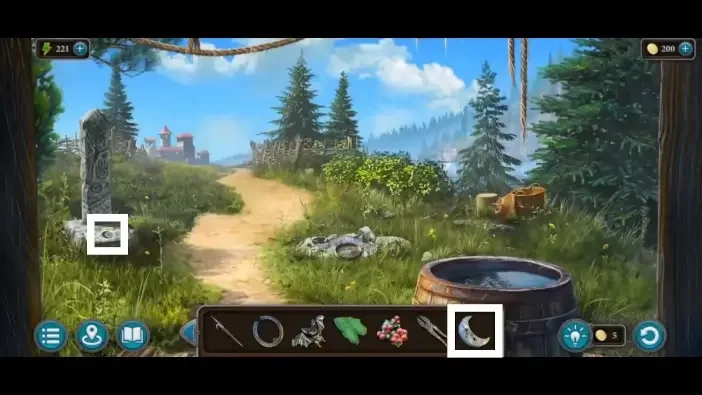
Where: Stone obelisk in the front garden of the wooden hut.
You need: Moon
Use the red arrows on the stone obelisk to connect the gems while avoiding the metal blades.
Scene 02
Search the wagon and shop
Use the wagon clues at the covered chest before opening the arrow cabinet in the shop.
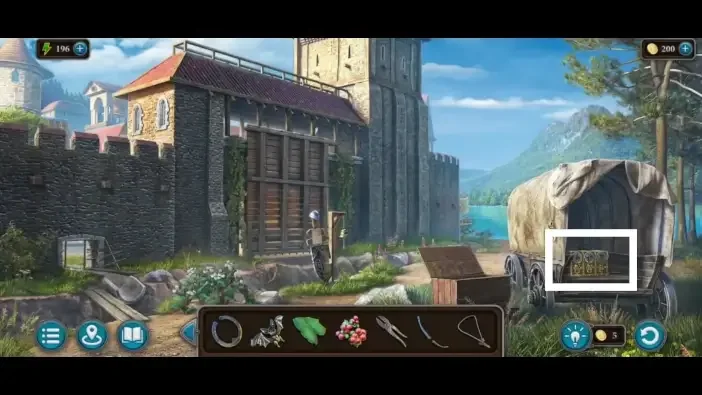
4Covered Wagon Chest Code
Where: Locked chest inside the covered wagon outside the city gate.
You need: Symbol count from the shield clue · Symbol count from the lowered flag · Symbol count from the emblem on the tavern wall
Compare the wagon clues with the covered chest and enter the matching code.
Show the full solution
Enter the three-digit count of symbols found on the shield, the flag and the tavern emblem.
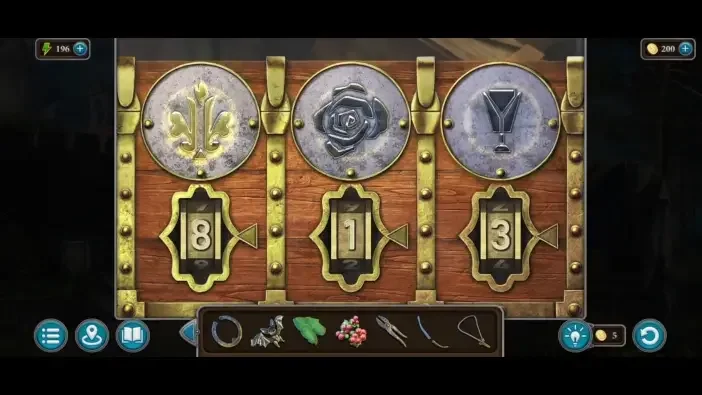
Variants: AppGamer reports the code varies per game; their own answer was 528.
5Shop Arrow Cabinet Puzzle
Where: Locked merchant stand in the city square, opened with the Shield.
You need: Arrow · Clue revealed on the green bottle after using the Acid
Open the shop cabinet mechanism and work through its arrow board.
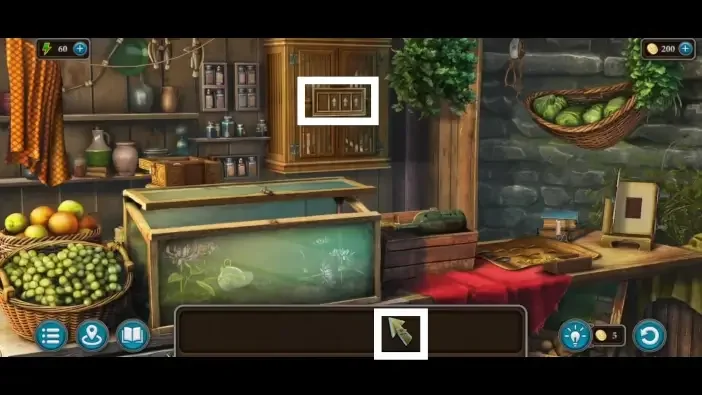
Show the full solution
Set the three arrows to the four-arrow pattern shown by the bottle clue.
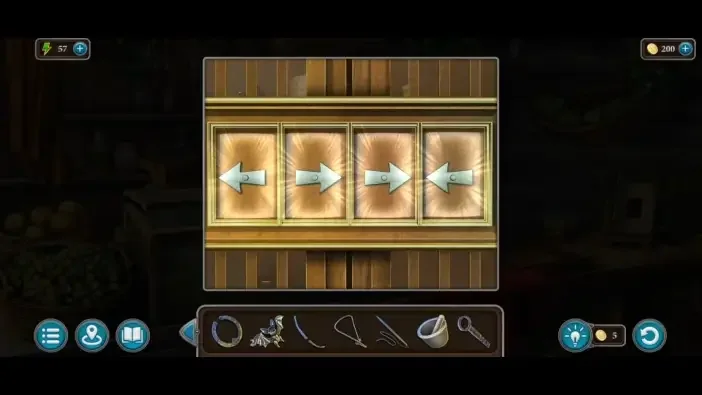
Variants: AppGamer states the answer may differ in each game.
Scene 03
Reach the boathouse
Work through the lockpick, bat chest and crab door. Search the boathouse for the next tools.
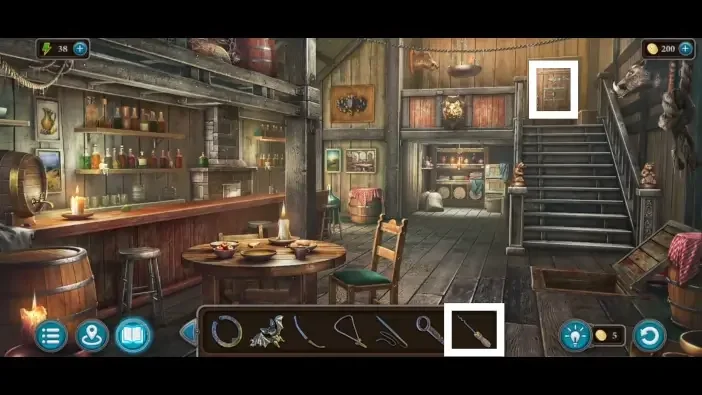
6Lockpick Puzzle
Where: Door at the top of the tavern stairs, leading to the witch's room.
You need: Lockpick
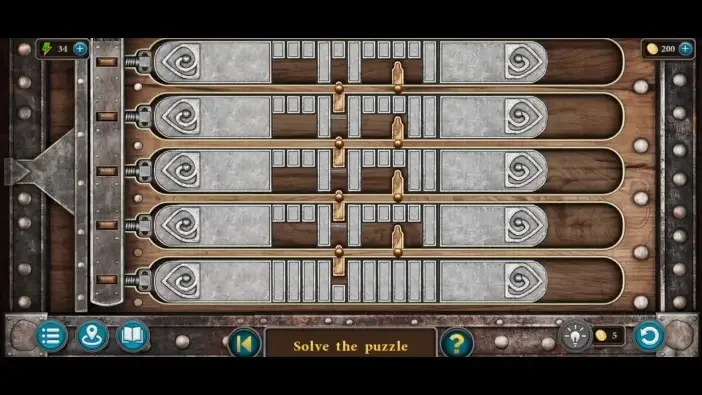
Use the lockpick on the upstairs door, then rearrange the lock pieces to enter the witch’s room.
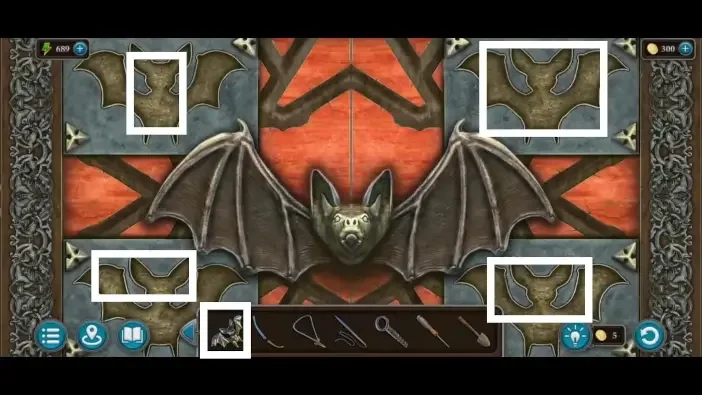
7Bat Chest Puzzle
Where: Large chest in the witch's room in the tavern.
You need: Four bats
Use the bat item at the bat chest and complete its mechanism.
Show the full solution
Slide the bars so each column holds exactly the number of spiders shown above it.
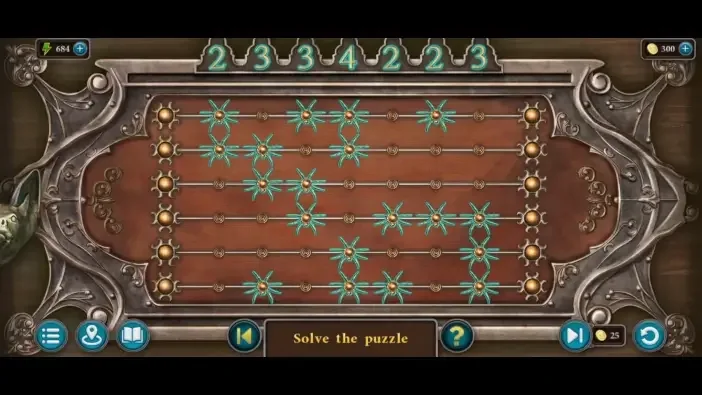
Variants: AppGamer states the numbers and spider arrangement can differ per game.
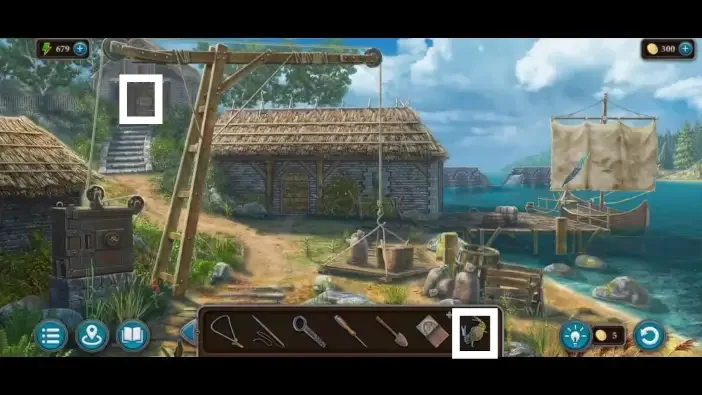
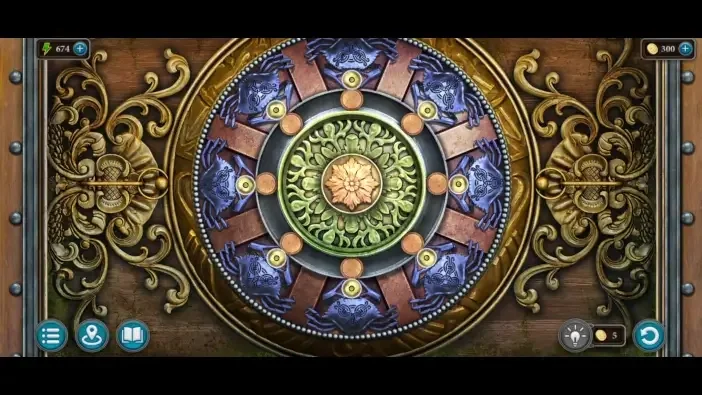
8Crab Door Puzzle
Where: Warehouse door near the river dock.
You need: Crab key
Use the crab at the matching door mechanism.
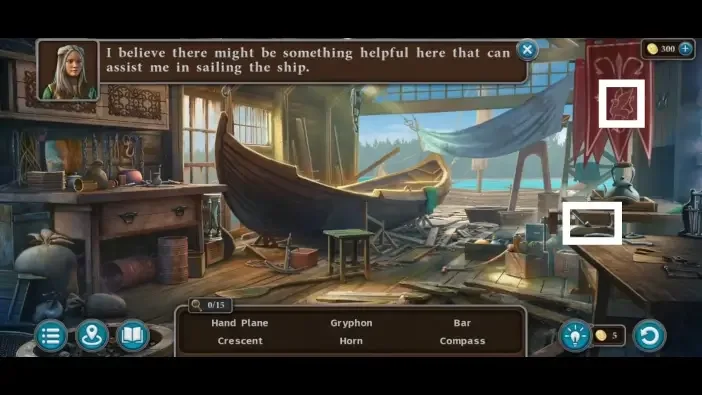
Scene 04
Open the watchtower and swamp route
Use the shield at the door, then inspect the watchtower box and gather the skulls. Follow the snake, frog and dragonfly mechanisms through the swamp.
10Shield Door Puzzle
Where: Overgrown door in the fortress ruins, opened with the Sword.
You need: Sword retrieved from the chasm with the Magnet
Fit the shield to the matching door and solve the lock.
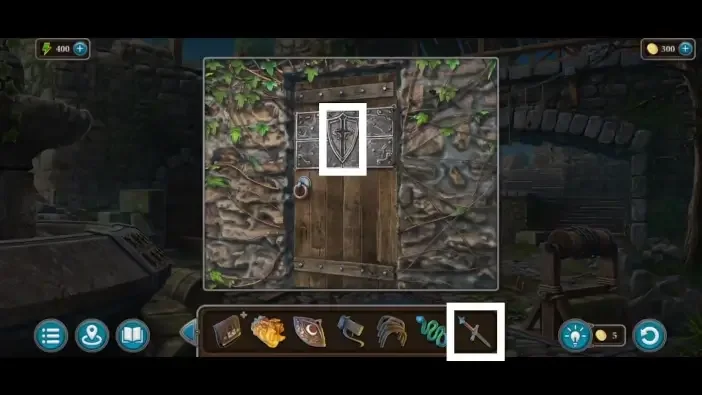
Show the full solution
Slide both chips into the large marked slots (source order: 1U, 1R, 1U, 2R, 2U, 2R, 1R, 1D, 1L, 1U, 1L, 1D).
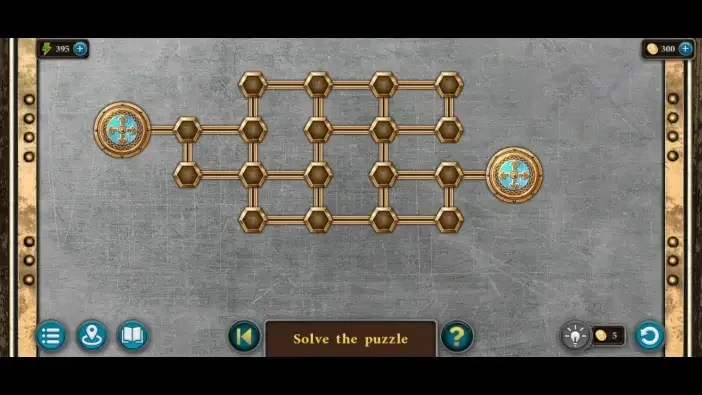
Variants: AppGamer notes the board layout can vary.
11Watchtower Box Puzzle
Where: Cabinet on the top floor of the watchtower, opened with the Eye.
You need: Eye from the nest
Inspect the watchtower box and complete its board before continuing.
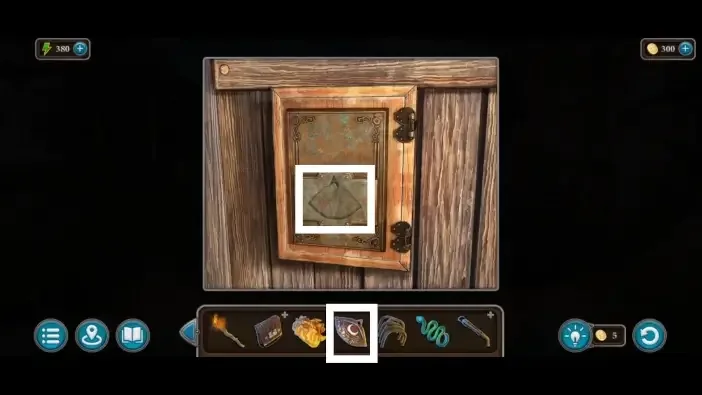
Show the full solution
Queue the rotations so the ball reaches the green button and then the hole (source order: L, R, L, R, L, R, R, R, R, R, R, R, R, L, R, R, R, L, R, R, L).
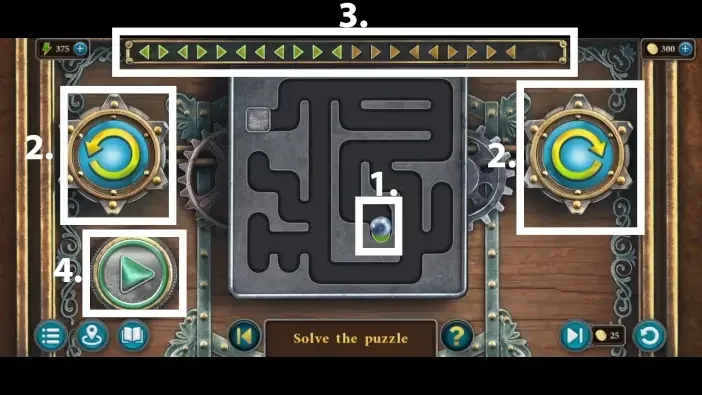
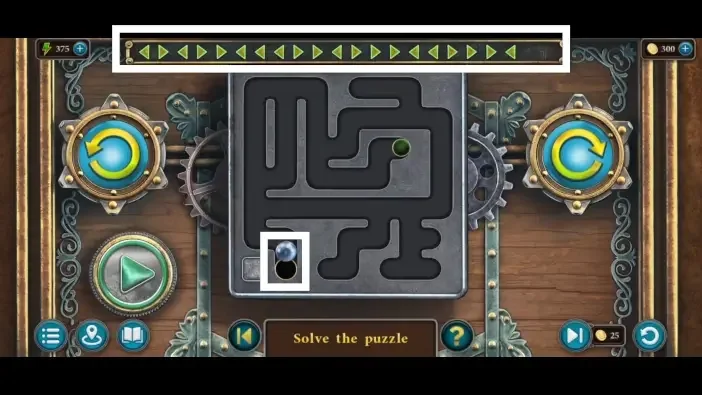
Variants: AppGamer notes the maze layout can differ per game.
12Fifteen Skulls
Where: Large hall of the ancient town/fortress, to open the ornate cache.
Search the skull scene for all fifteen skulls before proceeding.
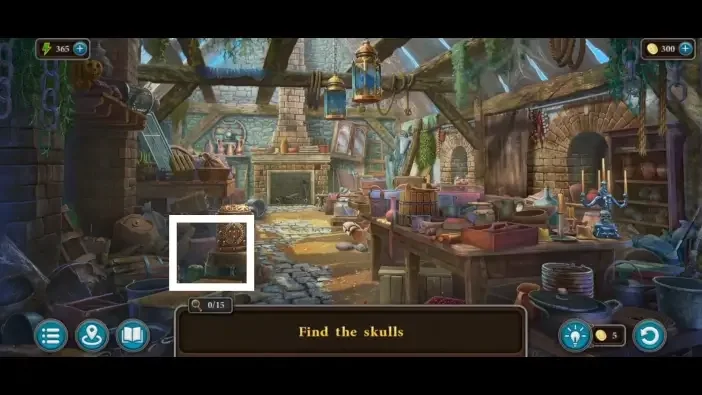
We could not confirm a solution for this one yet, so there is nothing to spoil here.
13Snake Puzzle
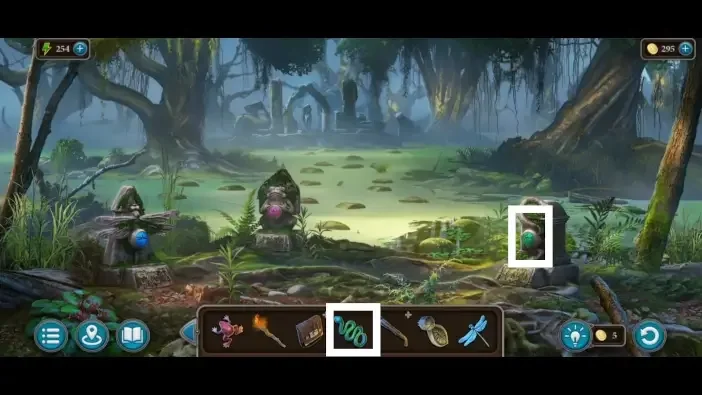
Where: Snake totem in the swamp.
You need: Snake
Use the snake at the snake mechanism before moving on through the swamp.
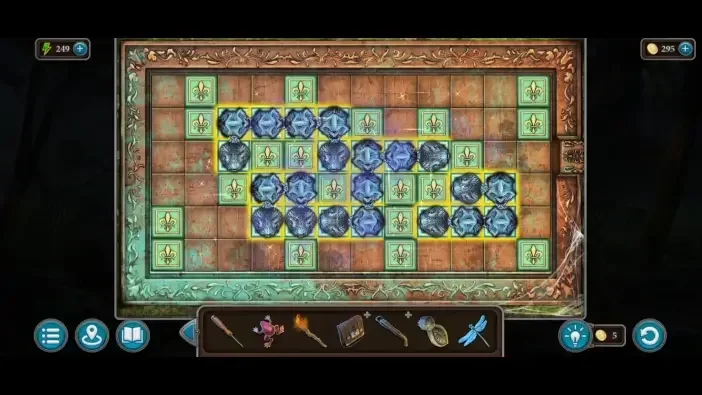
14Frog Puzzle
Where: Frog totem in the swamp.
You need: Frog
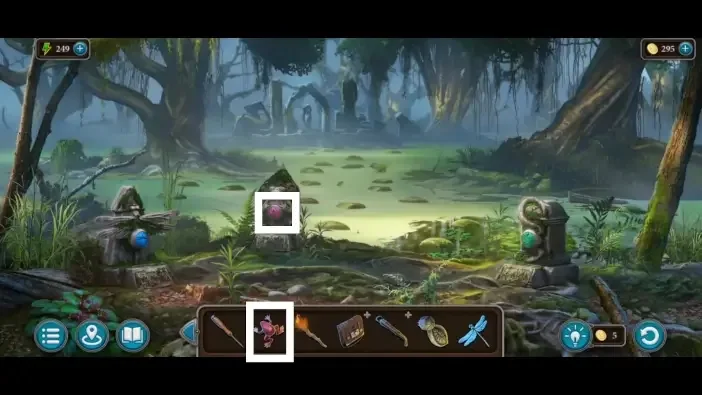
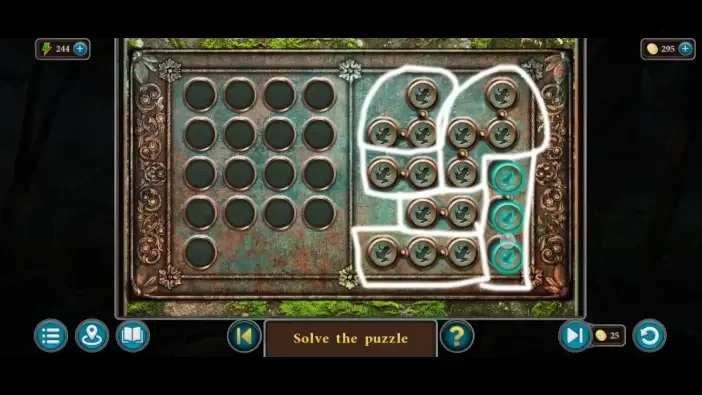
Place the frog key in the frog totem, then fit the blocks into their slots.
15Dragonfly Puzzle
Where: Dragonfly totem in the swamp.
You need: Dragonfly caught with the Net
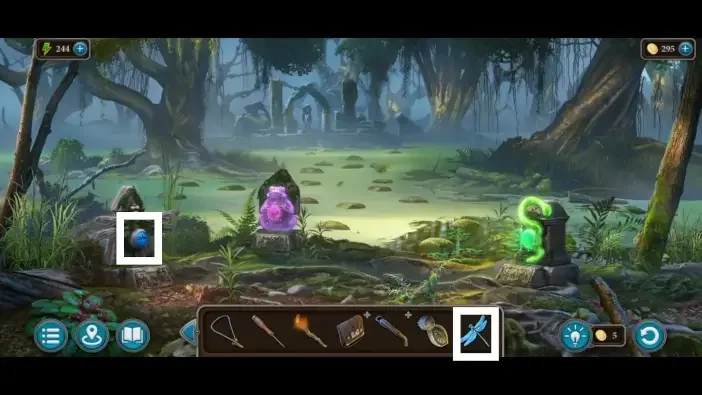
Use the dragonfly at its matching swamp mechanism.
Show the full solution
Connect every block with rays so each block has as many rays as the number on it.
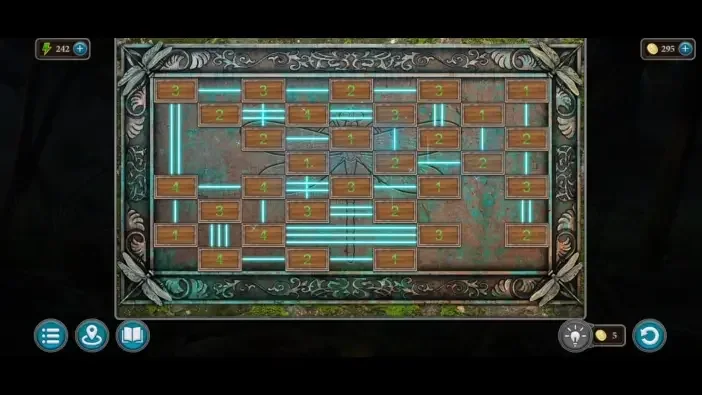
Variants: AppGamer notes the tile layout can vary.
Scene 05
Cross the swamp and repair the elevator
Use the totem and horse mechanisms, then the crossbow. Continue through the fountain, table horse and tree cabinet to repair the elevator gears.
16Totem String Puzzle
Where: Wolf totem at the abandoned werewolf camp.
You need: Wooden wolf eye from the water pump at the great tree
Work through the string mechanism on the totem.
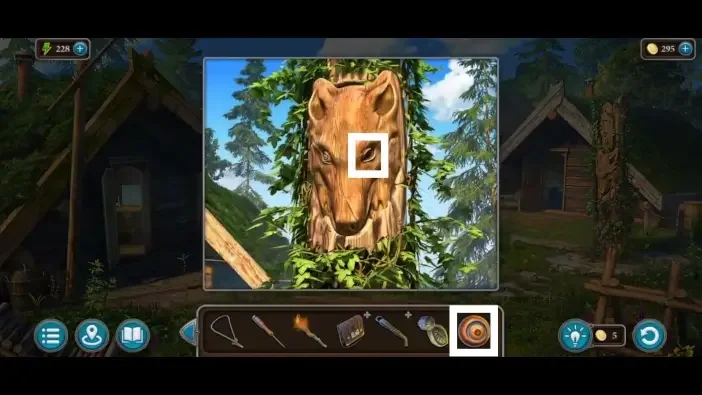
Show the full solution
Arrange the coloured strings to match the moss-covered clue on the wooden column at the great tree; the source lists a long numbered tap order for this puzzle.
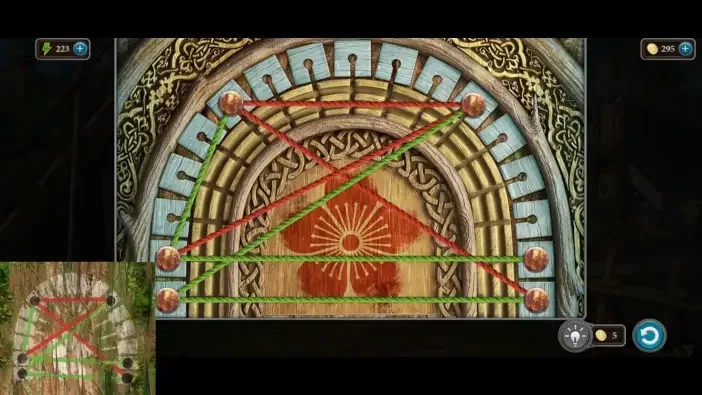
Variants: AppGamer states the clue pattern can differ in each game.
17Swamp Horse Puzzle
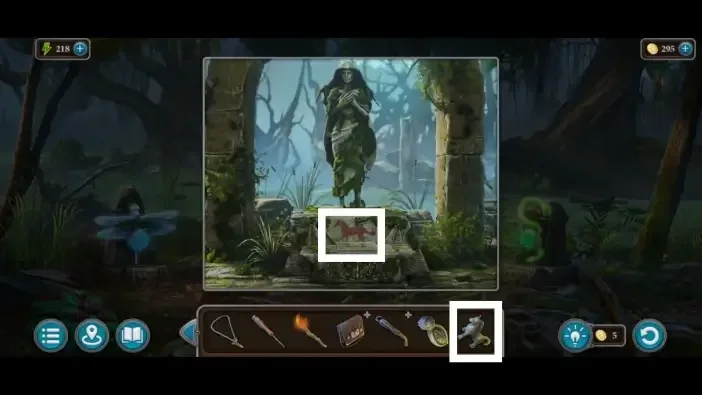
Where: Monument on the far side of the swamp, opened with the Horsey figurine.
You need: Horsey figurine
Use the horse item at the swamp horse mechanism.
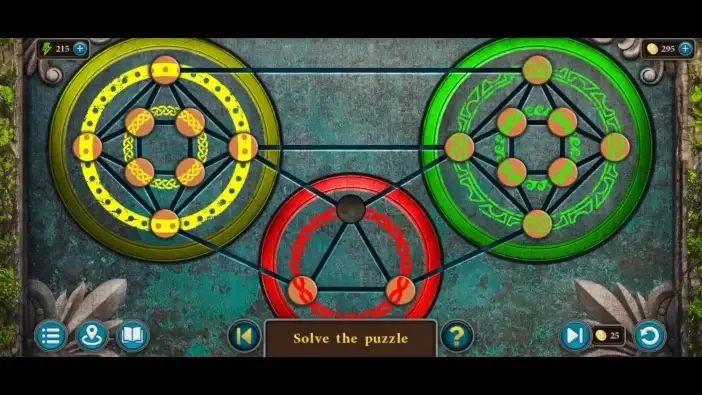
18Crossbow Shooting
Where: Hanging flower decorations in the fortress ruins.
You need: Repaired crossbow (stock, bar, trigger, limbs and string)
Use the crossbow at the shooting interaction.
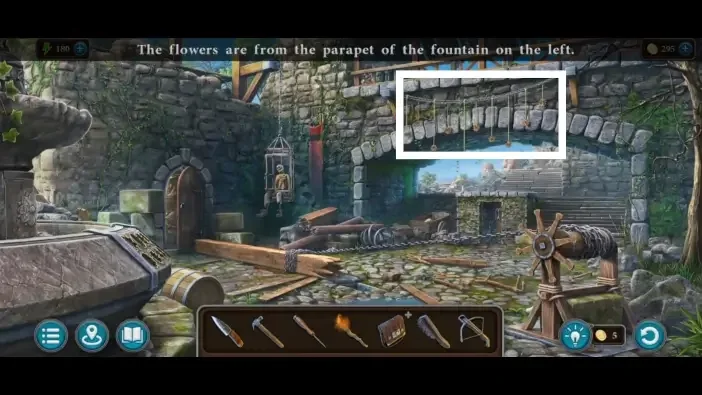
Show the full solution
Shoot down all ten hanging flowers (source order: 1 to 10).
19Lion Head Fountain Puzzle
Where: Lion-head faucet in the Sacred Tree area.
You need: Two knobs · Clue from the brush-cleaned brazier or gold dish
Compare the fountain clue with the lion-head mechanism and set its controls.
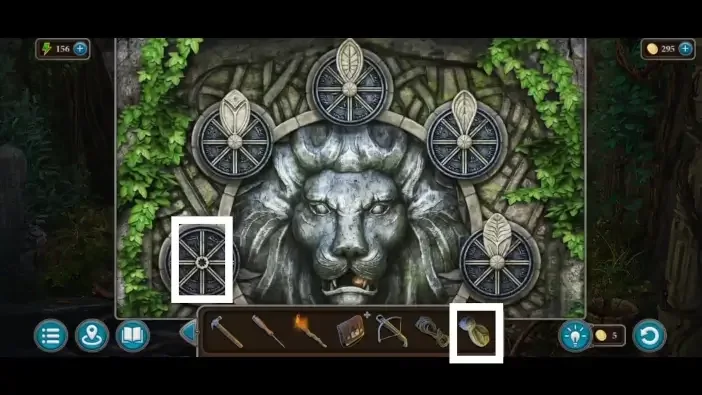
Show the full solution
Turn the five knobs to the positions shown by the clue in the cleaned dish.
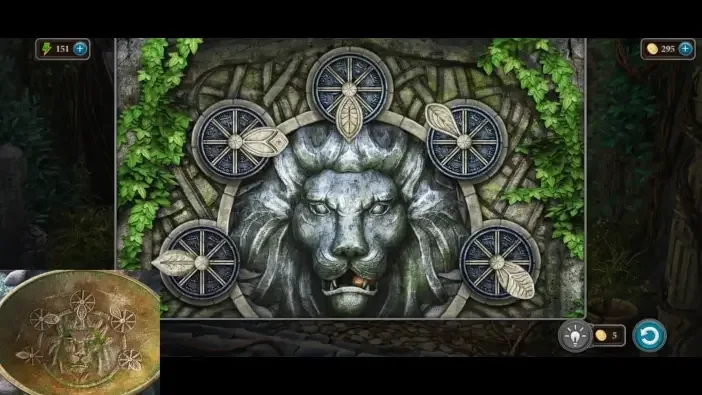
Variants: AppGamer states the answer can differ per game, so check your own clue.
20Table Horse Puzzle
Where: Hidden mechanism under the slab that takes the Acorn, near the Sacred Tree.
You need: Acorn from the lion-head faucet
Inspect the table horse and complete its mechanism.
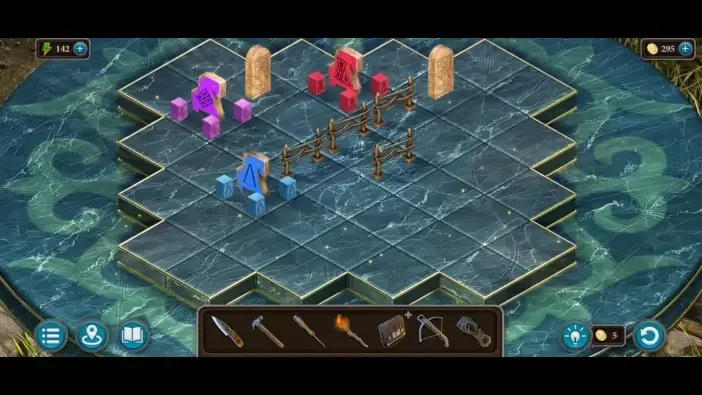
Show the full solution
Move the three coloured horses so all three stand in the stall of their own colour at the same time.
21Tree Cabinet Puzzle
Where: Cabinet in the basement reached through the tunnel.
You need: Tree-shaped item shot down from the chandelier with the crossbow
Use the tree cabinet mechanism to open the cabinet.
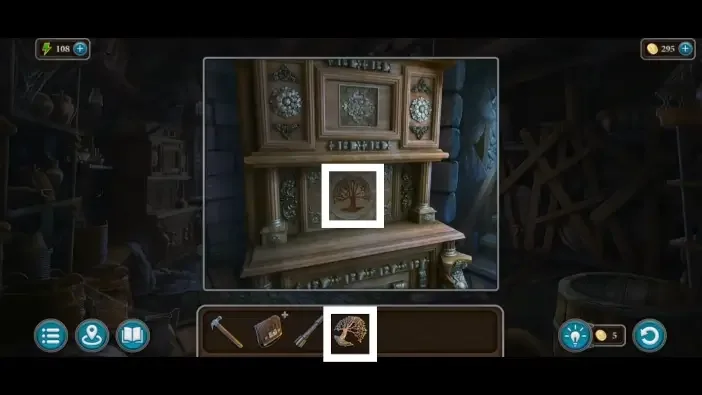
Show the full solution
Find the tap order that clears all sixteen arrow squares (source order: 1 to 16).
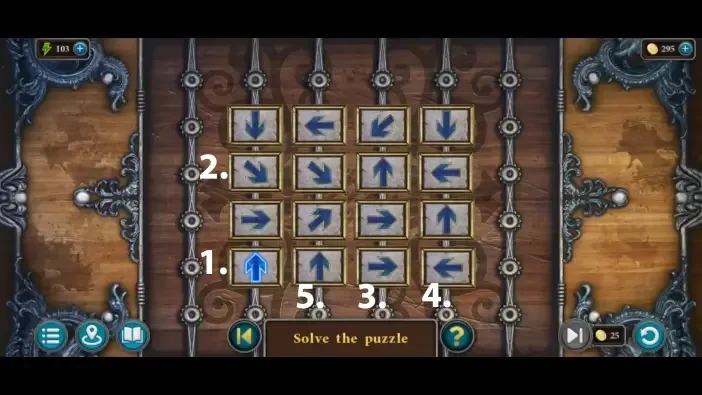
Variants: AppGamer states the arrow arrangement differs in each game.
22Elevator Gear Repair
Where: Floor panel beside the elevator in the basement.
You need: Screwdriver · Claw hammer · New gear from the cabinet · Handle from between the barrels
Repair the elevator with the required gears before leaving this route.
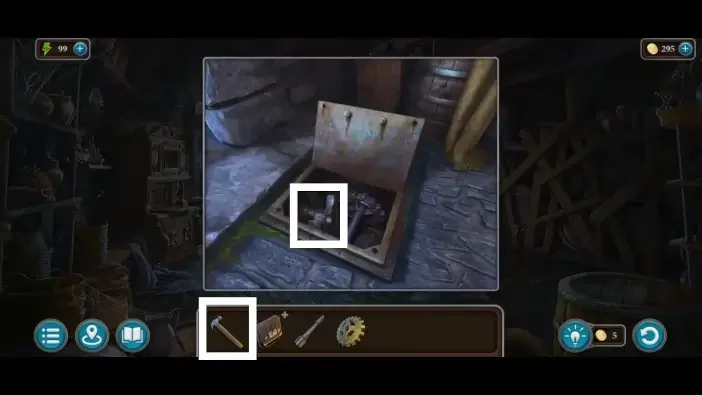
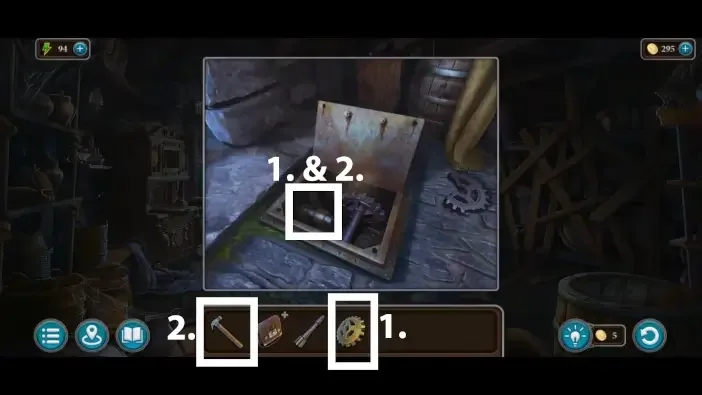
This guide covers the researched puzzle stops. Some connecting exploration and item pickups are still being documented.
Collectibles along the way
- Pipes · 8 in this chapter (as stated by sources) — All eight give the Explorer achievement; found in the hut, on the fence outside, the workshop column, the abandoned camp, the swamp, the fortress, the broken bridge and the witch's room.
- Fangs · 7 in this chapter (as stated by sources) — All seven give the Hunter achievement; found on the wagon, the beach, the fortress tree, the lion faucet, the city square flagpole, the tavern boar's head and the fortress basement.
- Morphing Objects · 15 in this chapter (as stated by sources) — Chapter 1 holds objects 1-15 of the 46 in the whole game; they change shape every few seconds.
Open the Legendary Tales 4 collectibles checklist to tick items off as you play.
Commonly missed
- Both a collection item and a morphing object are usually hidden somewhere in each scene, and morphing objects only give themselves away after you watch the scene for a few seconds.
- Pipe 8 of 8 and morphing object 15 of 46 sit in the witch's room, a scene you finish with once the map is stolen.
- Fang 7 of 7 is in the basement of the ancient town/fortress, reached only after the tunnel puzzle at the very end of the chapter.
- Many items cannot be picked up until a later need activates them, so players often walk past them the first time.