Legendary Tales 3 Chapter 5 Walkthrough – Egil's Helper
Legendary Tales: Stories · bonus story · last updated 2026-10-15
Chapter overview and locations
A small plant-like radictis runs errands for a druid to keep the forest in order. The errand takes the creature through an autumn village, a stone cellar and a wooden mill to gather boards, gears and animal amulets. The chapter ends after assembling the amulet lock and the stone puzzle.
Scenes in this chapter: Autumn village field with a scarecrow and pumpkins · Stone cellar or vault with a grated lock · Countryside with a wooden mill, pipelines and a chest · Autumn forest with a stone well, a cage and a tree hollow
Step-by-step walkthrough
Follow the scenes below. Required items and screenshots sit beside each stop; answers expand on request. Select a screenshot to enlarge it.
Jump to a scene · 2 sections
Scene 01
Follow the runestone and map
Complete the runestone and ball lock, prepare the flaxseed oil and use the map.
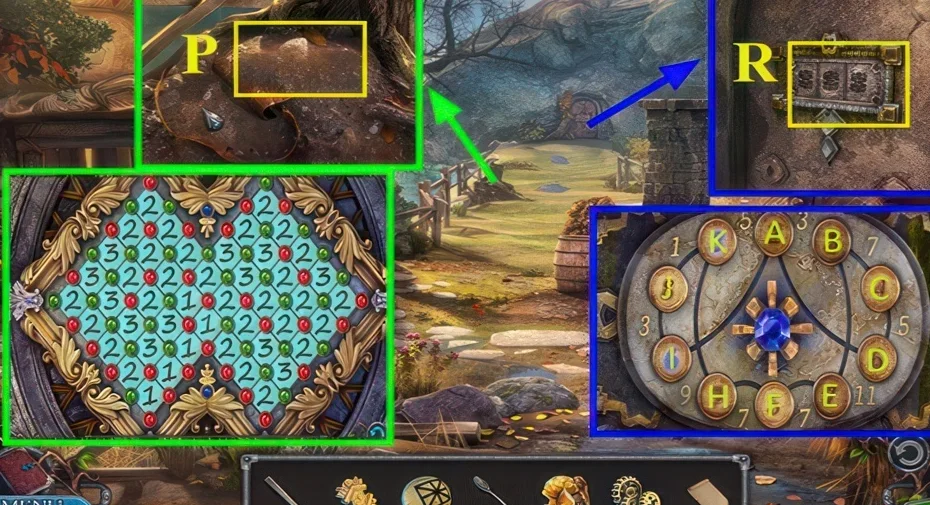
1Runestone puzzle
Where: Chapter 5, marker R, in the stone vault
You need: Runestones 3/3
Read the runestone clue and complete the opening board.
Show the full solution
A-I, J-I, A-I, B-E, E-F, F-H, B-E, E-F, C-D, A-D.
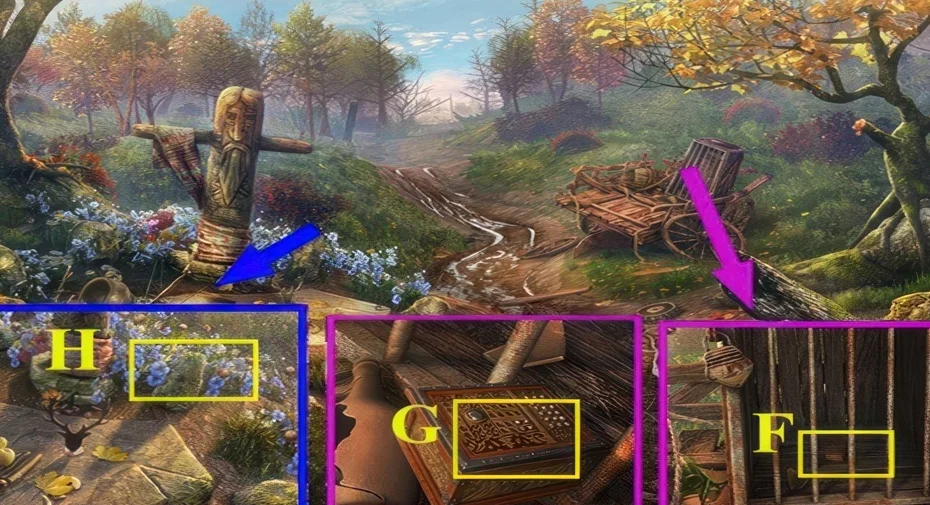
2Ball lock puzzle
Where: Chapter 5, marker G, after using the fire iron
You need: Balls 5/5
Arrange the balls at the lock.
Show the full solution
The walkthrough lists a long move chain starting 2B-D2, 1A-R2, 1C-U2, 2D-U1, 3E-L2 and ending 8F-U1, 8E-R1, 6C-D2; it yields the lockpick and gear 3/3.
Variants: AppGamer players report a chapter 5 animal rotational puzzle whose starting positions differ from published versions.
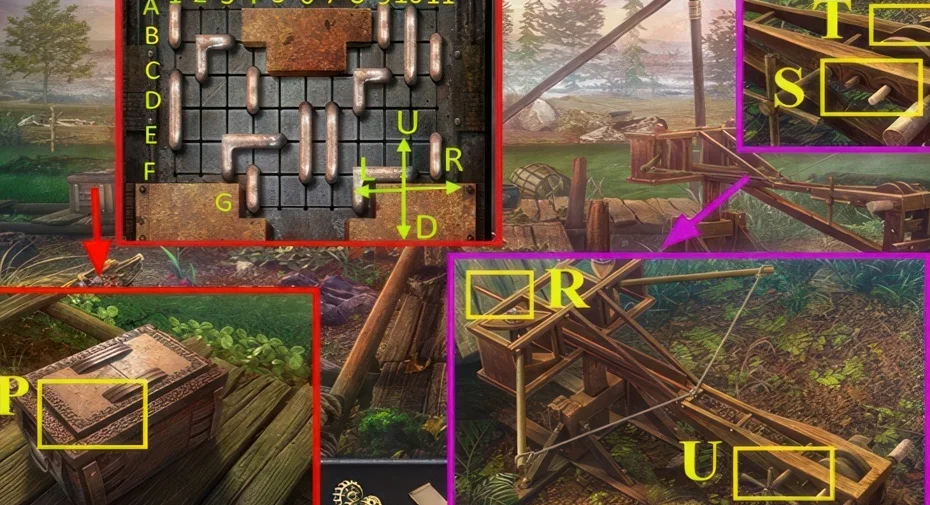
3Flaxseed oil puzzle
Where: Chapter 5, marker P, on the mill mechanism
You need: Flaxseed oil
Prepare the flaxseed oil before continuing.
Show the full solution
The walkthrough gives a long coordinate chain (2B-D2 and similar moves) and states it yields the arrow head.
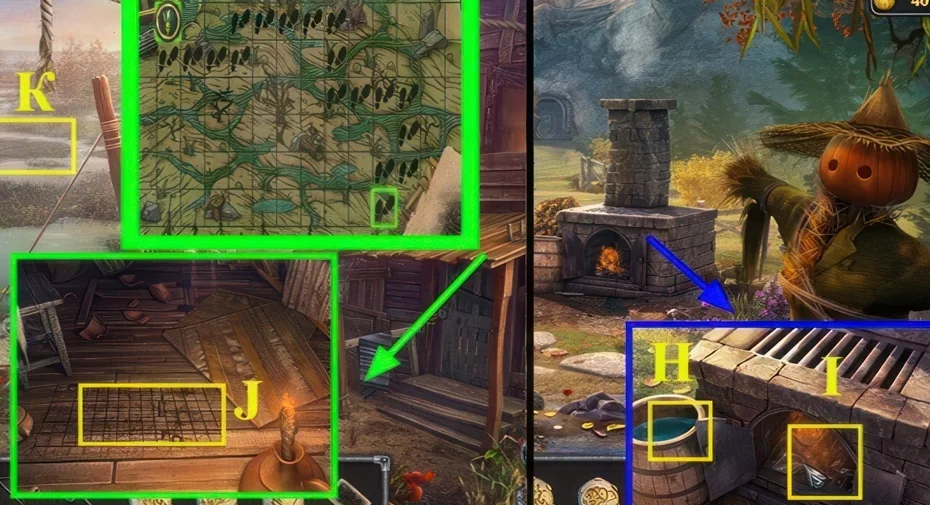
4Map puzzle
Where: Chapter 5, marker K, after drawing the map with paper and coal
You need: Sheet of paper · Coal · Map
Use the map to complete its mechanism.
We could not confirm a solution for this one yet, so there is nothing to spoil here.
Scene 02
Open the route and use the net
Use the key and horn, then the boards and five amulets. Finish with the net interaction.
5Key puzzle
Where: Chapter 5, marker Q
Complete the key mechanism and collect the key.
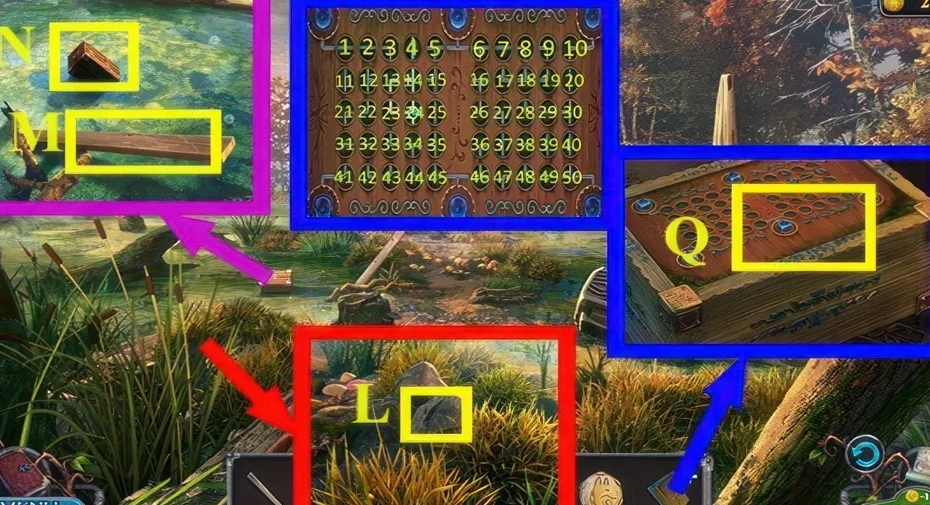
Show the full solution
43, 43, 43, 43, 41, 21, 21, 21, 21, 7, 26, 27, 27, 27, 27, 27, 27, 27, 46, 46, 24, 5.
6Horn puzzle
Where: Chapter 5, marker O, after unlocking it with the key
You need: Key
Use the horn at its marked interaction.
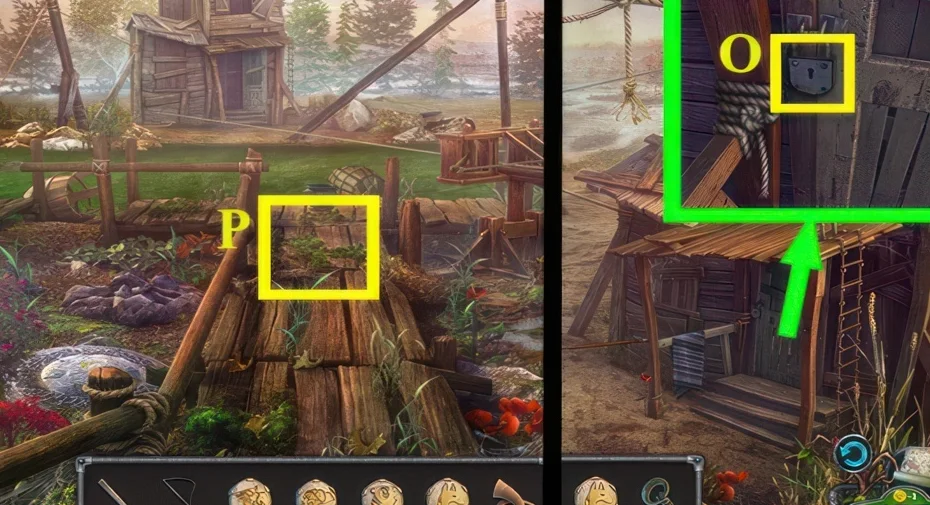
We could not confirm a solution for this one yet, so there is nothing to spoil here.
7Boards puzzle
Where: Chapter 5, marker V, after collecting all ten boards
You need: Boards 10/10
Fit the boards at this stop.
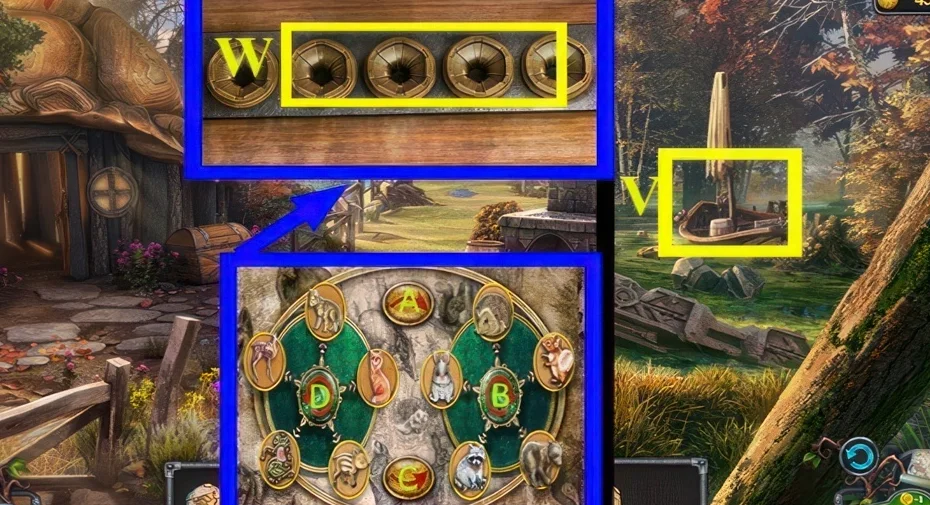
We could not confirm a solution for this one yet, so there is nothing to spoil here.
8Five amulet puzzle
Where: Chapter 5, marker W, after the net puzzle
You need: Wolf amulet · Snake amulet · Bear amulet · Fox amulet · Fish amulet
Use all five amulets on the matching mechanism.
Show the full solution
B, B, B, B, A, A, D, D, D, D, A, D, D, D, which yields the hook.
9Net puzzle
Where: Chapter 5, marker X, after hooking the net
You need: Hook · Net
Use the net to complete the final interaction.
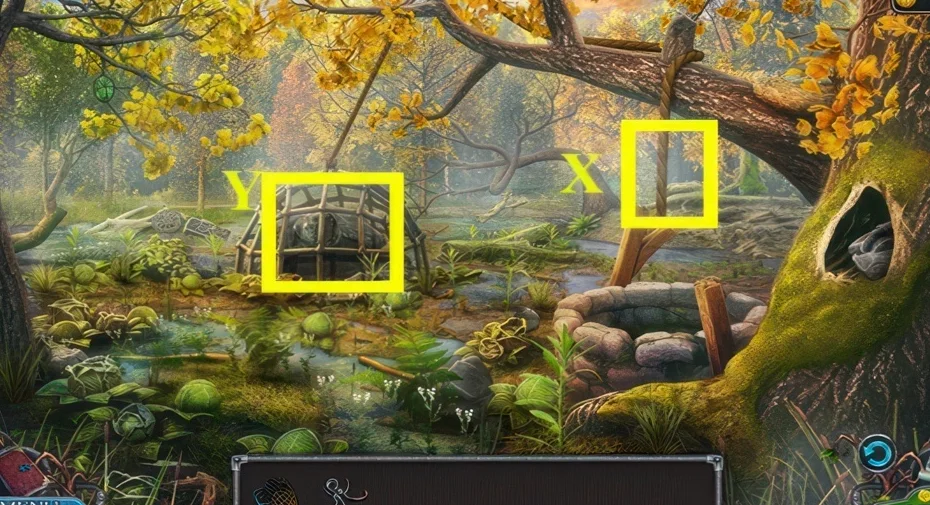
Show the full solution
The walkthrough states the puzzle yields the stones 12/12 but lists no sequence.
This guide covers the researched puzzle stops. Some connecting exploration and item pickups are still being documented.
Collectibles along the way
- Boards · 10 in this chapter (as stated by sources) — Numbered 1/10 to 10/10, then used at marker V.
- Stones · 12 in this chapter (as stated by sources) — The net puzzle yields Stones 12/12, which are used at marker X.
- Balls · 5 in this chapter (as stated by sources) — Numbered 1/5 to 5/5 and spent in the ball lock.
- Tree resin · 4 in this chapter (as stated by sources) — Numbered 1/4 to 4/4, collected with the spoon and boiled into resin with the cauldron.
- Gears · 3 in this chapter (as stated by sources) — Numbered 1/3 to 3/3, used at marker S of the mill.
- Runestones · 3 in this chapter (as stated by sources) — Numbered 1/3 to 3/3, used at marker R.
Open the Legendary Tales 3 collectibles checklist to tick items off as you play.
Commonly missed
- The animal rotational puzzle in chapter 5: an AppGamer player reports it cannot be solved with published solutions.