Legendary Tales 1 Chapter 5 Walkthrough – Bonus Chapter
Legendary Tales: Stolen Life · bonus story · last updated 2026-10-15
Chapter overview and locations
The bonus story explains why Ulf ended up in the witches' hands in the first place. Lucia works through a cave, a lumber camp and a witch fortress, mixing an acid, freeing prisoners and finally breaking the ritual with a ruby key.
Scenes in this chapter: Cave with the hook · Lumber camp · Abandoned shack · Witch fortress · Cell with prisoners · Ceremonial chamber
Step-by-step walkthrough
Follow the scenes below. Required items and screenshots sit beside each stop; answers expand on request. Select a screenshot to enlarge it.
Jump to a scene · 3 sections
Scene 01
Break through the bonus barriers
Use the barriers, craft the lockpicks and prepare the firecracker before mixing the acid.
1Barrier placement
Where: Cave passage
You need: Hook · Saw · Horse figurine (two pieces)
Barriers have to be arranged so an object can travel past them.
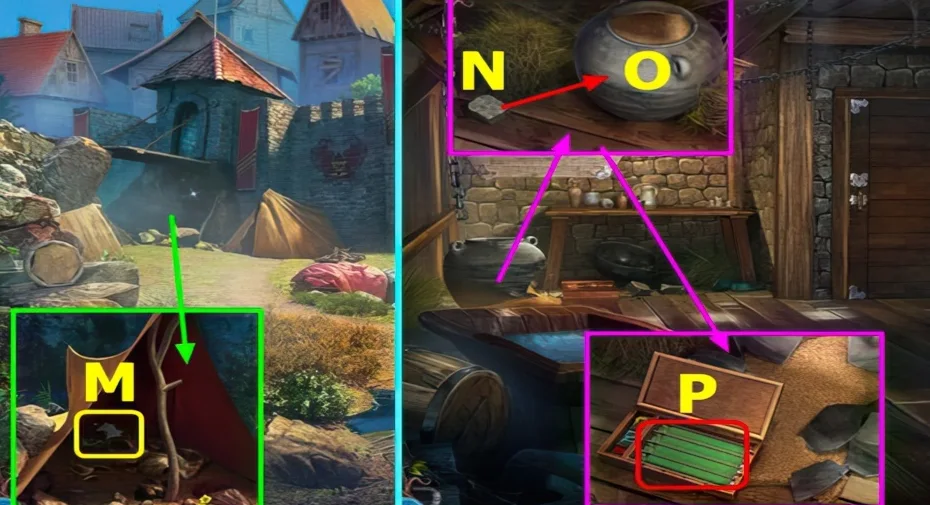
We could not confirm a solution for this one yet, so there is nothing to spoil here.
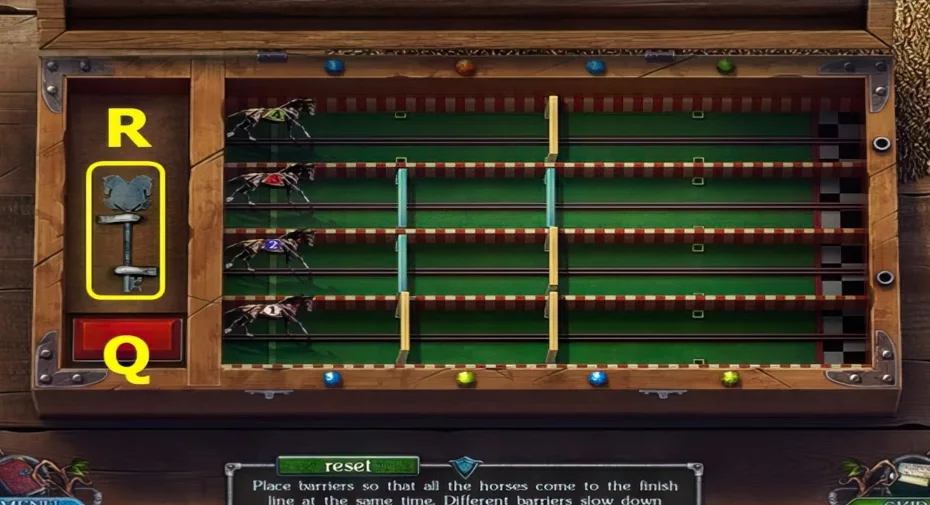
2Lockpick crafting
Where: Lumber camp
You need: Hammer · Broken lockpicks
Several damaged lockpicks combine into one that works.
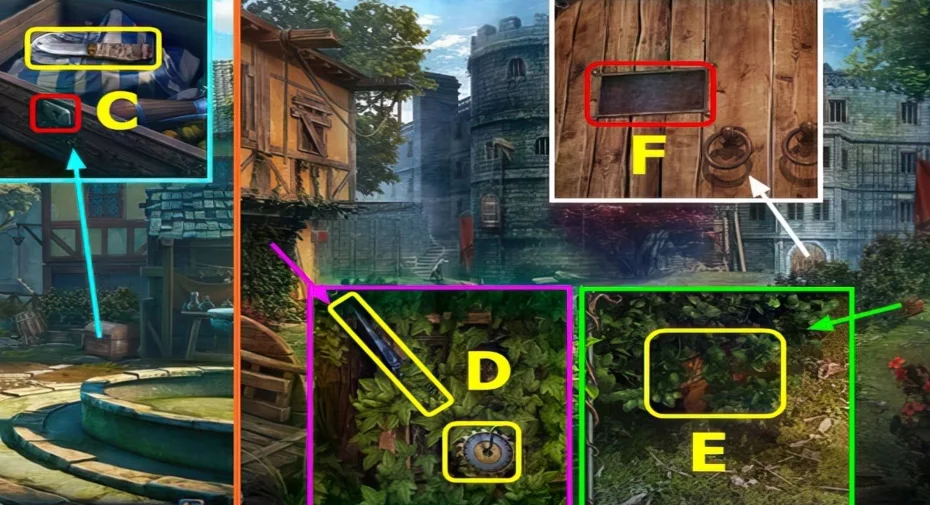
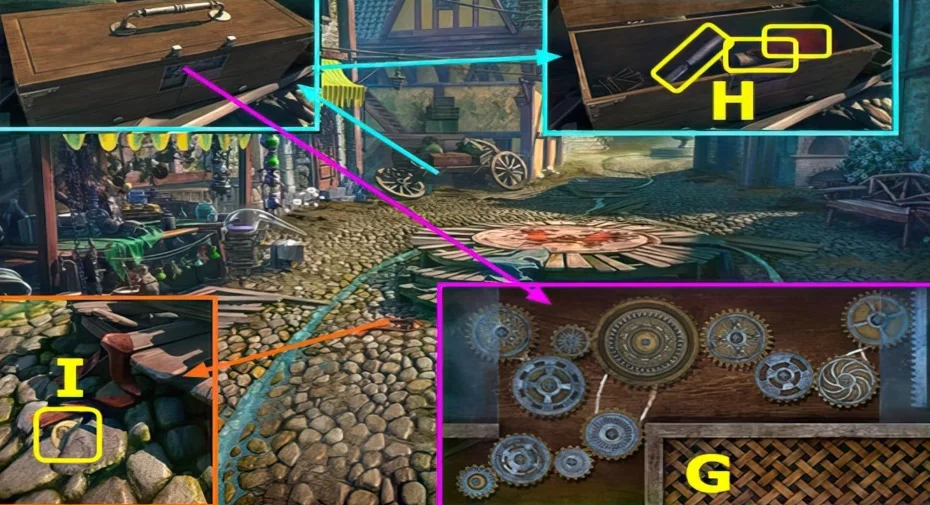
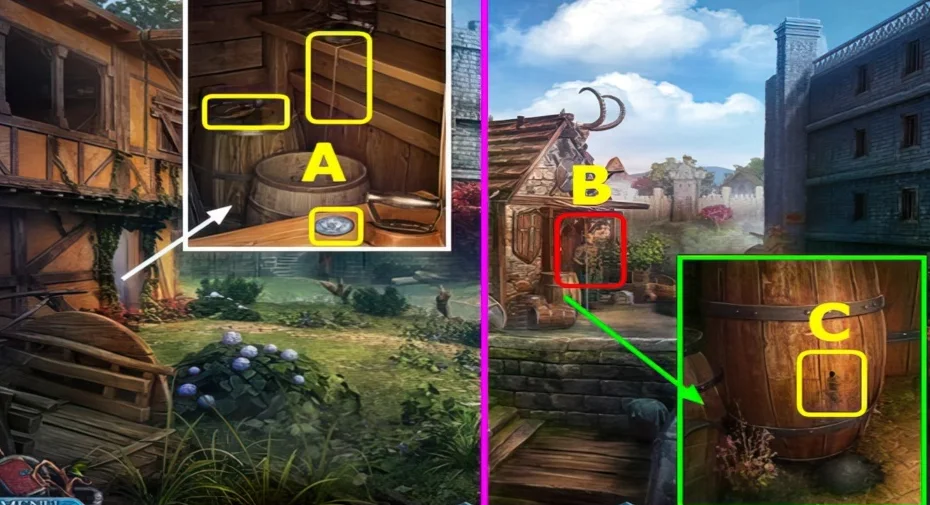
3Firecracker assembly
Where: Abandoned shack
You need: Bitbrace · Paper · Wick · String
Paper with gunpowder plus wick and string forms a firecracker.
Show the full solution
Drill the paper with the bitbrace, add the wick and string to make a firecracker, then use it on the blocked way.
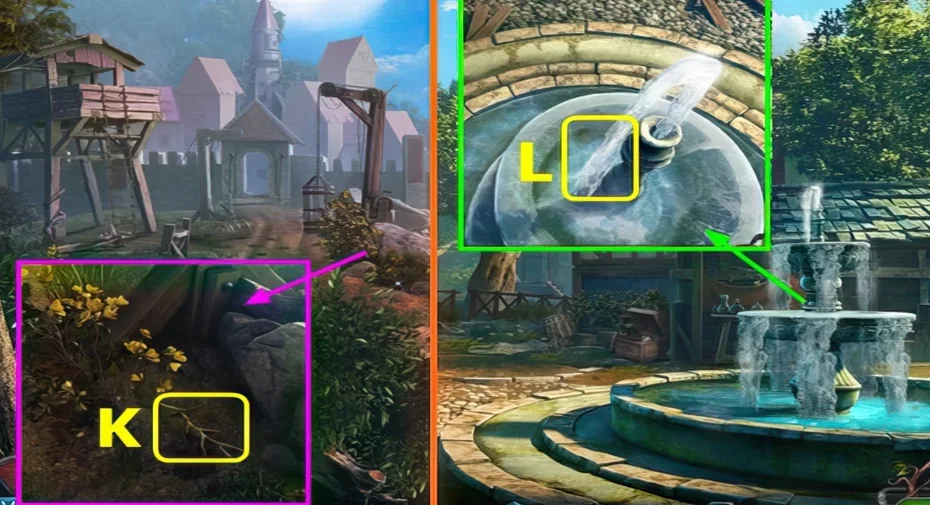
4Acid recipe
Where: Approach to the witch fortress
You need: Acid recipe · Salamander flower · Witch flower root · Flask of water
Three ingredients are needed before the acid can be mixed.
Show the full solution
Combine the salamander flower, witch flower root and flask of water on the acid recipe, then use the acid to open the way.
Scene 02
Unlock the three shields
Work through the sapphire, ruby and emerald shields individually. Their ring settings are not interchangeable.
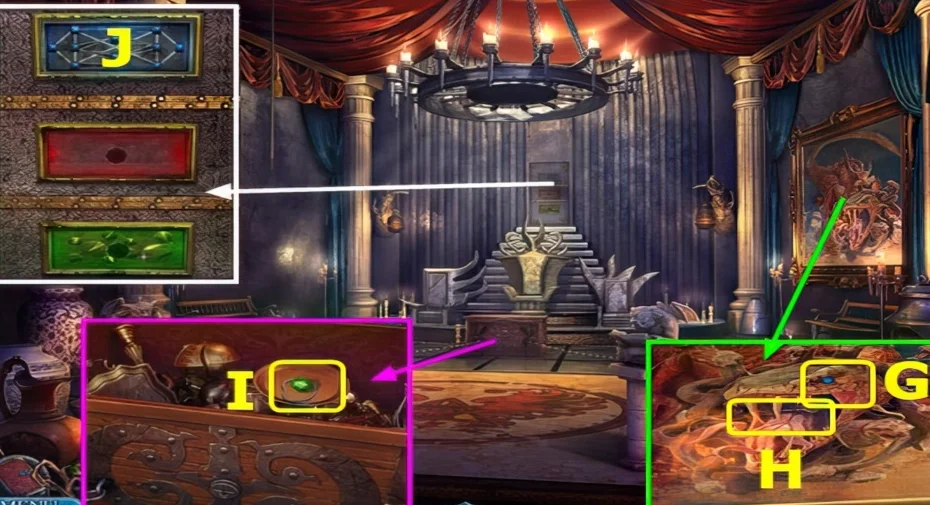
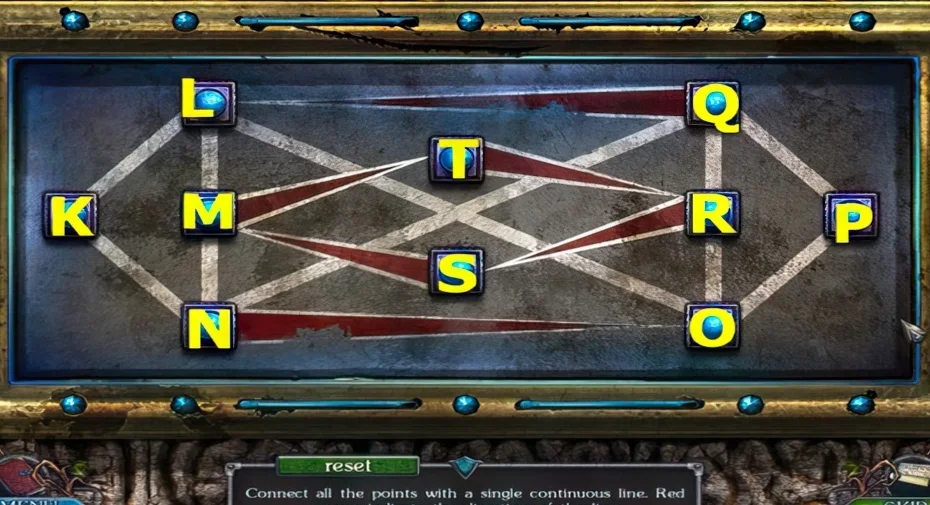
5Sapphire shield rings
Where: Final ceremonial chamber
You need: Sapphire
Turning one set of rings also moves the other set, so the tree and wolf shields have to be aligned step by step.
6Ruby shield rings
Where: Final ceremonial chamber
You need: Ruby
The ruby continues the shield alignment from the previous step.
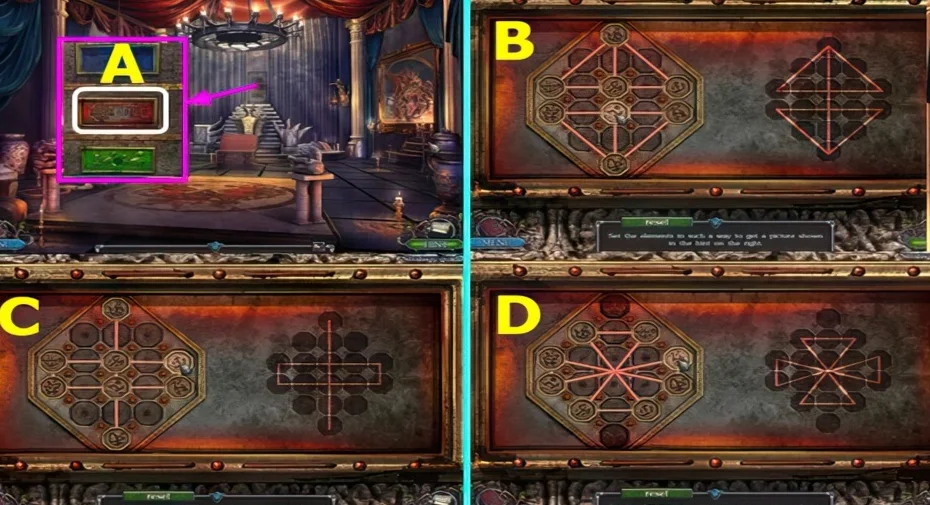
7Emerald shield rings
Where: Final ceremonial chamber
You need: Emerald
The emerald finishes the alignment and opens the last chest.
We could not confirm a solution for this one yet, so there is nothing to spoil here.
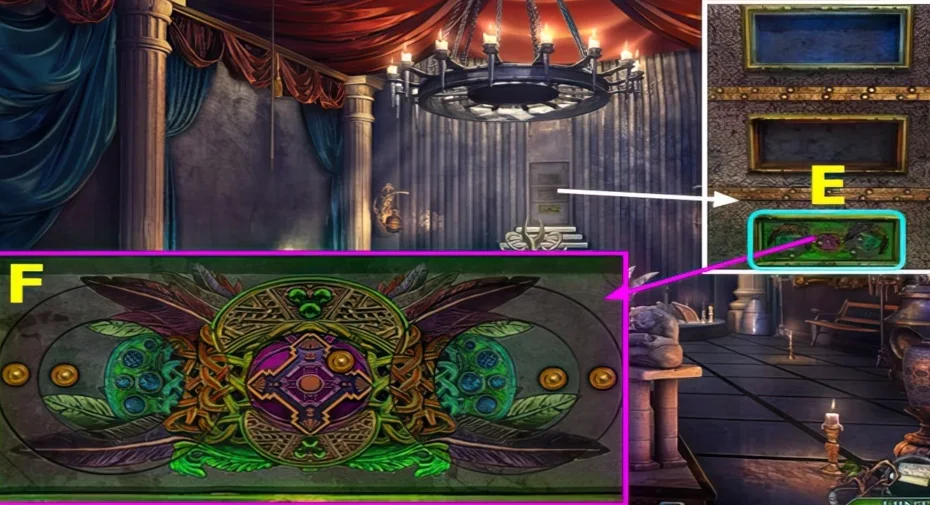
Scene 03
Prepare the gargoyle ritual
Return to the ritual with its ingredients after the shield route.
8Gargoyle ritual ingredients
Where: Final chest
You need: Fire powder · Tree-nymph's blood · Ashes of the gargoyle · Ruby key
Three collected substances are placed before the ruby key is used.
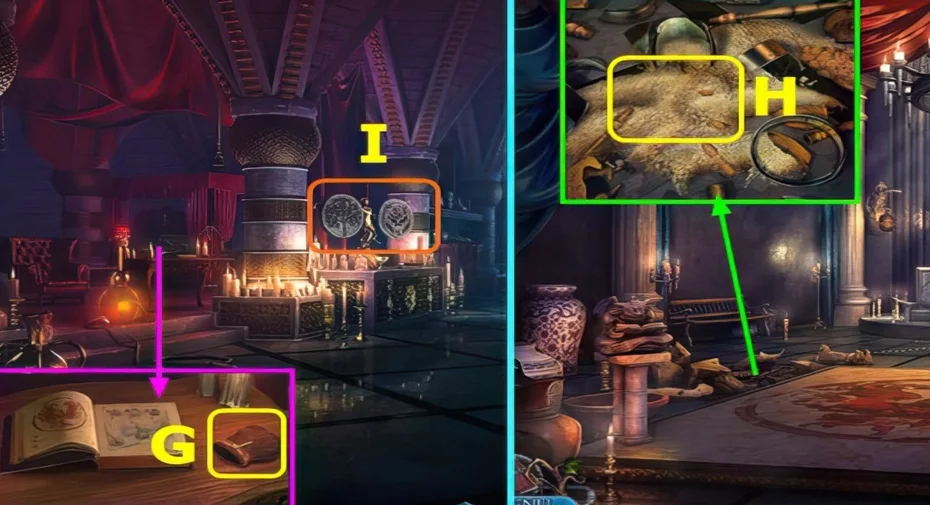
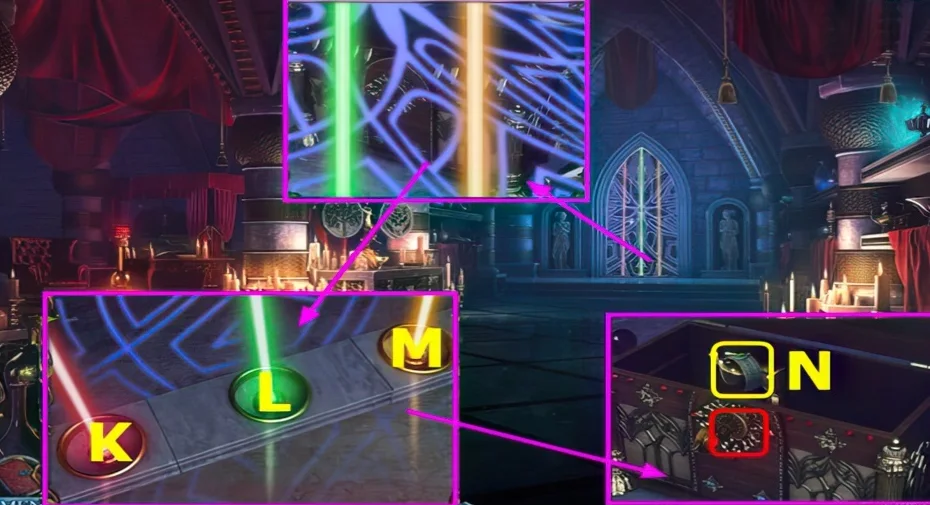
This guide covers the researched puzzle stops. Some connecting exploration and item pickups are still being documented.
Commonly missed
- Two readers report that the final tree-and-wolf shield rotation stays unclear even after following the guide.