Legendary Tales 2 Chapter 4 Walkthrough – Find the stolen thing
Legendary Tales: Cataclysm · last updated 2026-10-15
Chapter overview and locations
Aboard the ship Lucia gets past the archwitch by putting poppy infusion into a glass of wine. While the archwitch sleeps she searches the cabin and the hold, gathers the three elements and opens the sarcophagus. This section also carries the sub-tasks about sending the archwitch to sleep and opening the sarcophagus.
Scenes in this chapter: Ship deck · Below deck and wine barrels · Archwitch's cabin · Sarcophagus hold · Gargoyle statue
Step-by-step walkthrough
Follow the scenes below. Required items and screenshots sit beside each stop; answers expand on request. Select a screenshot to enlarge it.
Jump to a scene · 2 sections
Scene 01
Distract the animal and search the cabin
Deal with the caged animal and prepare the wine. Inspect the sign box and curtain cupboard along this part of the route.
1Caged animal and stuck object
Where: Cabin table
You need: Apple
The caged animal guards the picklock until it is distracted.
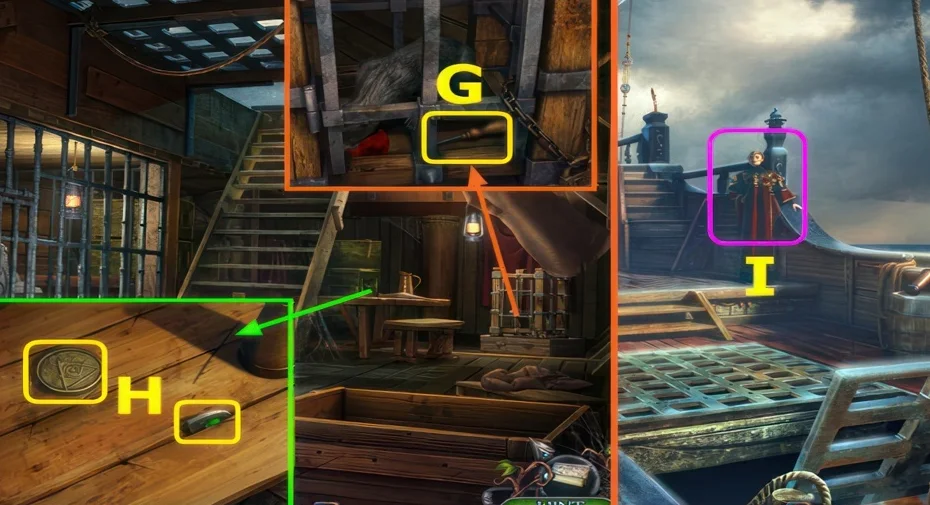
Show the full solution
Use the apple on the caged animal to take the picklock, then use the picklock on the object stuck in the table crack for the first element.
2Soporific wine
Where: Below deck and the archwitch's table
You need: Empty glass · Poppy herbal infusion
The archwitch asks for wine and sleeps if something is added to it.
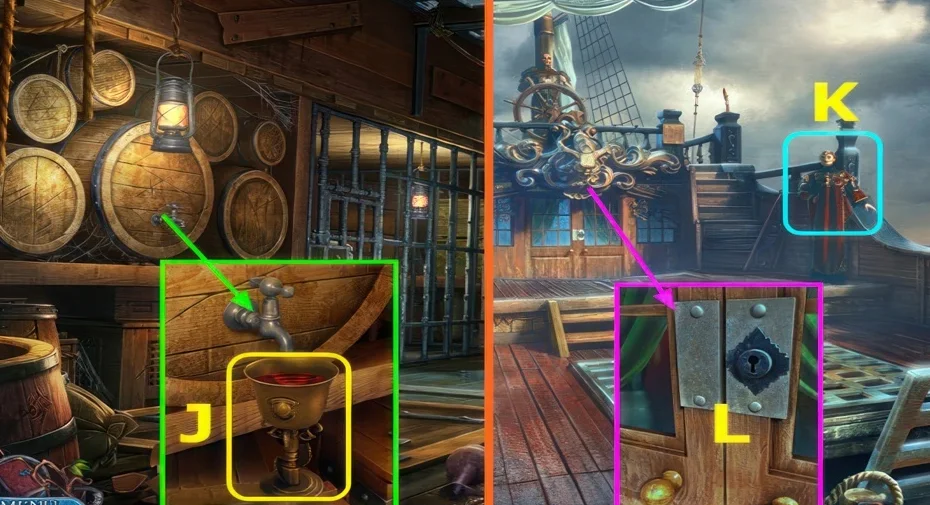
Show the full solution
Fill the glass from the barrel below deck, add the poppy herbal infusion and hand the glass to the archwitch.
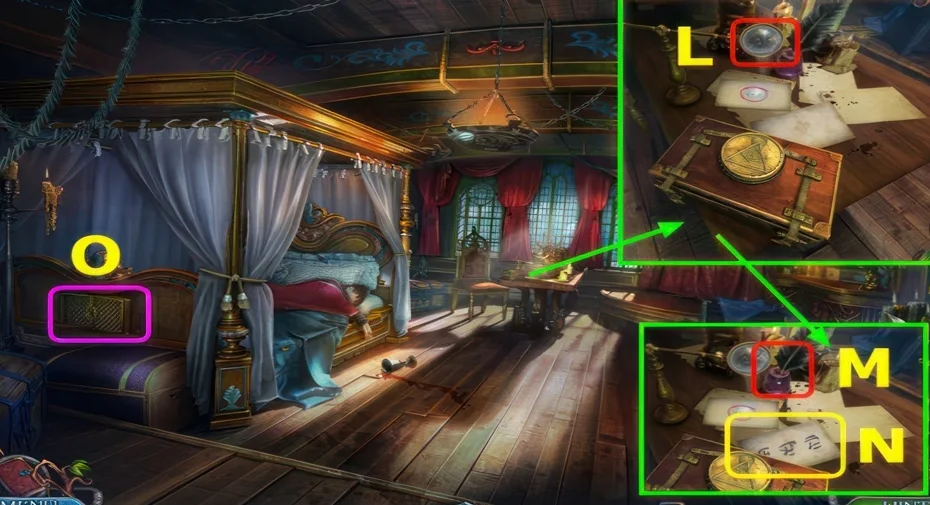
3Sign box and curtain cupboard
Where: Archwitch's cabin
You need: Sign · Magic book · Inkwell · Tweezers · Scissors
The box takes the sign, and the cupboard behind the curtains hides a star-finding scene.
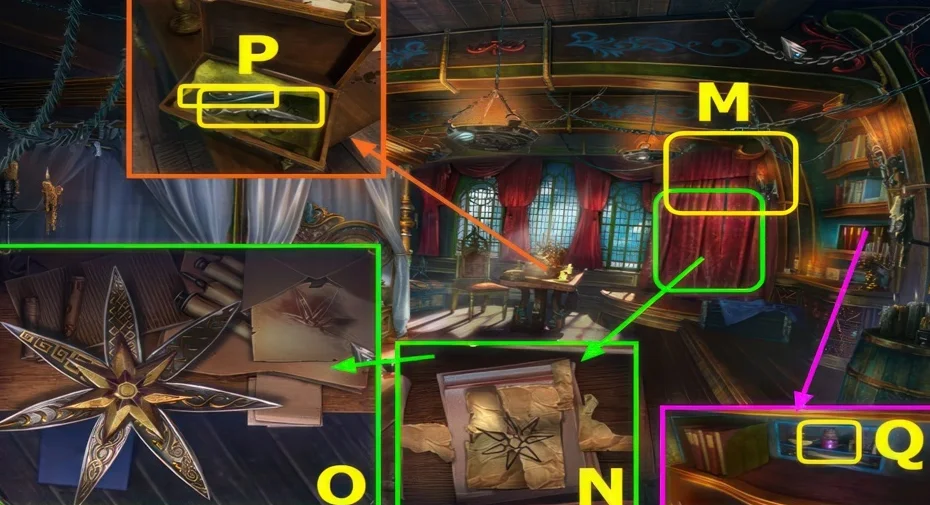
Show the full solution
Use the sign on the box for the tweezers and scissors, place the magic book on the bookshelf to reveal the inkwell, and finish the star scene inside the cupboard.
Scene 02
Open the deck and sarcophagus mechanisms
Use the statuette, magnet and element clues at their matching boards.
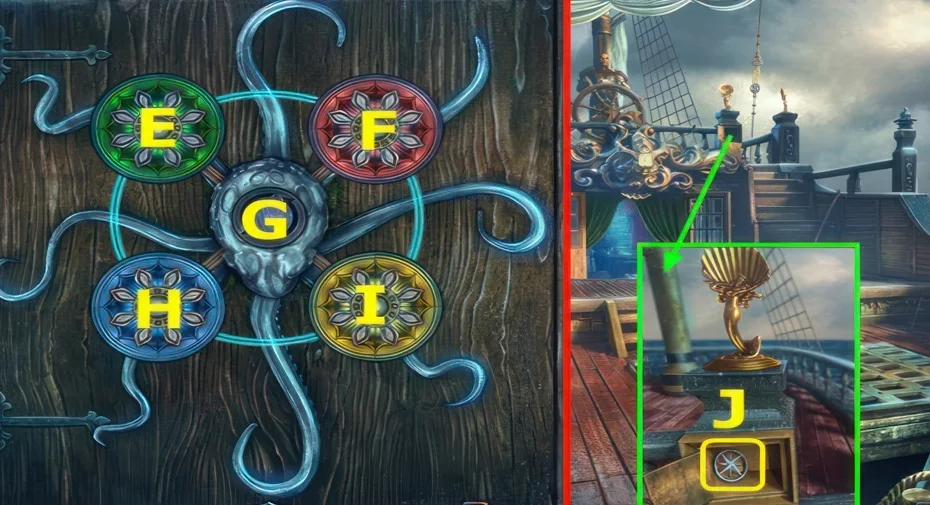
4Statuette deck puzzle
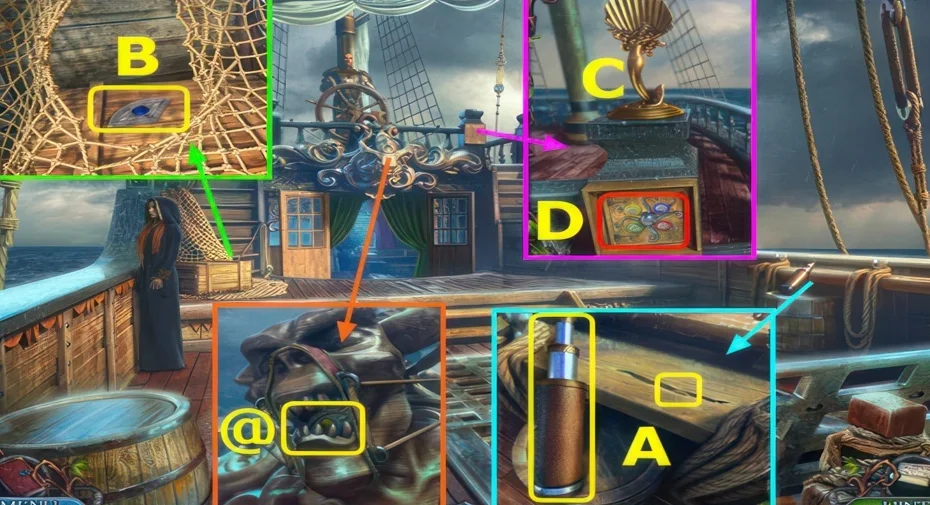
Where: Deck stand beneath the stars
You need: Statuette
The statuette belongs on the empty stand.
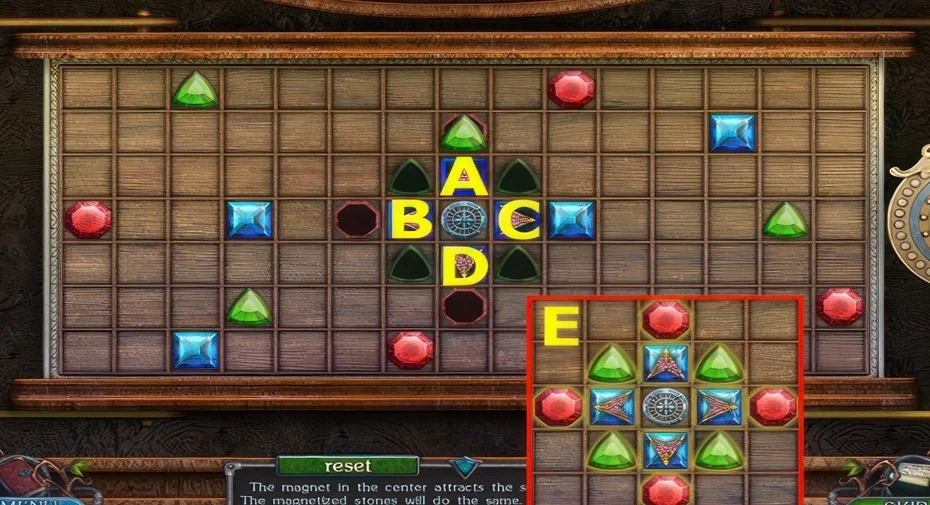
5Magnet stone bed door
Where: Door in the archwitch's bed frame
You need: Star figurine
The star figurine fits the hidden door at the end of the bed.
We could not confirm a solution for this one yet, so there is nothing to spoil here.
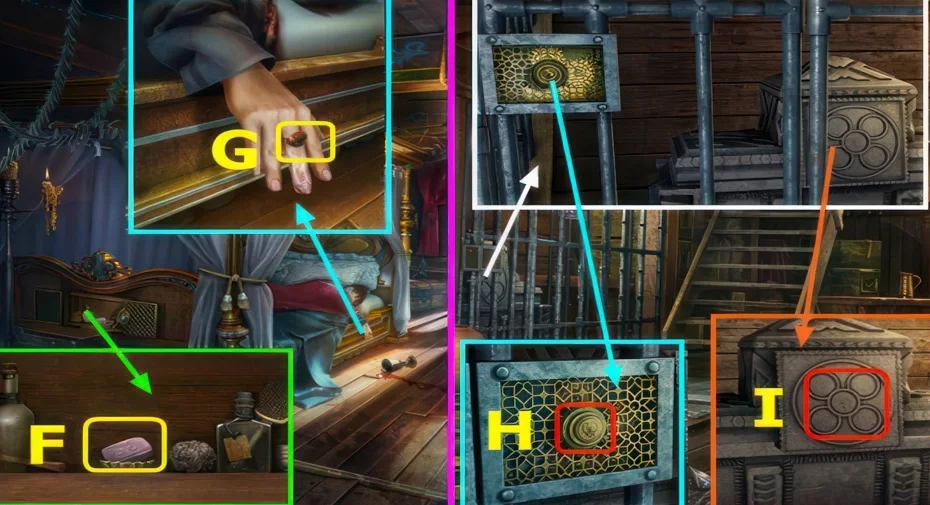
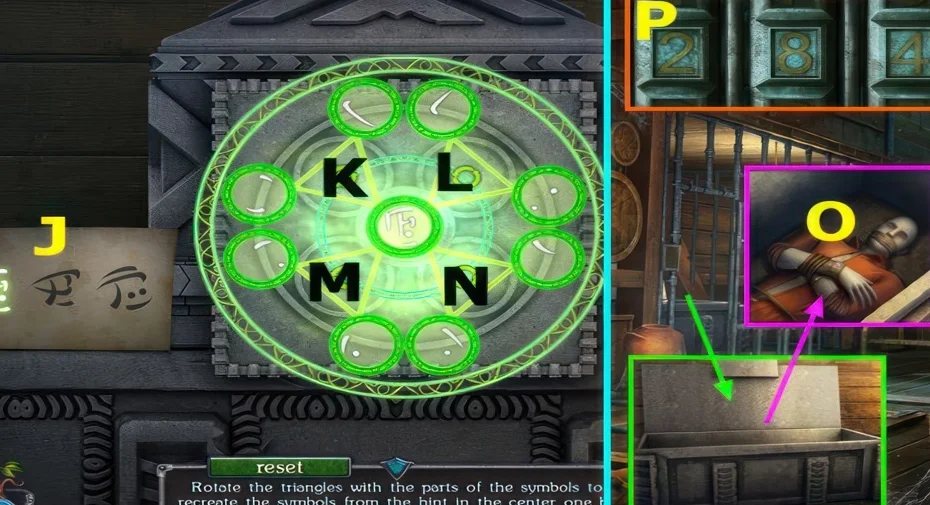
6Element and symbol sarcophagus lock
Where: Sarcophagus hold below deck
You need: Element · Ring of the archwitch · Symbols
The ring opens the hold, and the assembled element plus the copied symbols open the round lock.
This guide covers the researched puzzle stops. Some connecting exploration and item pickups are still being documented.
Collectibles along the way
- Morphing objects — A crown morphing object is noted on the right stairs, and another above the bed in the cabin.
- Crystal balls — A sphere-like collectible is noted next to the archwitch's bed.
Open the Legendary Tales 2 collectibles checklist to tick items off as you play.
Commonly missed
- The third element piece is cut from the net on the left with the scissors, a step that is easy to skip while searching the cabin.